Hi everyone!
Online Card Classes’ Merry Maker class kicked off yesterday and I tried all three of the techniques from the class.
 First up, Kristina Werner’s Holiday Bokeh Background. When I saw this video, I thought I would try this first. It has all the elements I love – blending, ink lifting, embossing. I blended three distress oxide inks – Cracked Pistachio, Peacock Feathers and Vintage Photo and after lifting some of it, I embossed almost all the snowflakes from the Simon Says Stamp Lots of Snowflakes set. Finally I added a sentiment also from Simon Says Stamp.
I’m going to enter this into the Simon Says Stamp Flickr Challenge – ‘Anything Goes’ and the Simon Says Stamp Work it Wednesday challenge.
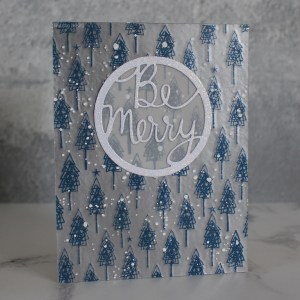
 Next, Jennifer McGuire’s Snow Flurry Background. OK so you know how sometimes, you’re a bit… reluctant… to try something new and you end up loving it? Well, that’s what happened to me with this card!! In fact, I wasn’t even sure I would try this when I first watched the video. ButI decided this class is all about stretching yourself and learning new techniques so I tried it – and I am so glad I did!
Wow! Just wow!
Watching the blue powder melt into the silver brought back all those memories of heat embossing for the first time! It’s so magical! When I started crafting, my mum and I bought lots of different coloured embossing powders to share. They’ve been at the back of our cupboards for a LONG time but I pulled mine out yesterday… and after this, well let’s just say, I will be seeing a lot more of those coloured powders! The background stamp is by Penny Black and I used a Savvy Stamps sentiment die stuck on vellum to finish it off.
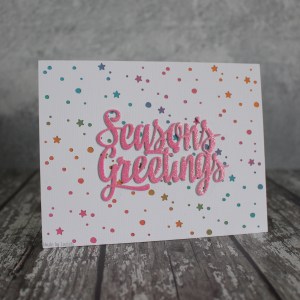 Finally, Cathy Zielske’s Cover plate die background/non-traditional colours. This was such a quick and easy card to make! I took on the challenge to use non-traditional colours and blended three distress oxide inks (Broken China, Picked Raspberry and Spiced Marmalade) for my background. I tried so hard to avoid making a rainbow, but it looks like I didn’t really succeed, doesn’t it? Anyway, I used a Lawn Fawn cover plate and an Avery Elle sentiment die, which I cut using some glitter paper which I thought I would NEVER use. It was in a DCWV paper pad and I thought it was just too bright for me! Ha! Honestly, it is too bright for me, but worked well for this card.
Thanks for stopping by!
LucieG.
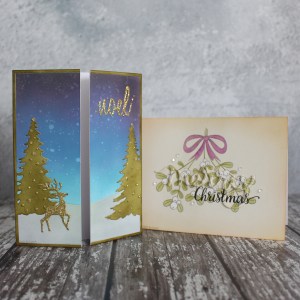
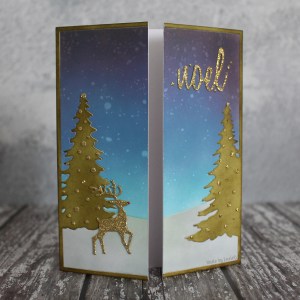
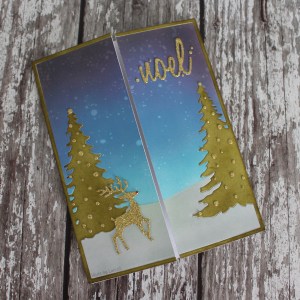
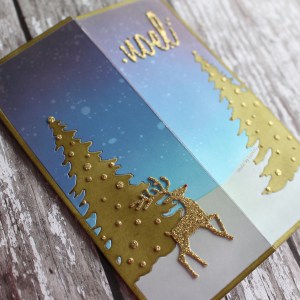 First up is my take on Jennifer McGuire’s background die gatefold card. Rather than use a detailed cutting plate, I decided to make a scene using dies from memory Box, Taylored Expressions and Tim Holtz/Sizzix. I guess it ended up being a hybrid of Jennifer and Nicole Spohr’s card (100% die cutting!).
 My second card for this post features the technique demonstrated by Julie Ebersole – hidden die cut! I first tried this technique in March and I love it!

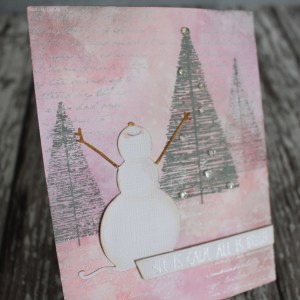 This is my take on Shari Carroll’s paint resist card. It turned out much pinker than I was intending! I use Seedless Preserves as well as Abandoned Coral distress ink! Honest!! The trees are from an older Hero Arts set and I used a Penny Black snowman die and a Neat & Tangled sentiment.
 In the end, I went with something totally outside my comfort zone – I created a watercolour background using a number of colours from the board.