Hi everyone!
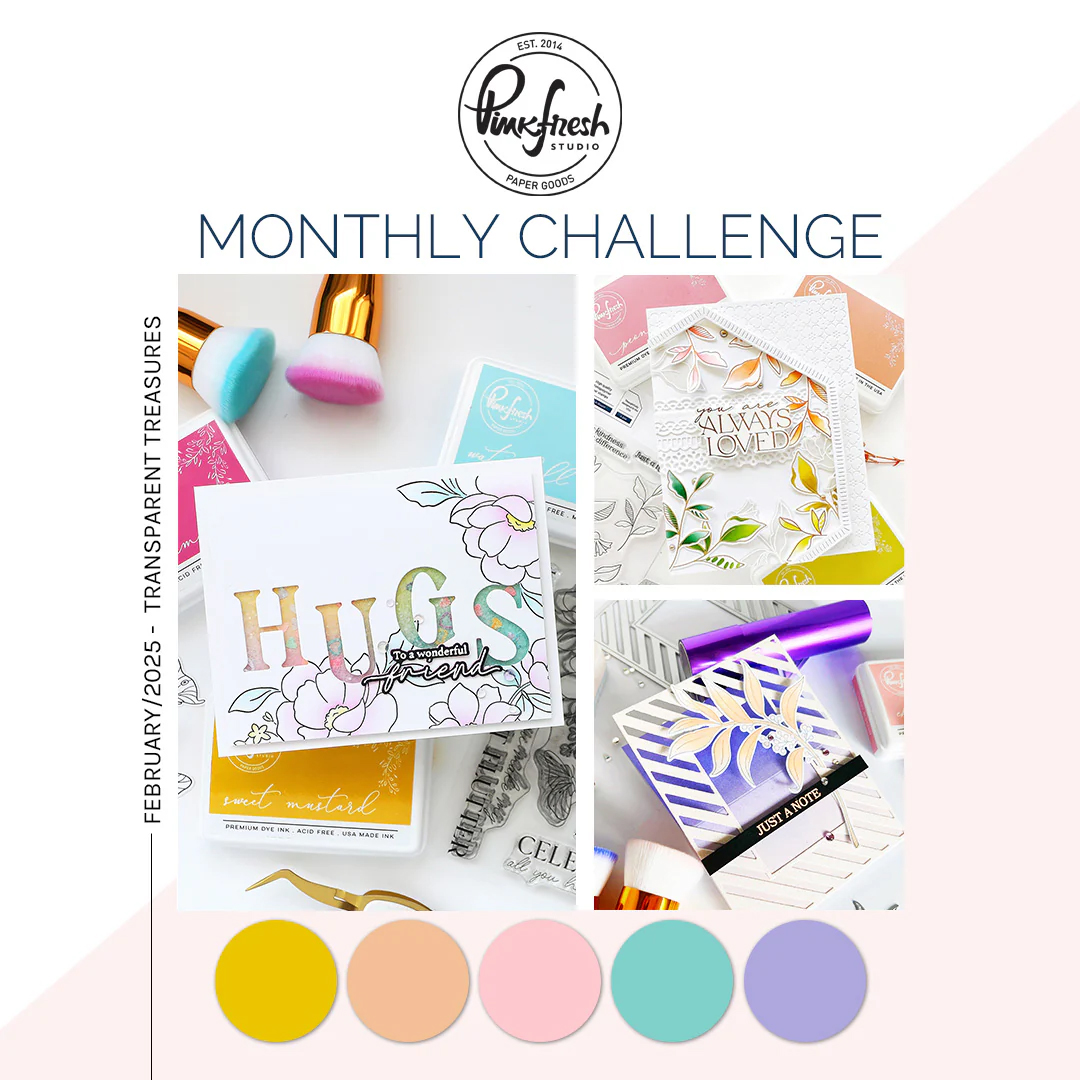
Last weekend, I took part in the Pinkfresh Studio Create and Connect ‘Cards by Theme’ event. I signed up for this event back in November after watching the unboxing video, knowing that it would be nice to have something to look forward to after Christmas – and it was such a happy January day when the box arrived at my door!
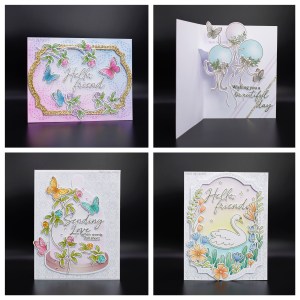
Class One – Birthday Balloons product suite

 Yana Smakula’s class was up first and her theme was happy birthday. There was only one birthday stamp in the whole kit, but I have plenty of birthday stamps already! I love the balloons and the delicate coordinating die. I thought it was very clever to include floral stamps/die cuts separately as the balloons can be used with or without flowers. I switched up my colours to make it more me.
I also used the set for my interpretation of Dawn Woleslage’s Make and Take press plate/foil card. I just used the stamp with an older daisy Pinkfresh coverplate that I’ve had for a while. but still love!
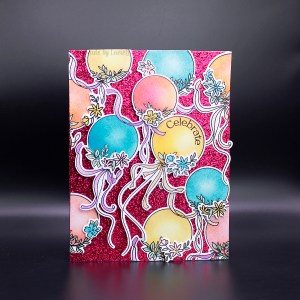
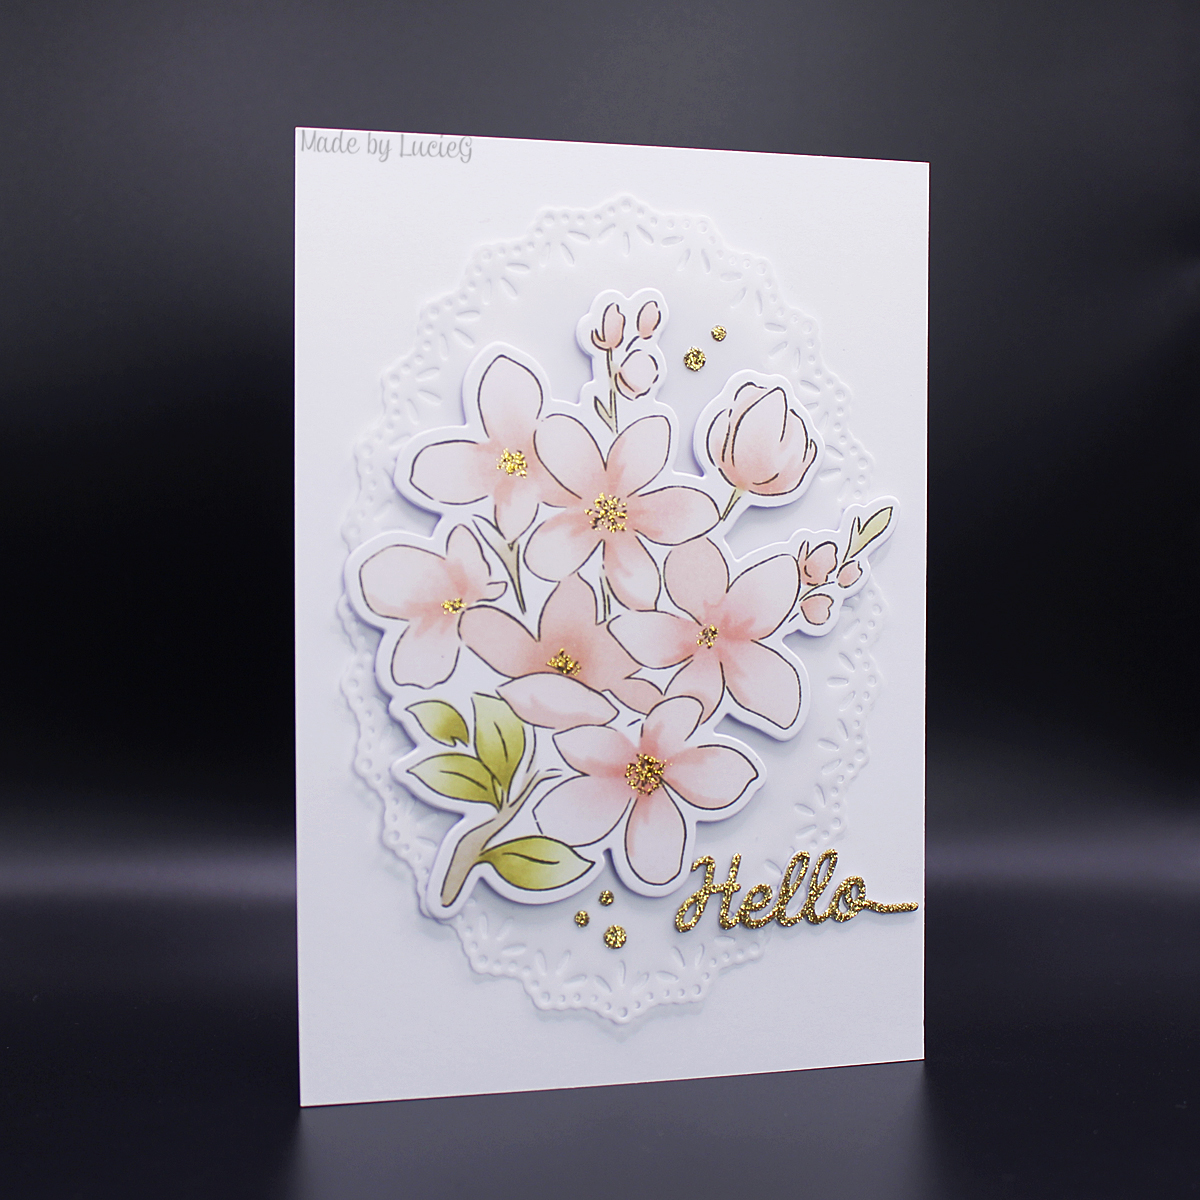
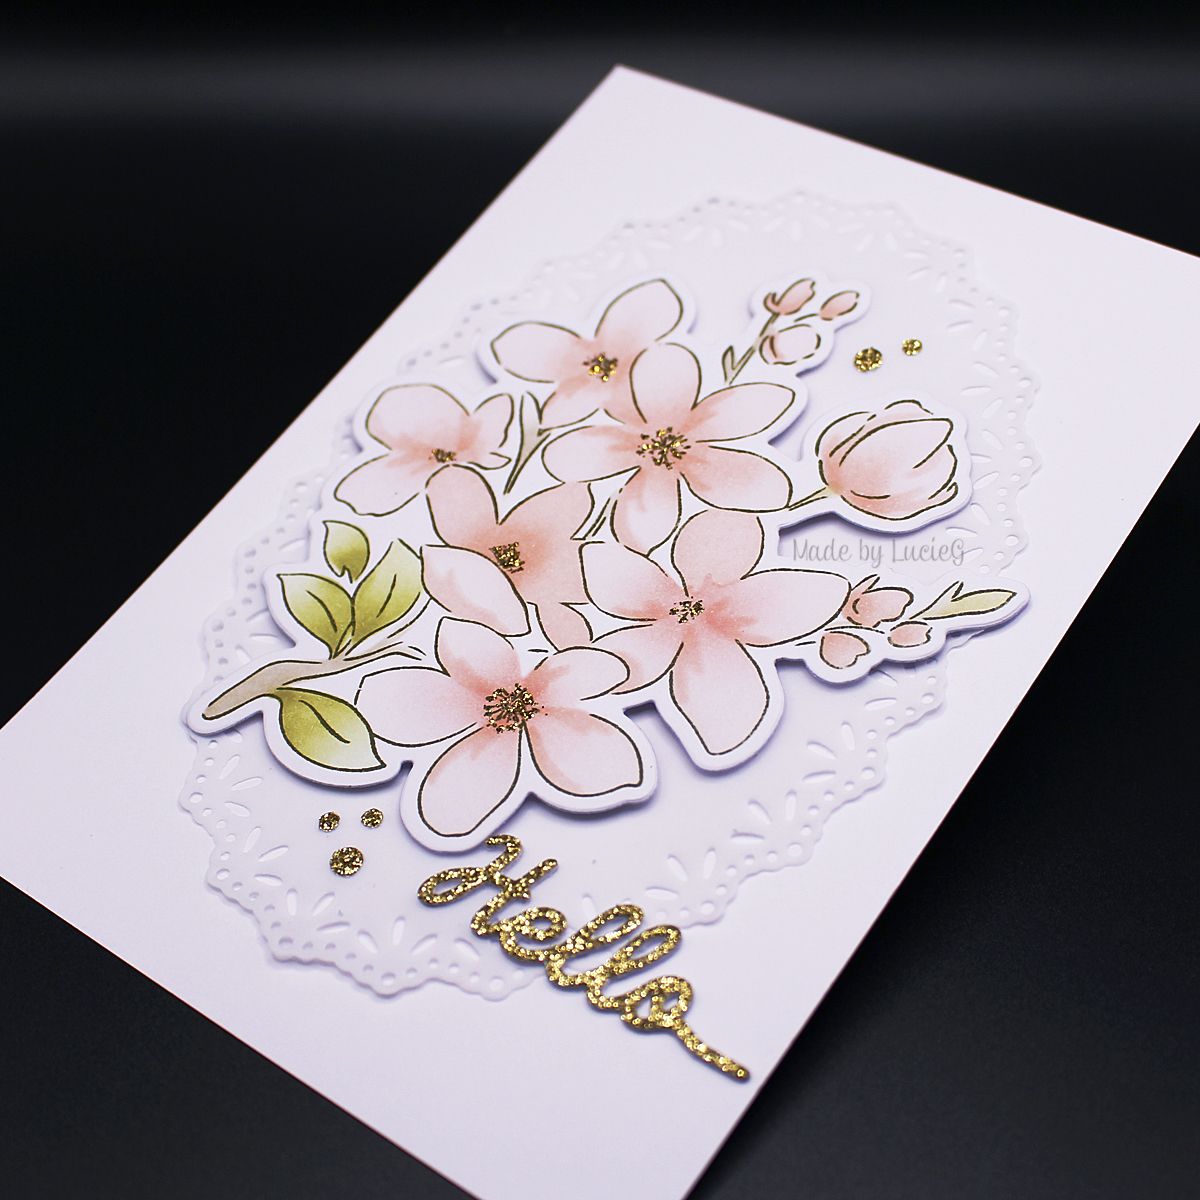
Class Two – Altenew Briar Blossoms product suite
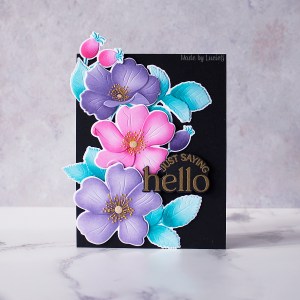
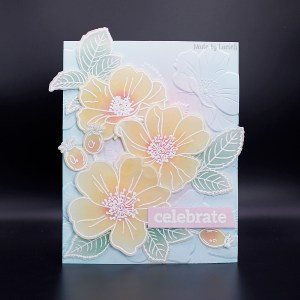
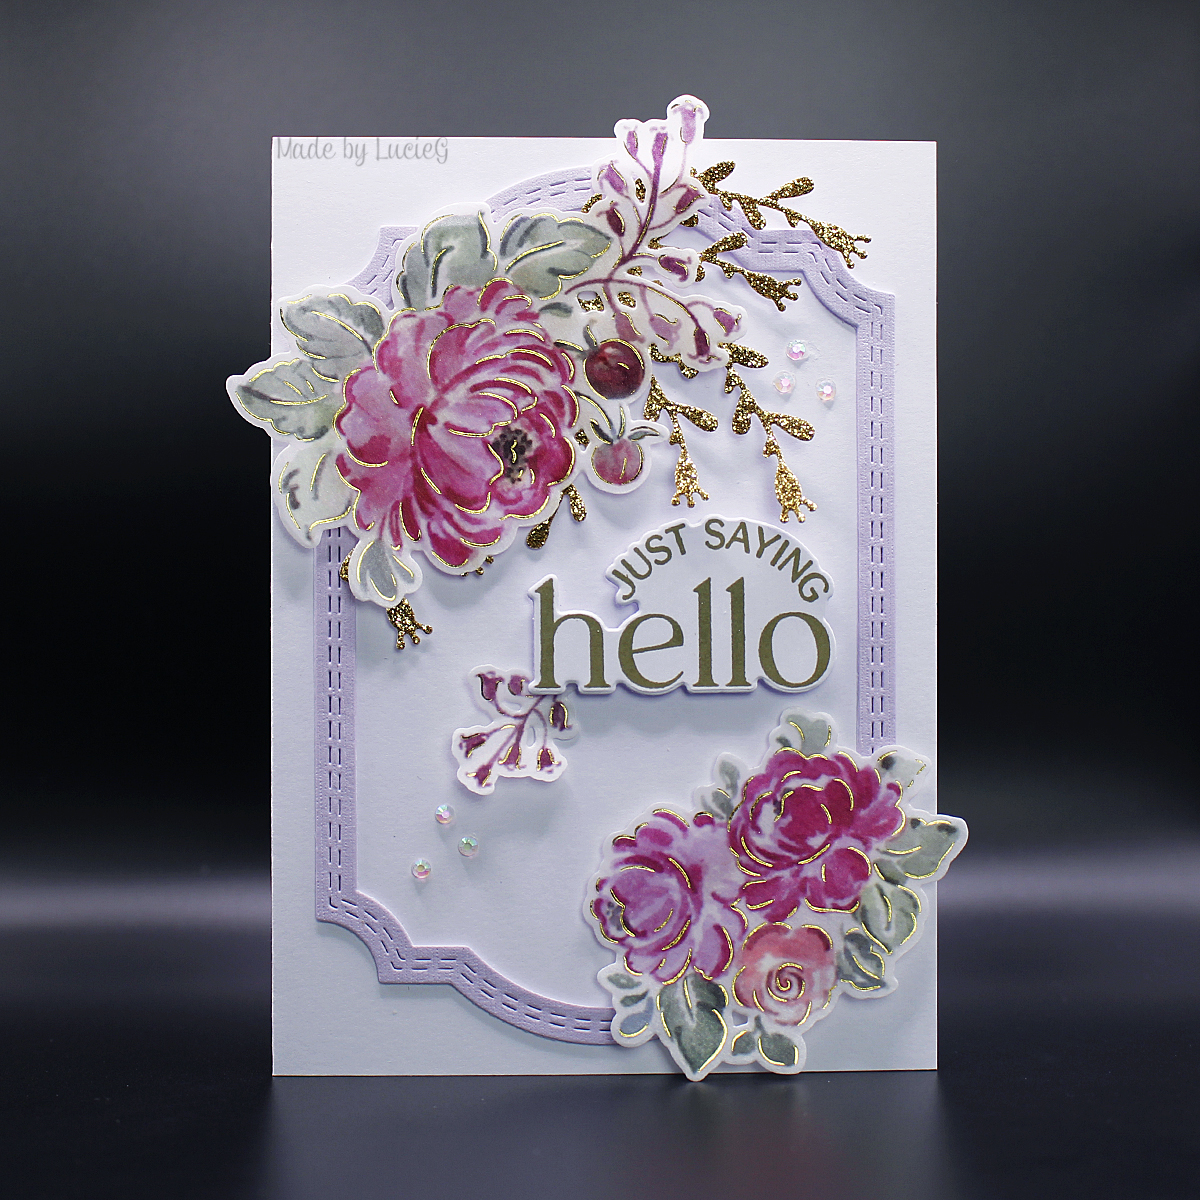
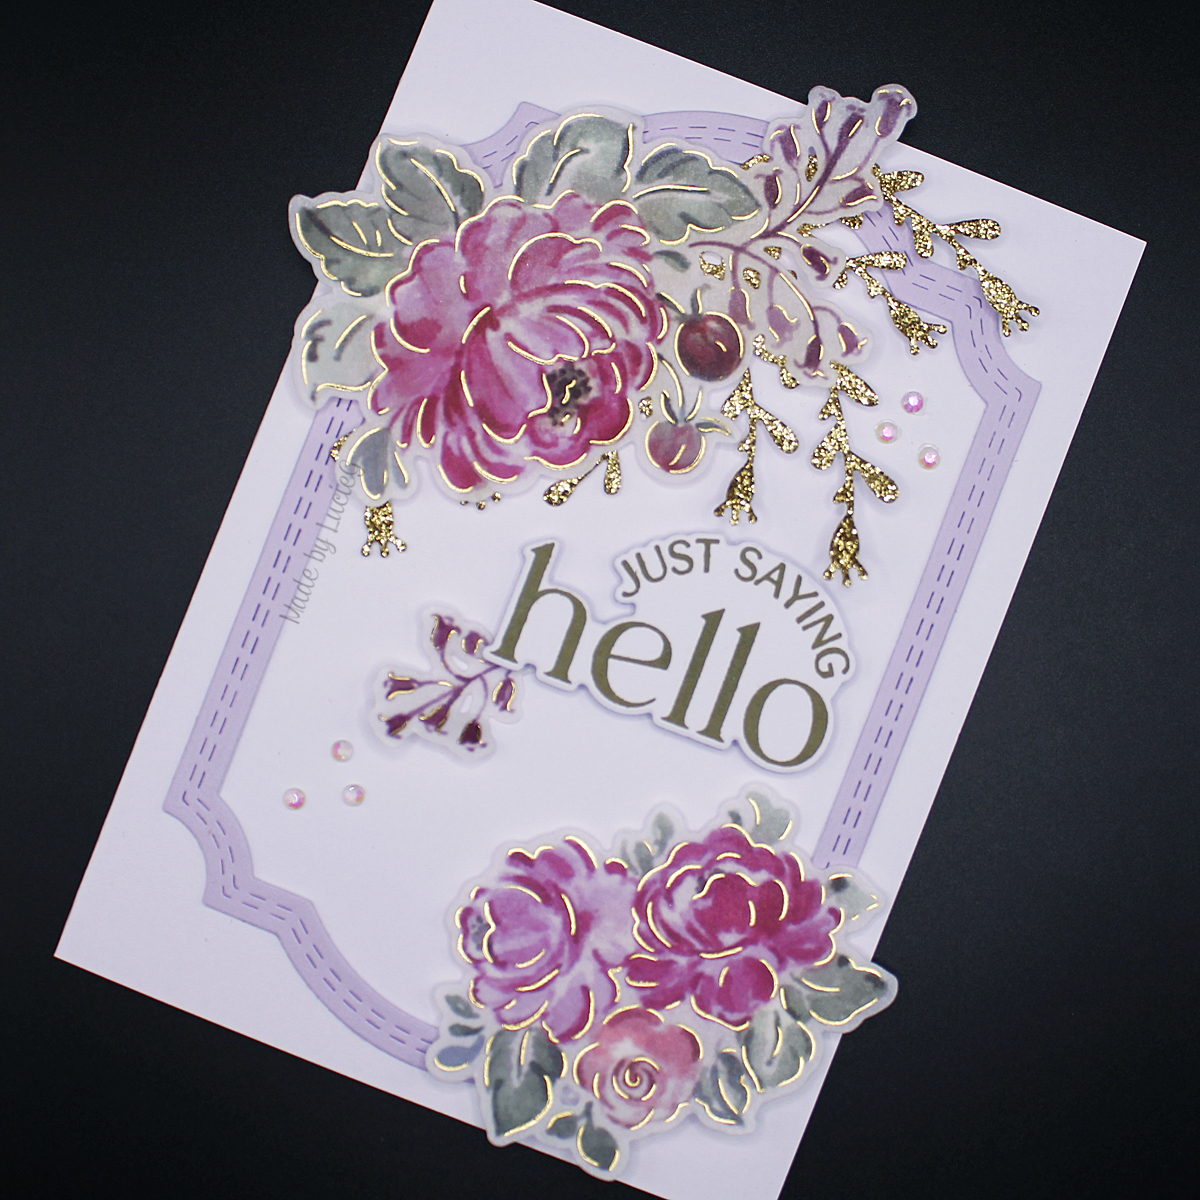
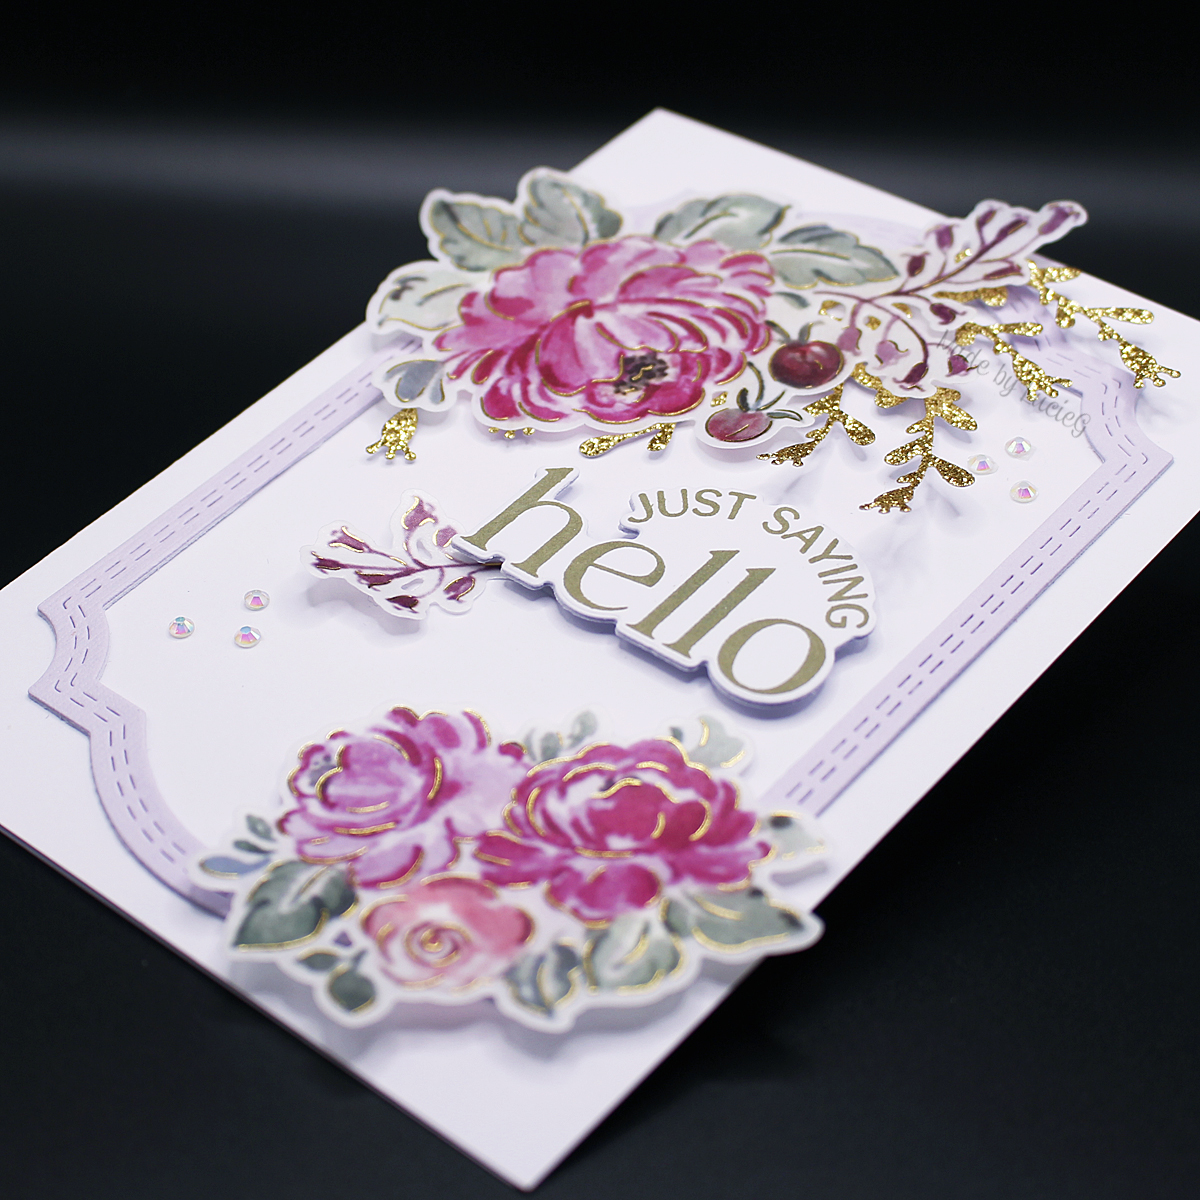
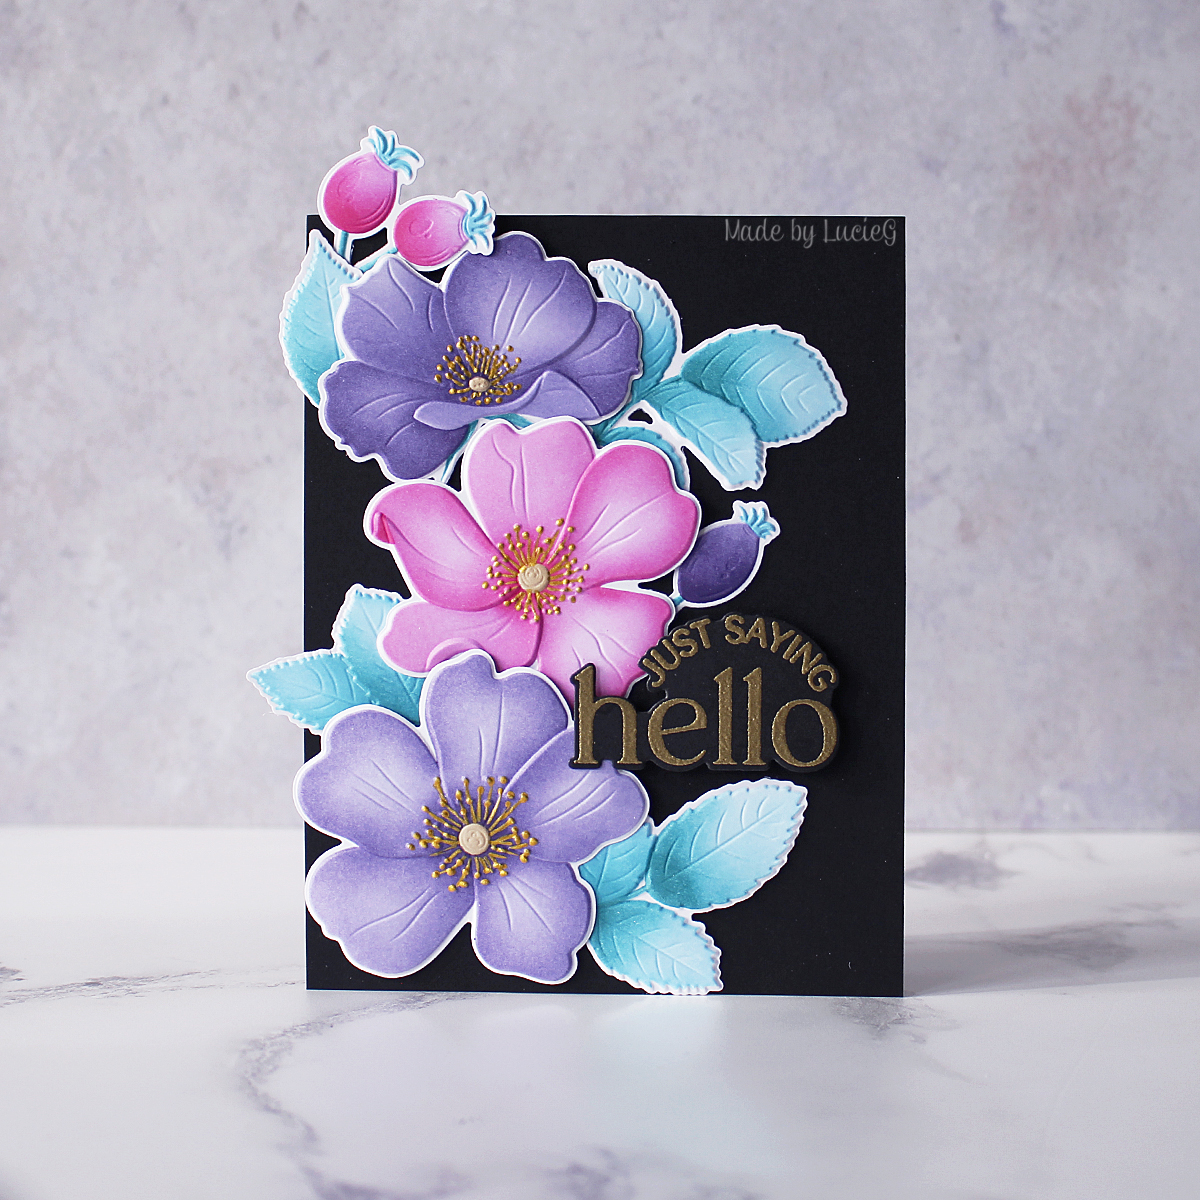
Next up was Bridget Casey for the guest company, Altenew. It’s been a long while since I bought Altenew stamps and I loved using the product suite they provided, which included an embossing folder. I ‘went rogue’ with my first card! The inspiration was delicate peach/pastel tones, with these amazing gold gel pen centres. I thought they would really stand out if I used vibrant colours and a black background! For the second card, I learnt a new-to-me technique to trap ink colour on vellum using adhesive sheets – I’ve already tried it out on another card.
Class Three – Pretty Blooms product suite


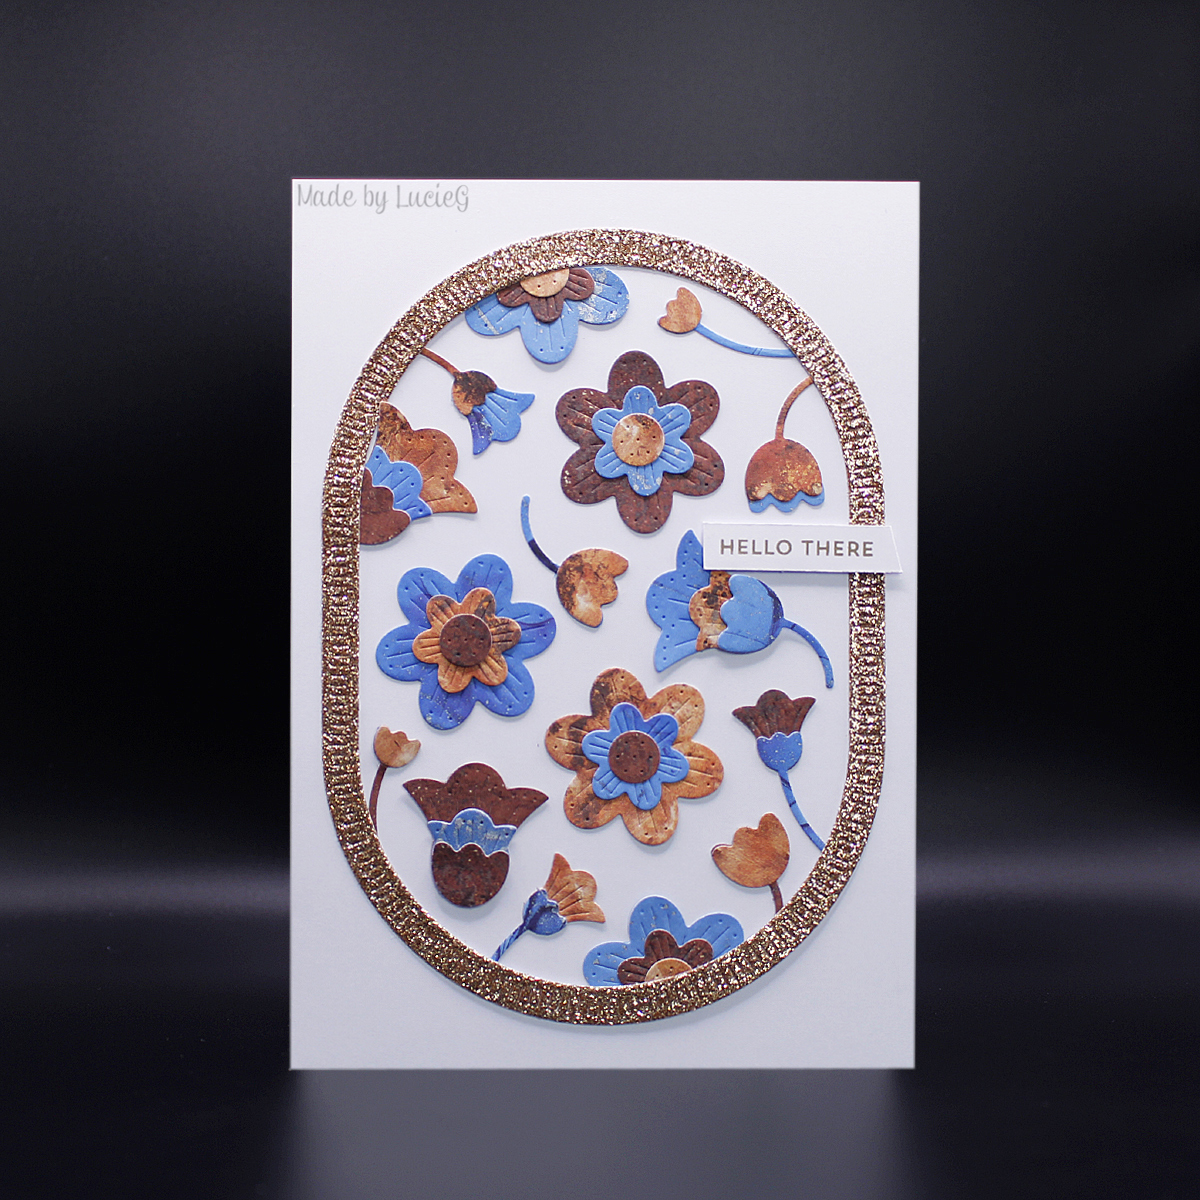
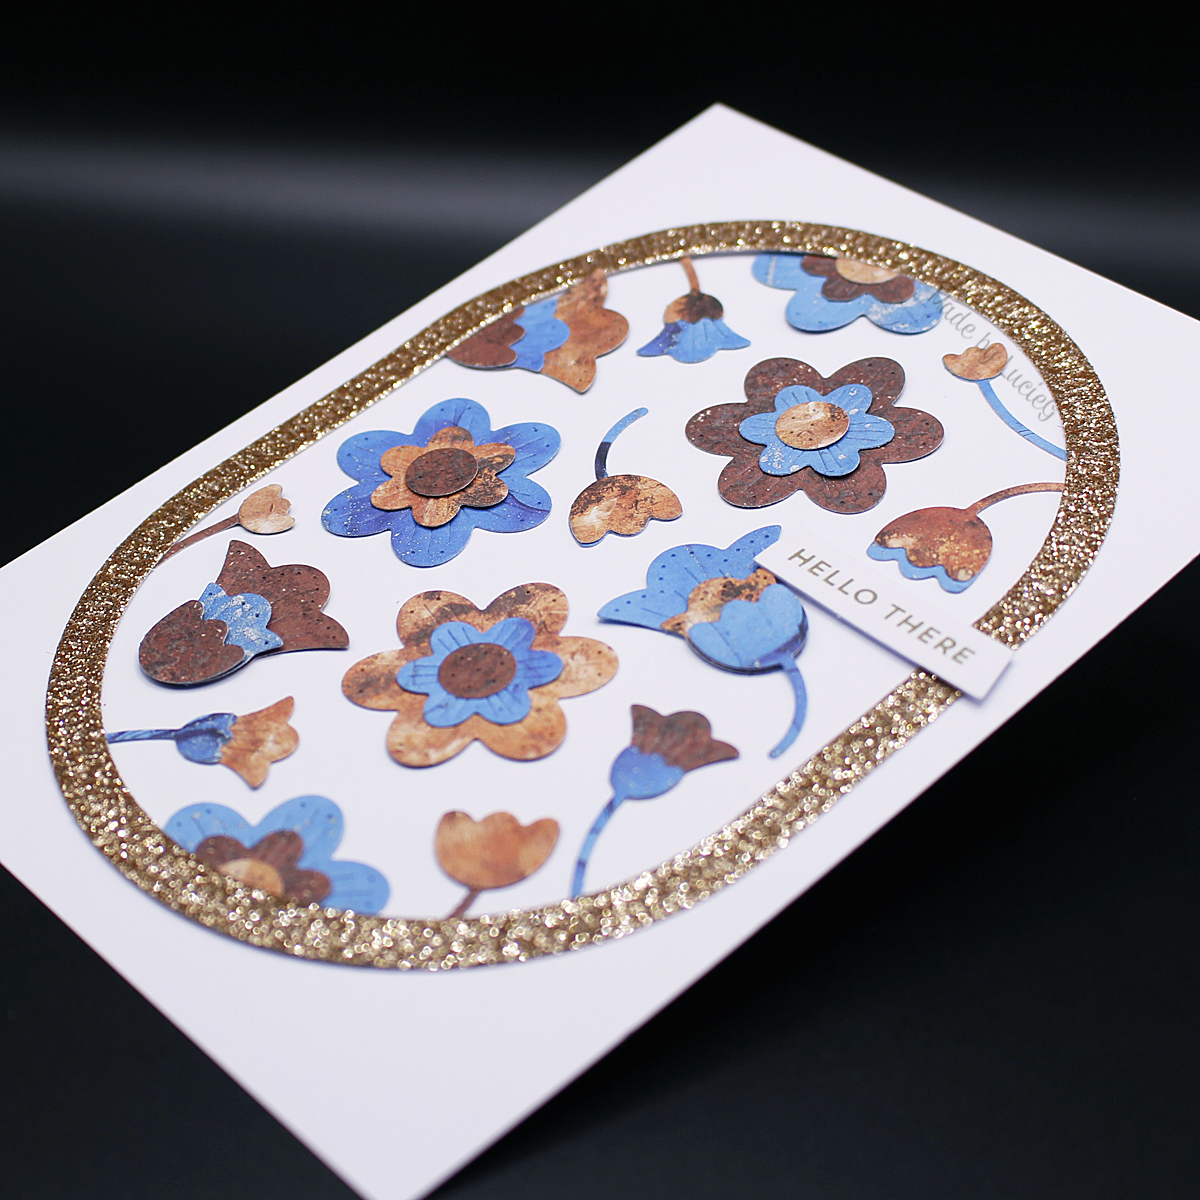
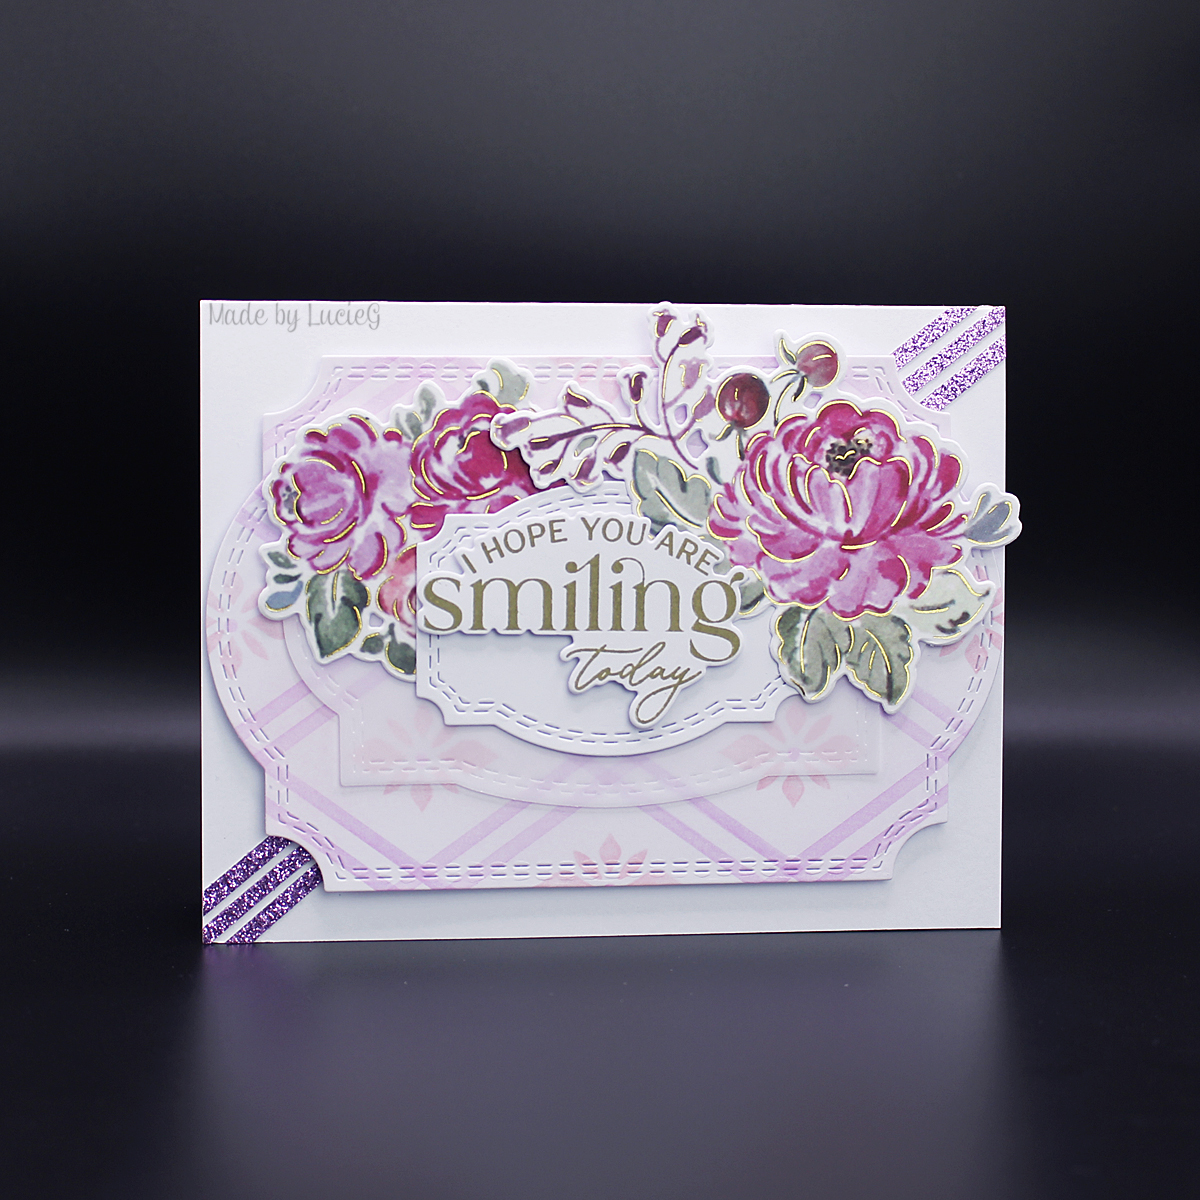
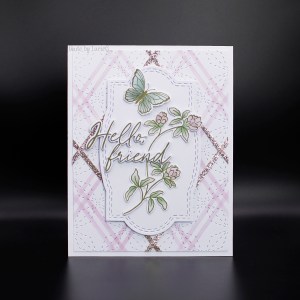
The theme of the final class of the day was ‘hello’ and Heather Hoffman used a fabulous floral product suite that included washi tape! I love these products as I have the ‘quick and easy’ route with washi or I can really put my own spin on it with the stamp and stencil combo.
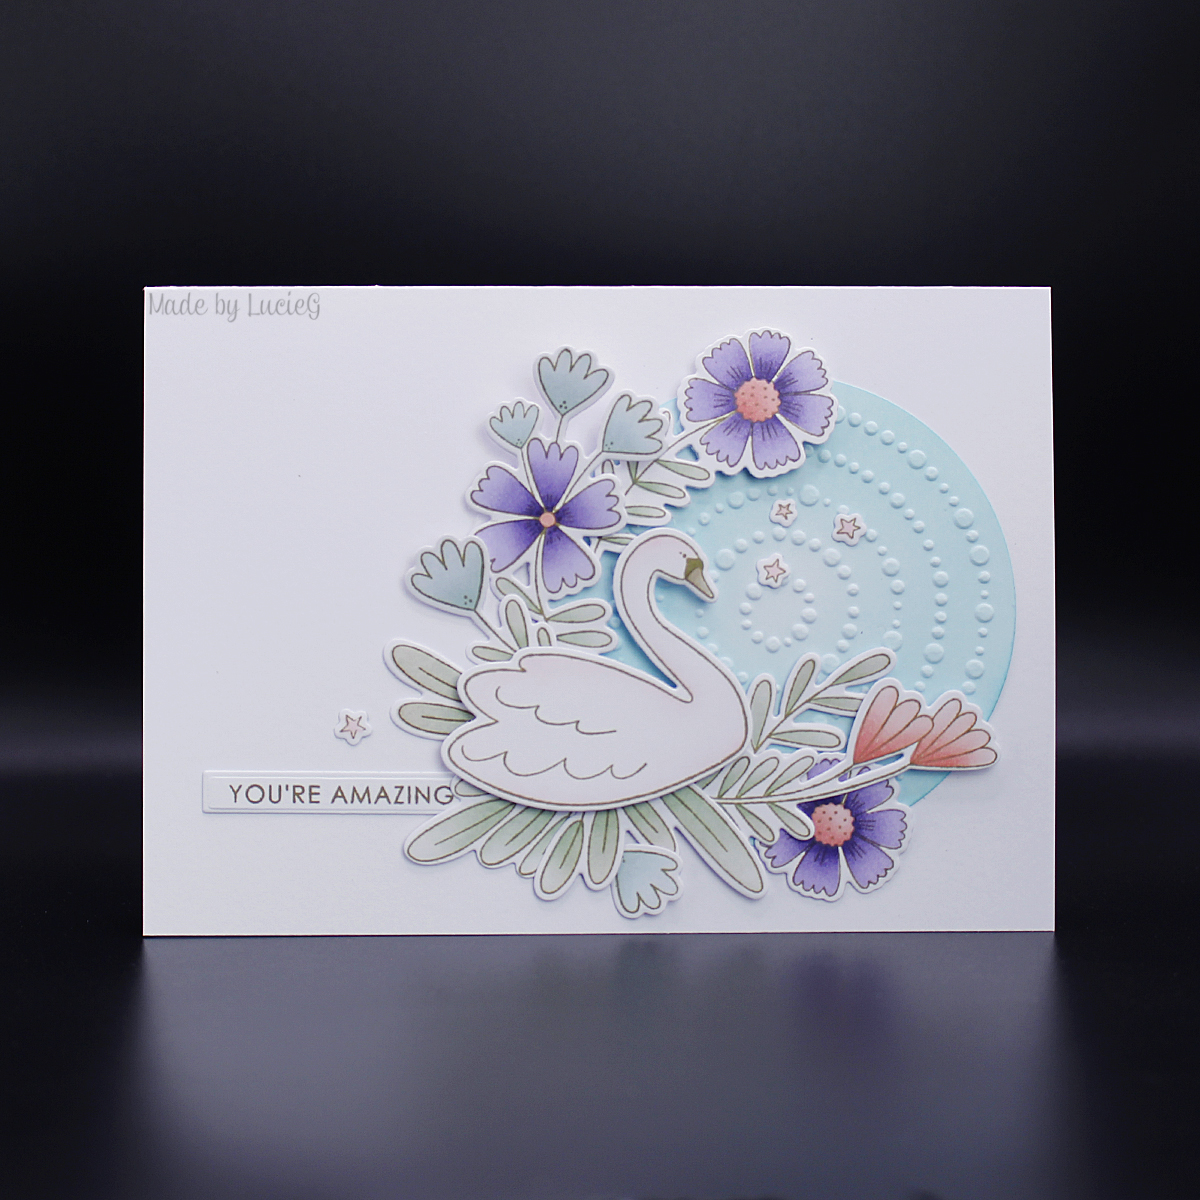
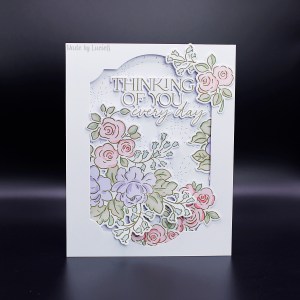
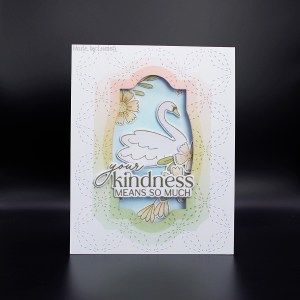
Class Four – Majestic Swan product suite
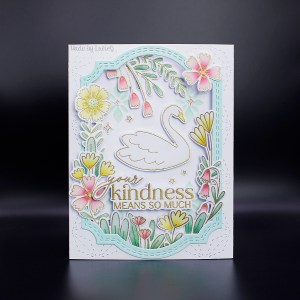

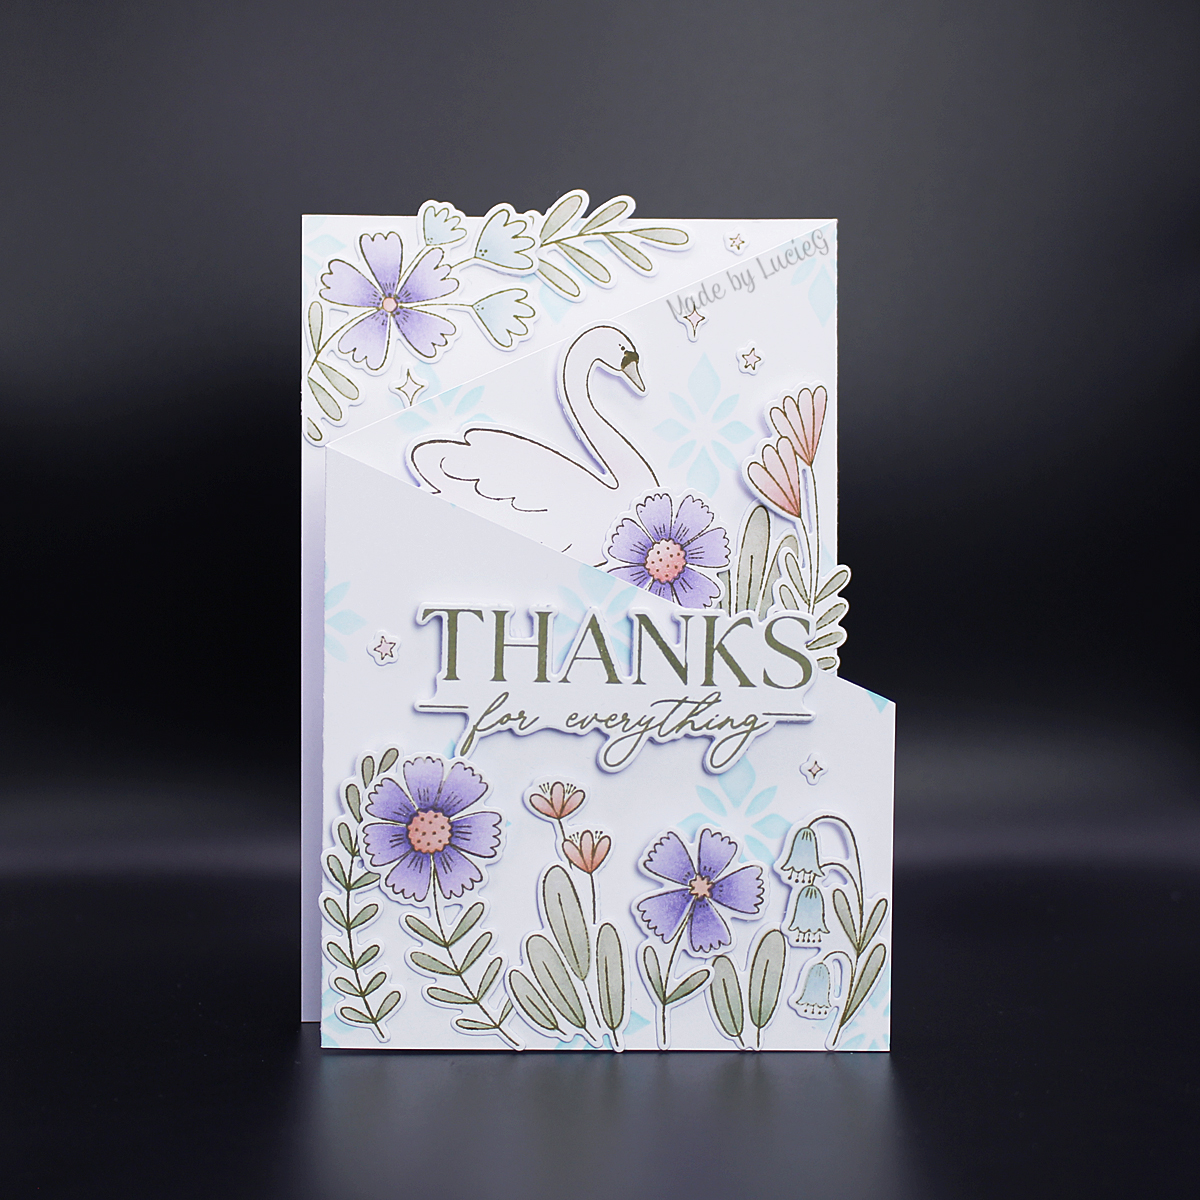
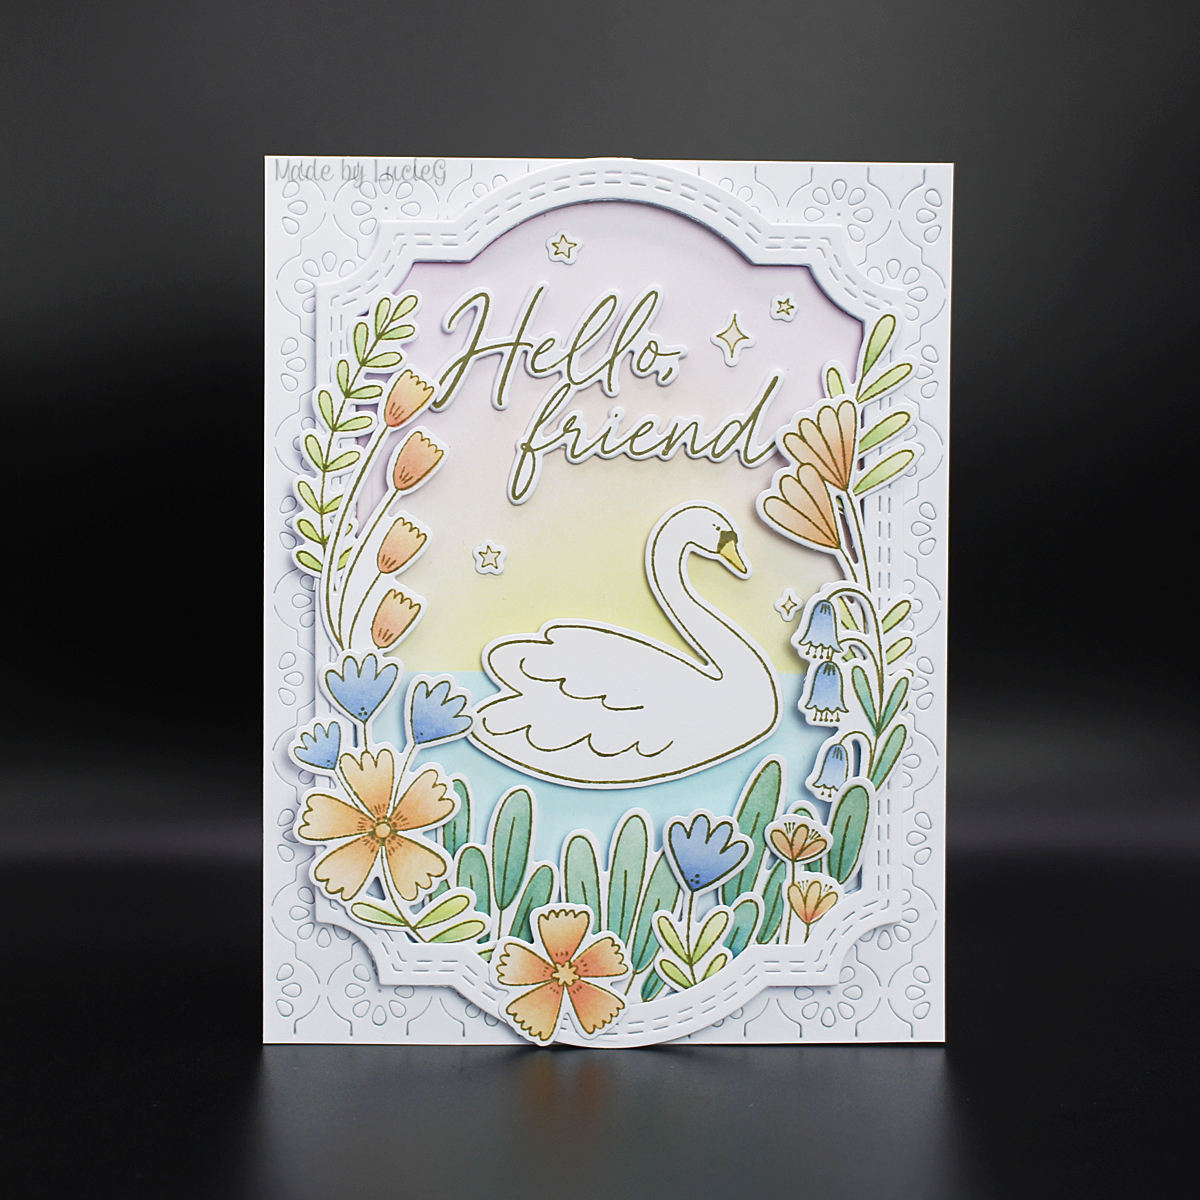
First up on Day 2 was one of my favourite cardmakers, Raquel Arribas. We used my favourite product suite from the event, called Majestic Swan. So versatile and easy to use! I’ve already used it on other cards. I did another Make and Take with this set using Isha Gupta’s press plate/foil card as inspiration. Isha also designed this product suite.
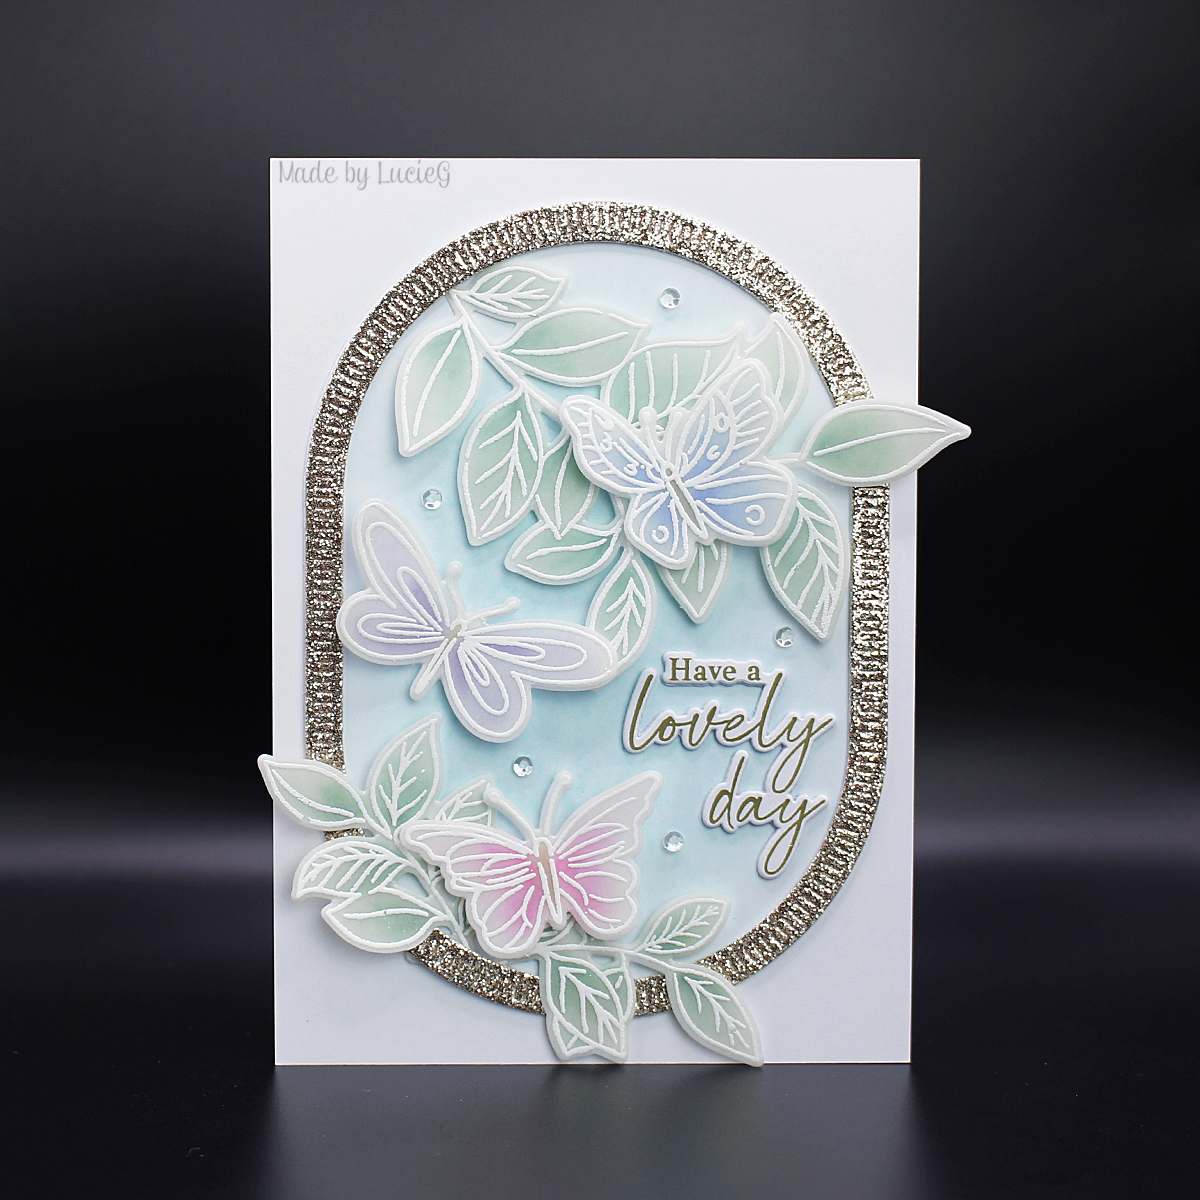
Class Five – Butterflies in a Cloche product suite
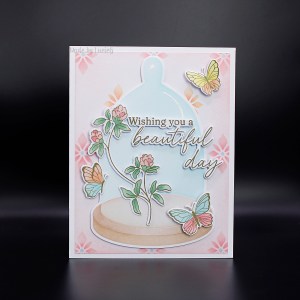
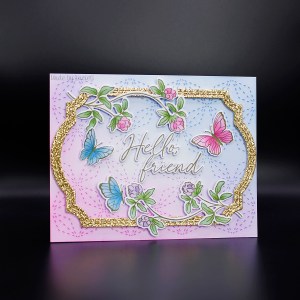
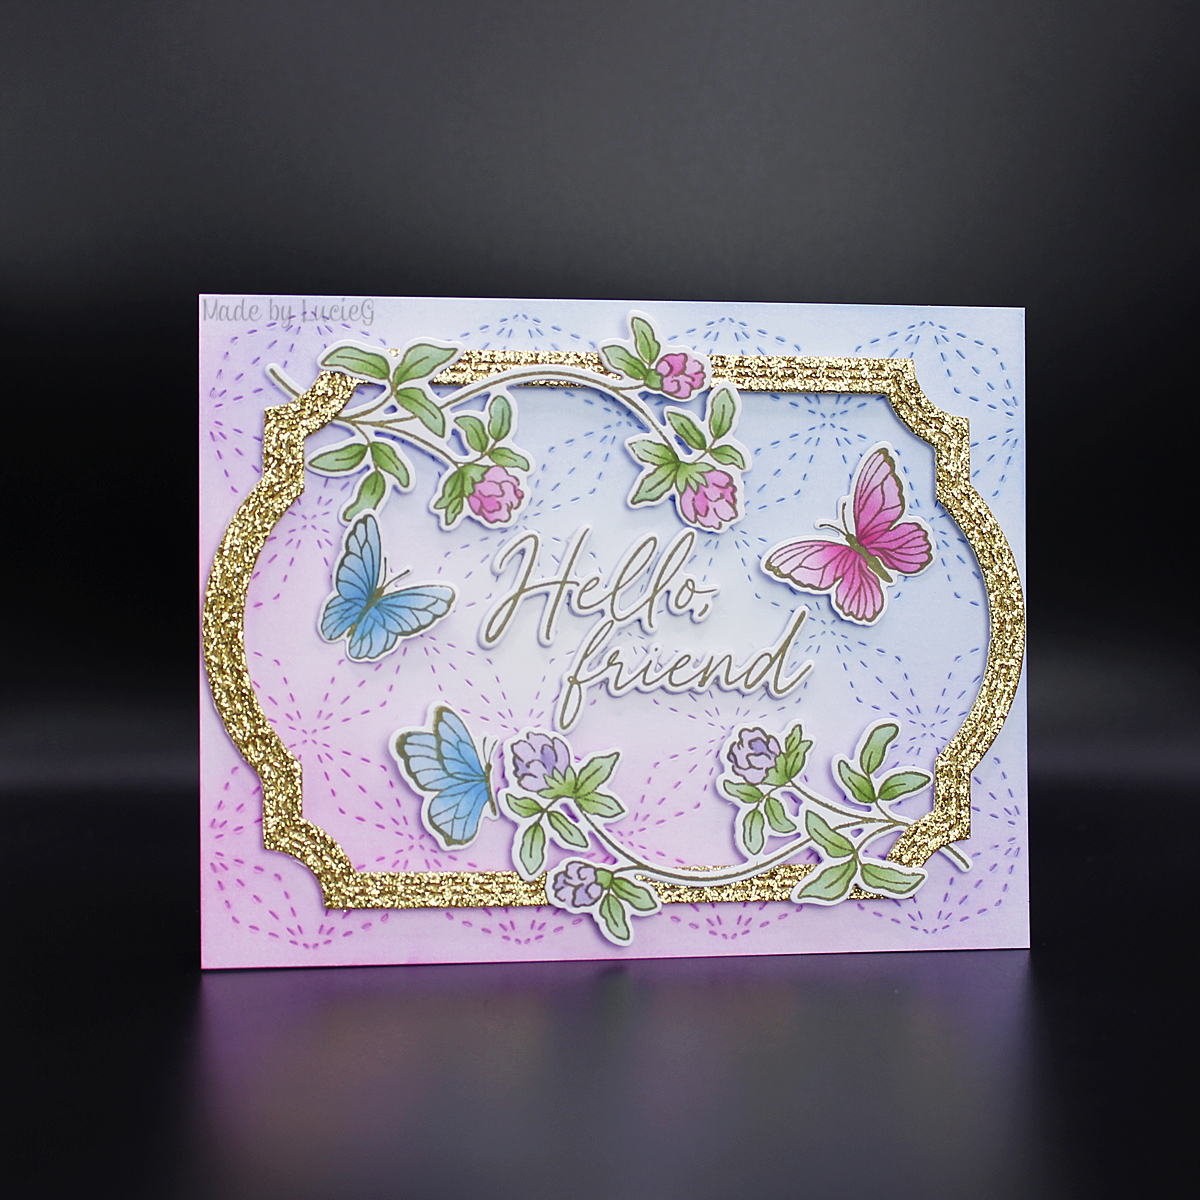
Lea Lawson was up next with the ‘hello’ theme using the Butterflies in a Cloche set. I love how quickly I could create with this set! Another very versatile set! Once again I used Isha Gupta’s press plate/foil card as inspiration for my Make & Take card.
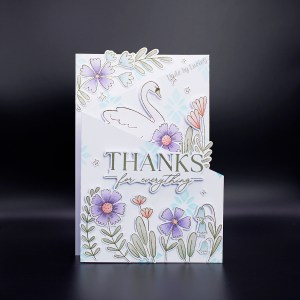
Class Six – Mix It all up!!
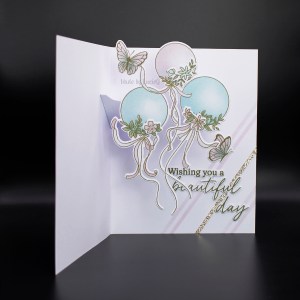
Final class of the day, and always the most involved, was Jennifer Maguire who focusses on ‘stretching’ our kits. I’m not an interactive cardmaker but I could be converted after making the amazing pop up balloon card. The second card was simpler, using that wonderful Majestic Swan product suite.
I’m not sure if I will sign up for the next class which is ‘Cards for Him’ but I will definitely be hitting that ‘buy’ button when registration for the August event opens up!
Thanks for stopping by!
LucieG.

 Today I’m using the Sakura product suite that I picked up from Dies to Die for over Easter. I was fortunate to get the last set as this was released a year ago now – before I really discovered Pinkfresh. I didn’t get the Washi so will have to get that from another store at some point.