Hello everyone!
I’m here today with a new post for the Crafts-U-Love Design Team.
 This month, all DT members were sent the same Julie Hickey Designs set – ‘Garden Treasures’ – isn’t is fabulous? When Caz told me that we would be receiving a JH floral set I was really hoping it would be this set! It is so versatile!
I decided to make a CAS ‘hidden sentiment’ card using just one stamp from this set. This week’s Color Throwdown challenge has a fabulous colour combo (orange, brown, rust and yellow) which I felt would be perfect for an Autumn Thank You card.
I masked off part of the card to create a square to stamp the images, chose a stamp and got to work!
Once I had finished, I die cut a ‘Thank You’ sentiment from the centre of my panel. This is always so nerve-wracking – I hate cutting into an image that I’ve created… but I love the effect of a hidden sentiment so I held my breath and cut!
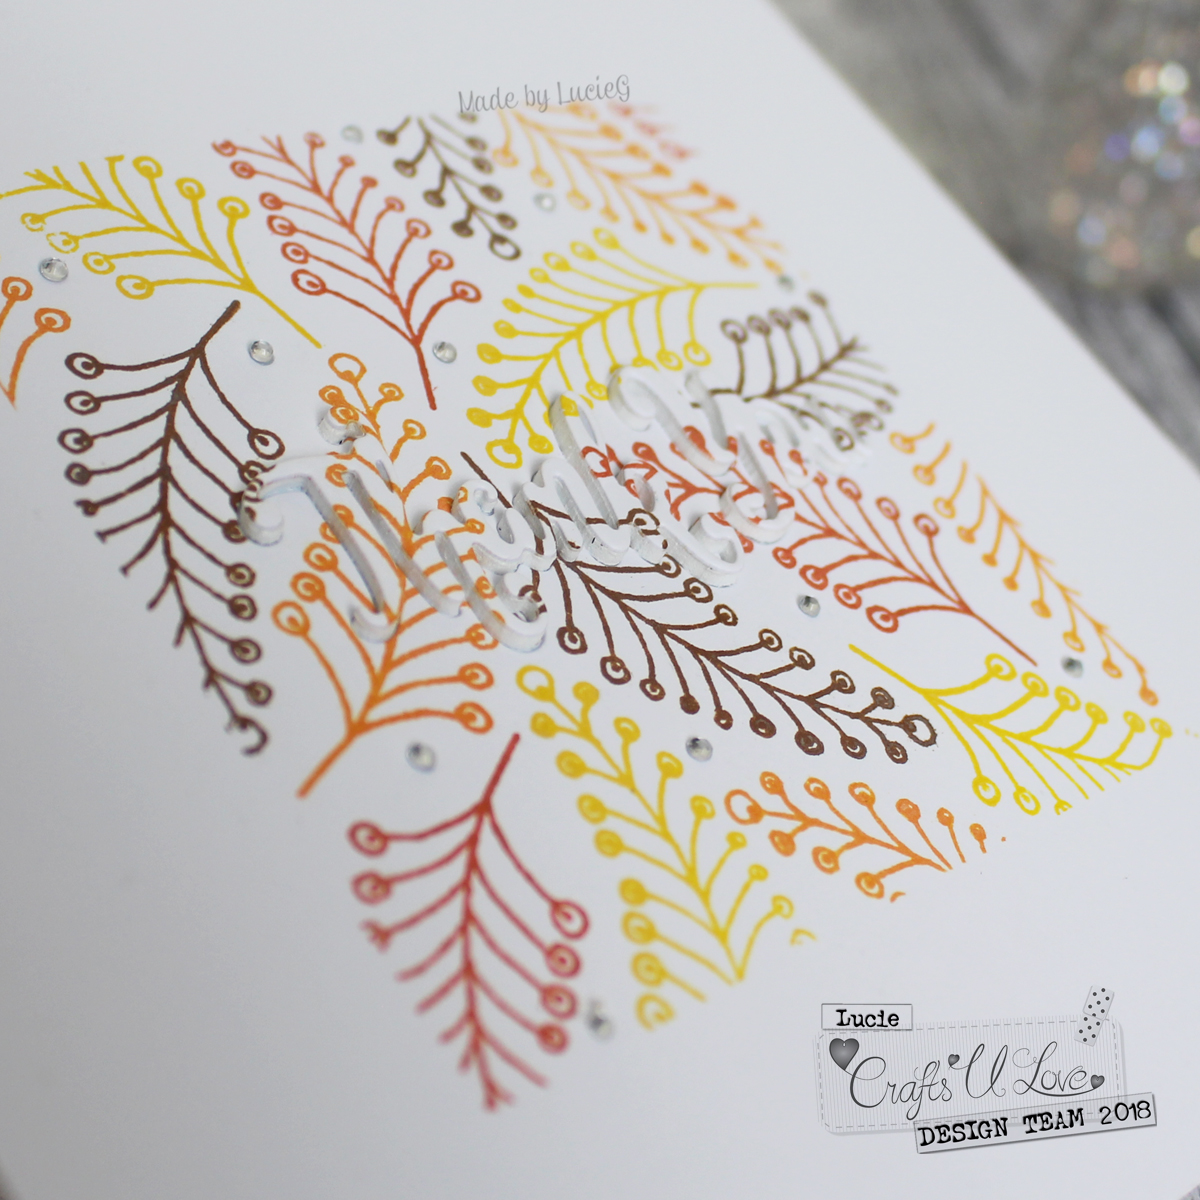 I removed the die cut sentiment and stuck the panel to a card base. I then cut the sentiment from a piece of funky foam and adhered the two die cut sentiments together to create a dimensional sentiment – you could also use a could of layers of card if you don’t have any funky foam. I inserted the sentiment into the space on the base card and voila! A hidden sentiment card!
To finish off my card, I added a few gems – got to have a bit of sparkle of course!
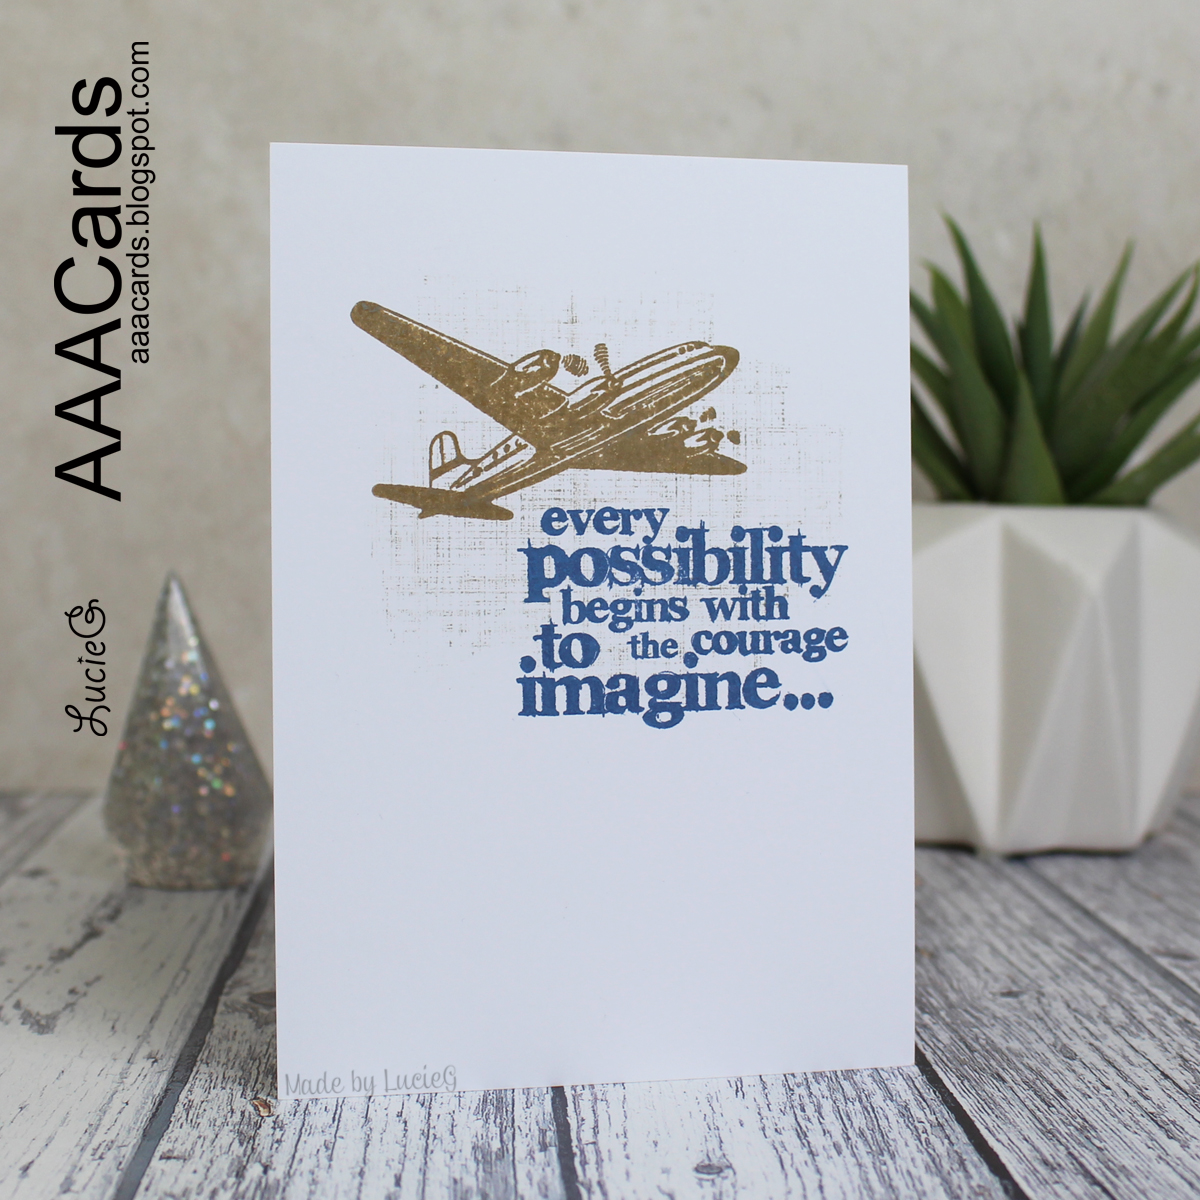
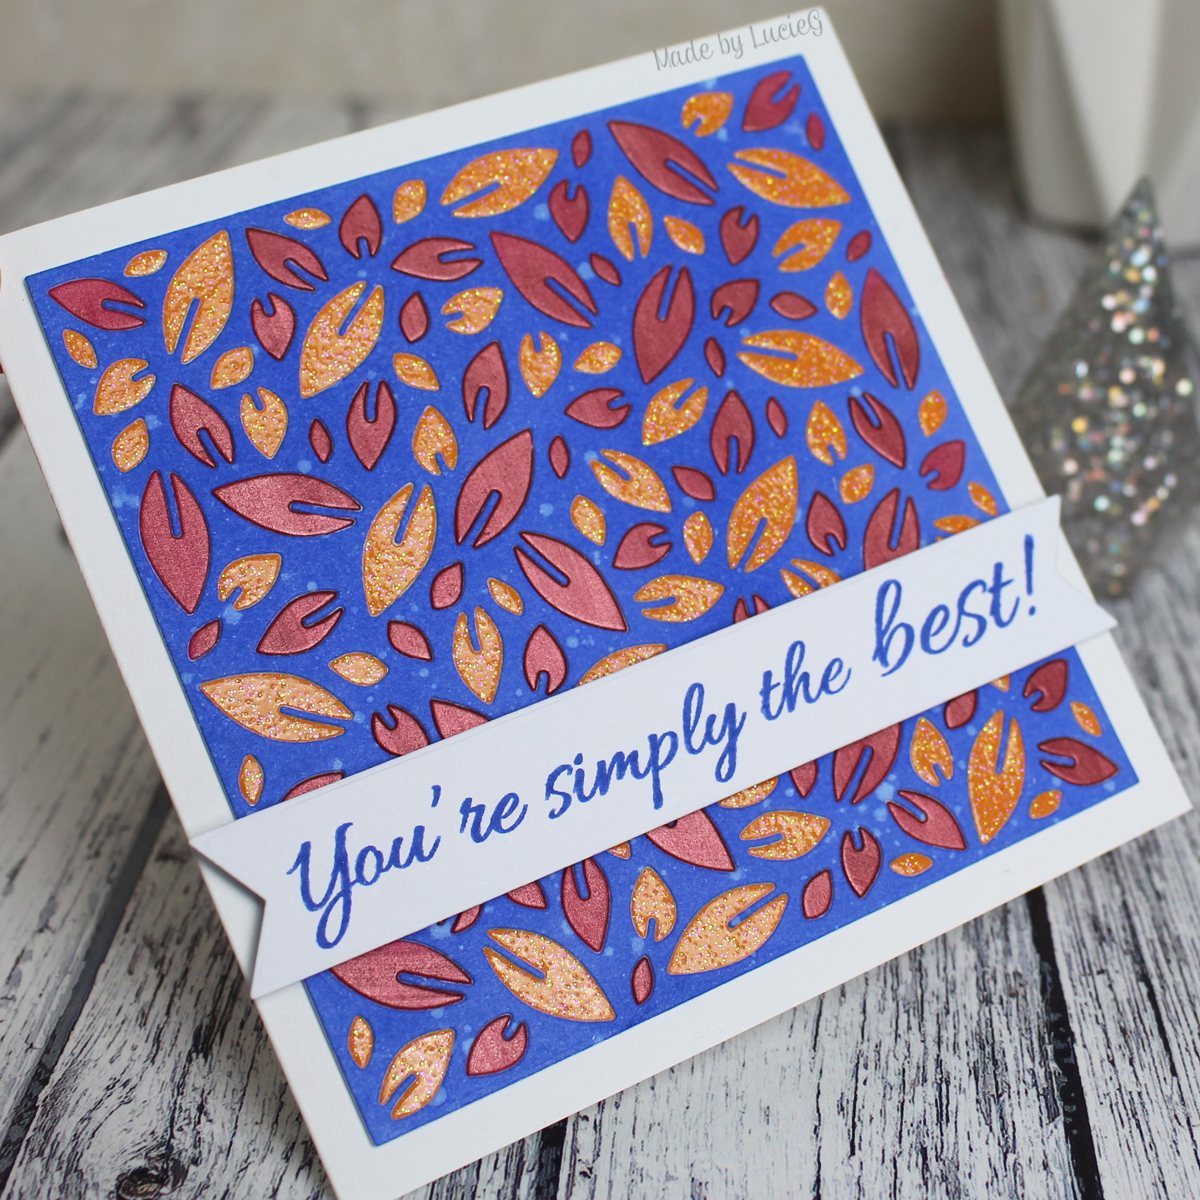
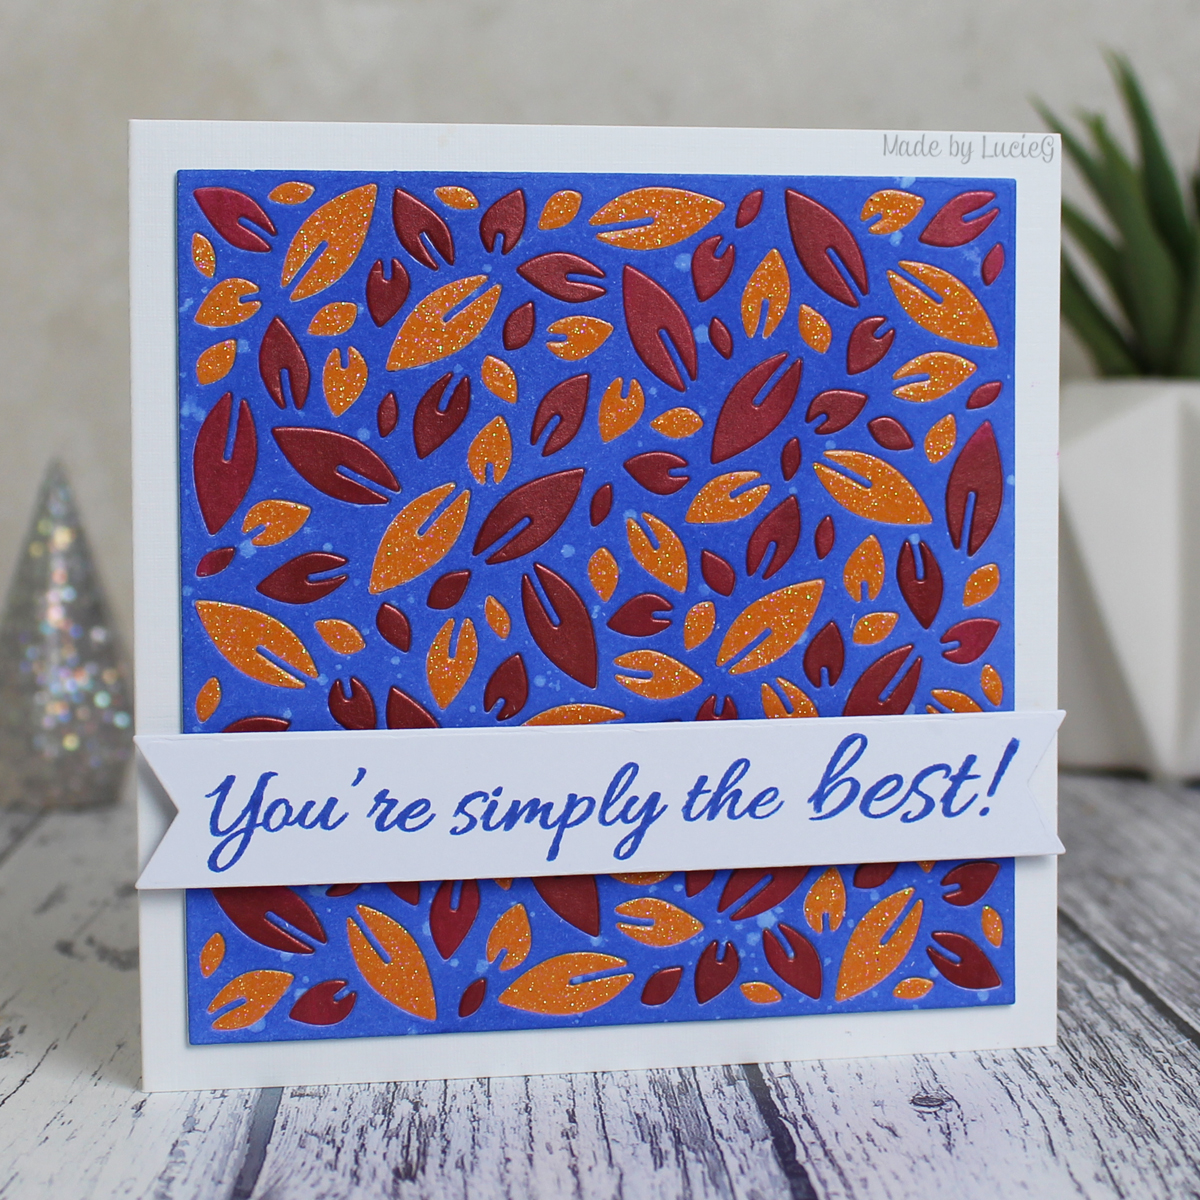
Some other cards I’ve created with this technique –
I’m also entering this card into the current Color Throwdown challenge.
Right! I’m off to see what my teammates have come up with using the same set!
Thanks for stopping by!
LucieG.
Supply List
Here are the links to the products I used on my card. Products marked with an asterisk (*) were kindly sent to me to use.
Julie Hickey Designs – Garden Treasures stamp set*
Creative Expressions – mini thank you die
Brilliance ink – pearlescent rust


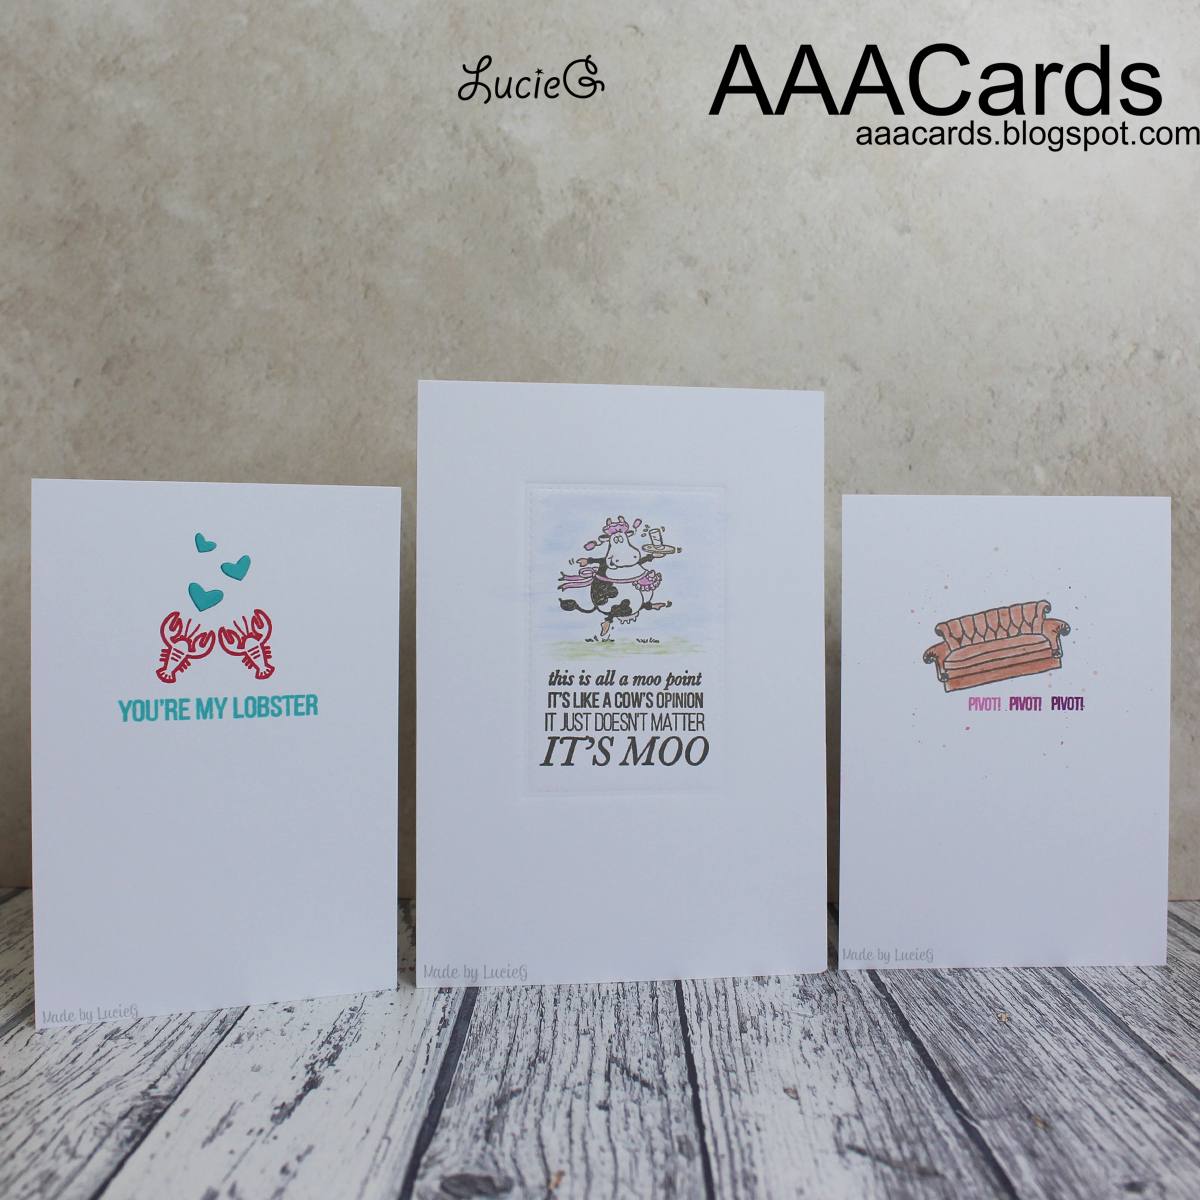

 I started with the ‘moo’ comment by Joey. I knew I wanted to pair it with a cute cow stamp, but you know I discovered I only have a couple of cow stamps! I ended up using a Penny Black stamp from an older ’12 Days of Christmas’ set. I love how versatile that set is – the images can be used all year round!
 I decided to use the ‘lobster’ quote for my second card. I always remember Pheobe explaining that lobsters mate for life…. and when she gleefully exclaims at the end of the episodes ‘he’s her lobster!’ as Ross and Rachel kiss. I’d completely forgotten that Ross does actually say ‘you’re my lobster’ to Rachel earlier in the episode in a typical Ross manner!
 My final card uses a line from one of my favourite scenes from the entire series – when Ross, Rachel and Chandler are trying to move Ross’s new sofa into his apartment. So funny! It makes me giggle even just thinking about it! Anyway, if you know the scene, you know Ross’s sofa was white, but I decided to use the sofa in Central Perk as my colour inspiration!