Hi everyone!
This past weekend, I took part in my first Pinkfresh Studio Create and Connect event. I signed up for this event back in March after much dithering as it’s a lot of money, especially with the taxes and shipping for those of us outside the US! Plus we didn’t get to see what we were buying (that is changing for 2025).
When my kit arrived in July, I knew I had made the right decision! Inside my box was a fabulous collection of stamps, dies, stencils and washi tape, all carefully kitted into separate bags for each of our classes. I immediately signed up for the next event which is in October with Simon Says Stamp as the guest manufacturer.
So on to the cards!

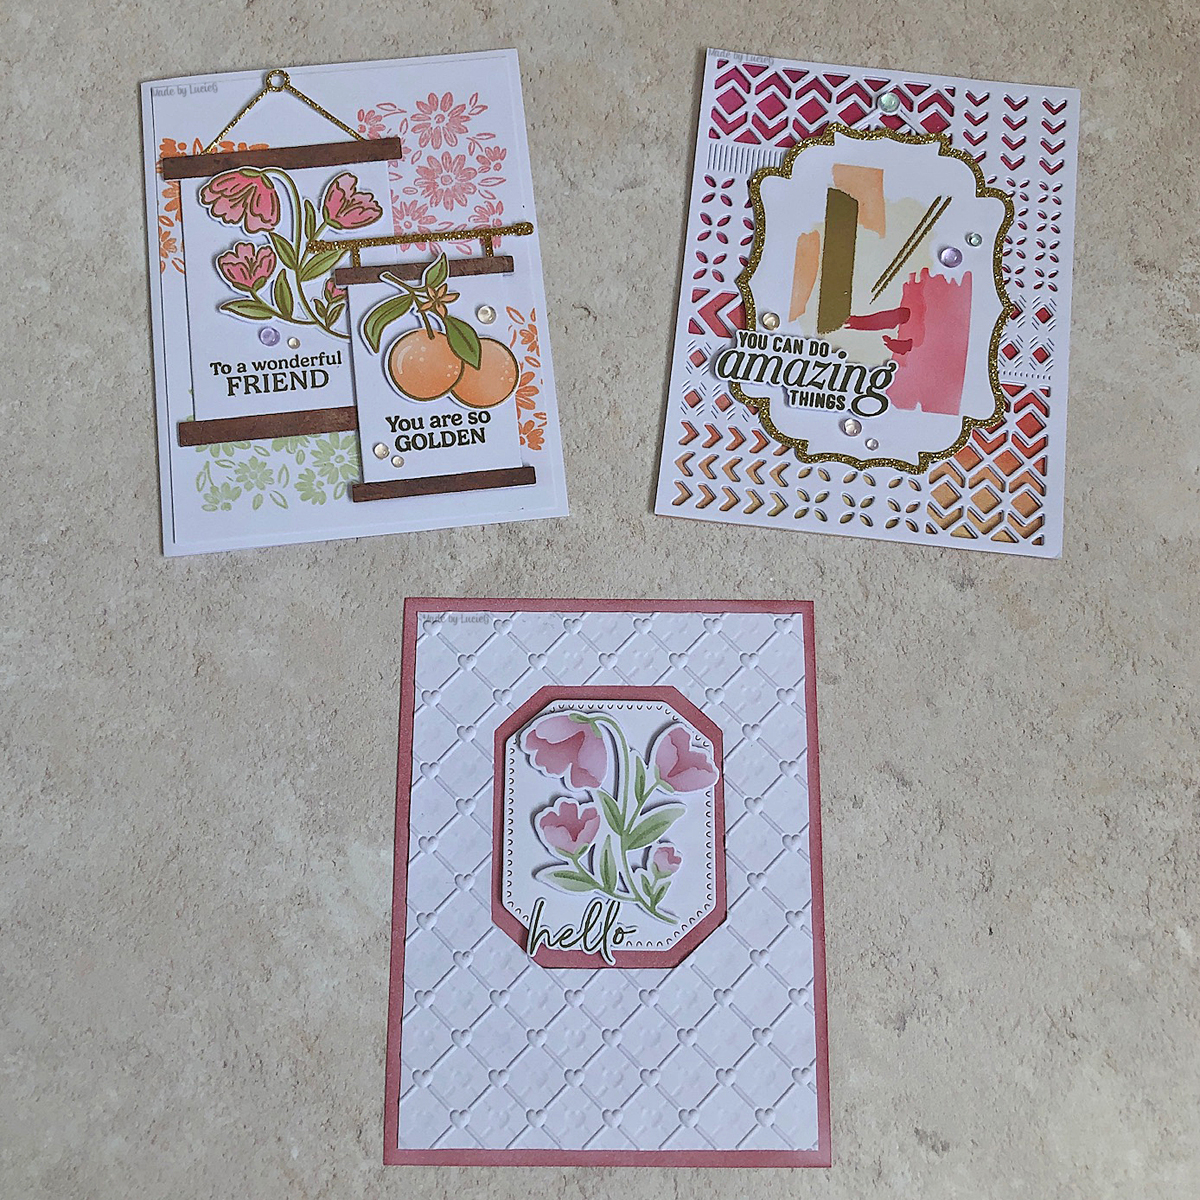
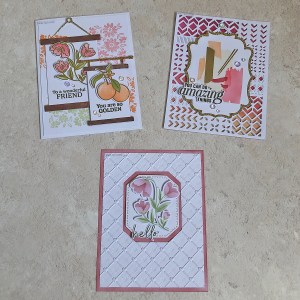
Class 1 with Kim Kesti of Spellbinders which was the guest manufacturer. Some cardstock was also included in their kit, but I chose to switch up some colours so they were closer to my preferred colour combos. The third card was a Make & Take by Heather Hoffman which I made with pearlescent card.
 I was really looking forward to Class 2 with Dawn Woleslagle. She did a watercolour class at Simon Says Create 2018 which was amazing and I was really looking forward to trying the Washi tape. I’ve had my eye on some PFS Washi tape/dies for a while but this was a great way to see whether I liked working with it! And I do! So I immediately ordered the tape and dies but I’m hoping that the stamps and stencils come back into a UK store as I really enjoy choosing my own colours to create with. I also did Kristina Werner’s Make & Take cards – I loved that they were narrower cards as I have a lot of card bases that are narrow like that… although I did cheat and used Craft Consortium paper rather than the ink pad dragging technique demonstrated by Kristina.
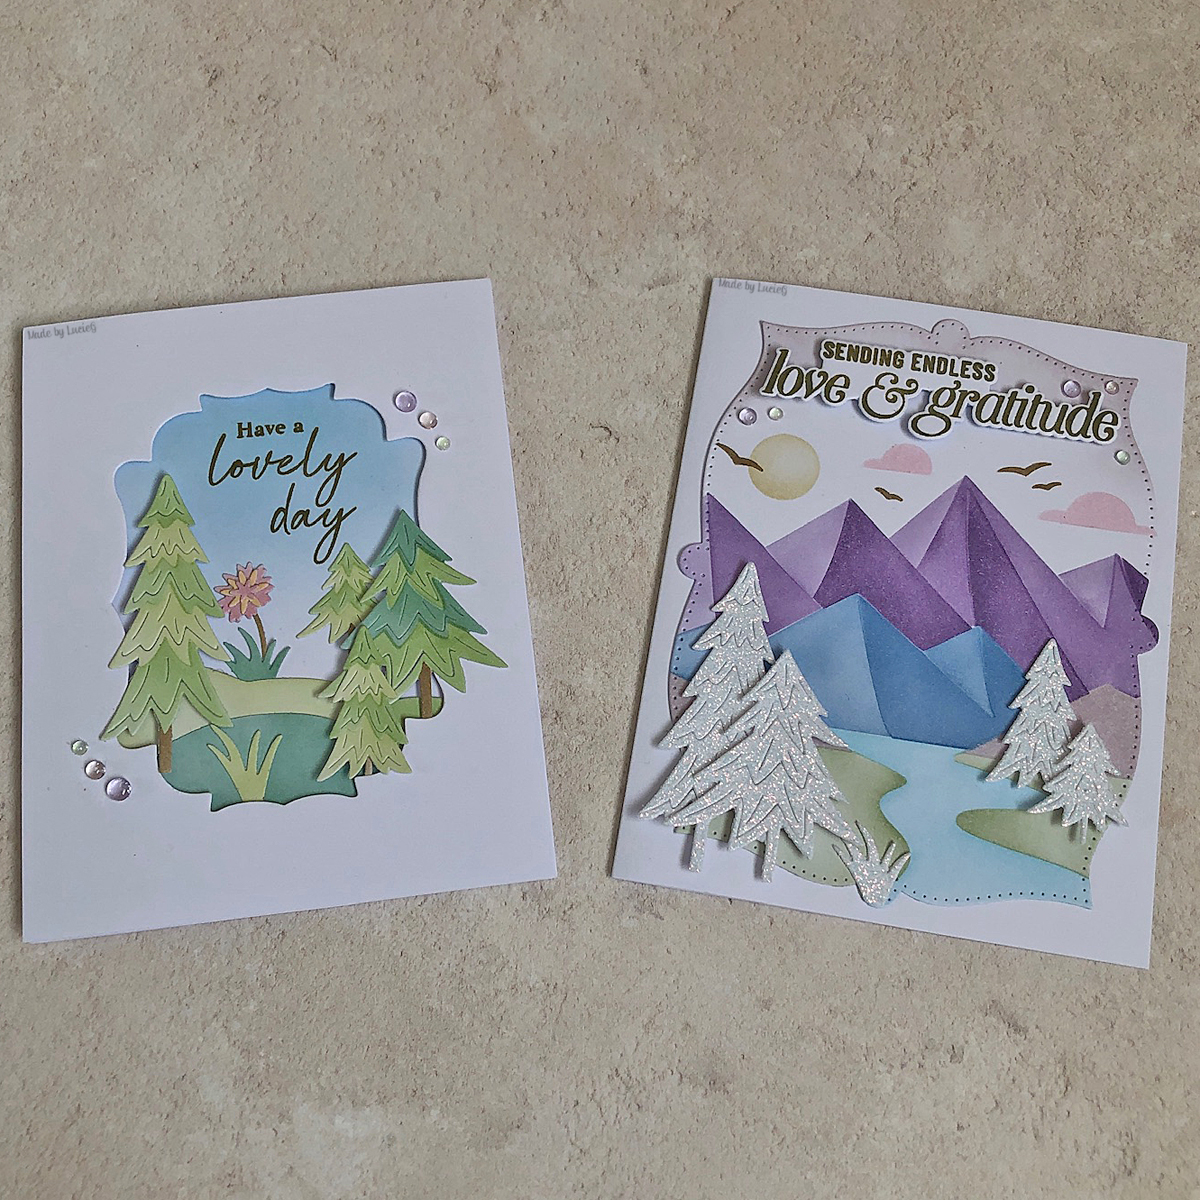
 Class 3 was the last one on Day 1 and it finished at midnight so it was a late night! Heather Hoffman created two fun cards with dies and stencils. I switched up the colours again and although I wasn’t sure about the stencilled mountains, that card keeps catching my eye!
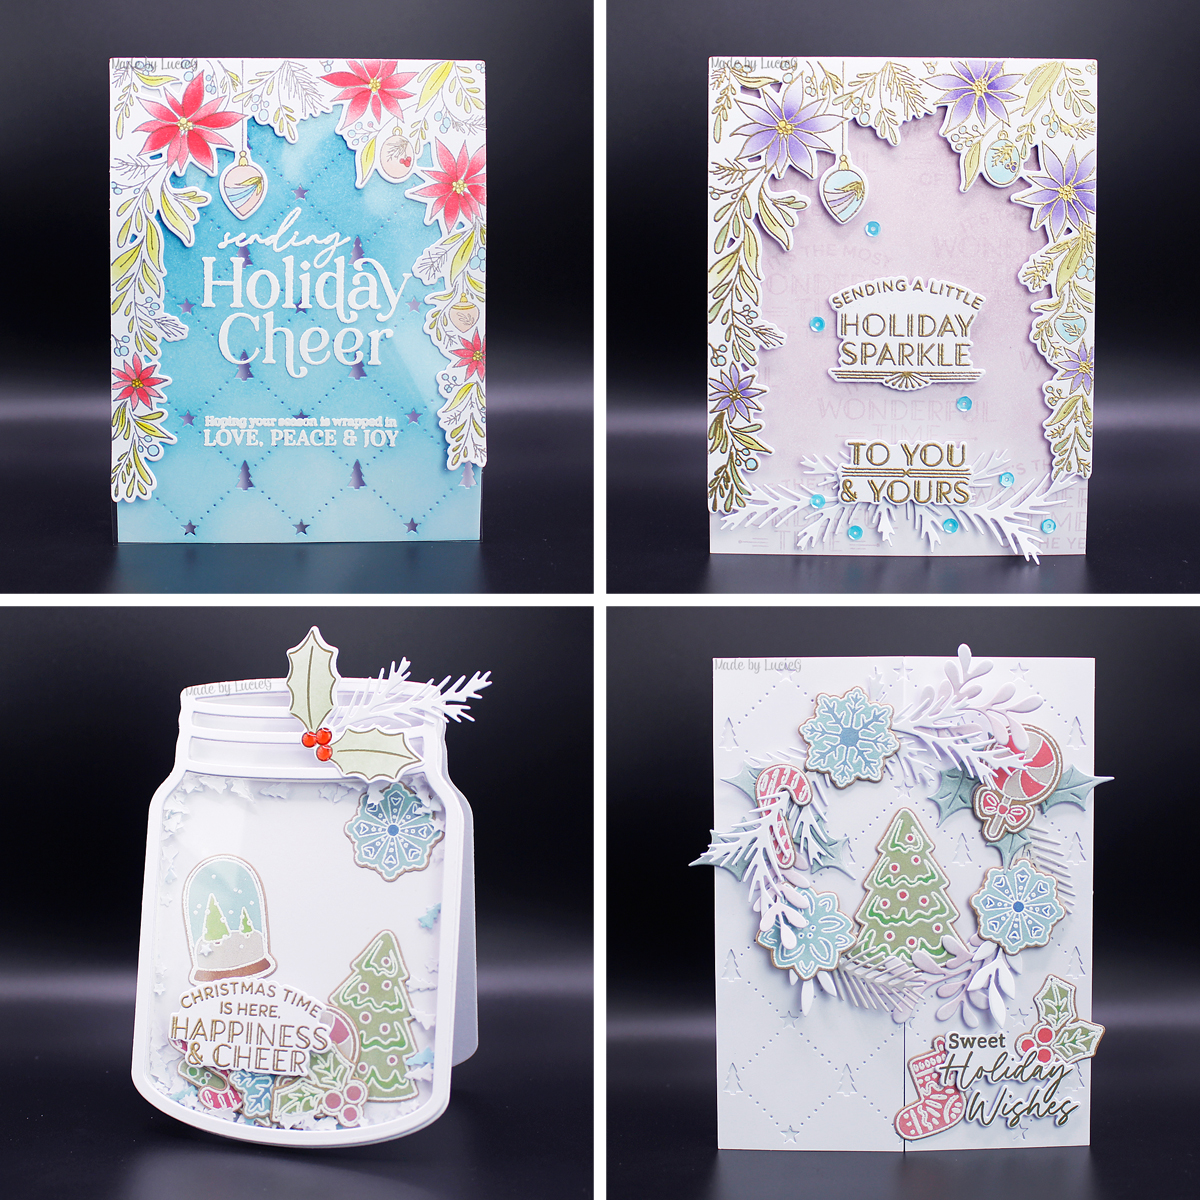
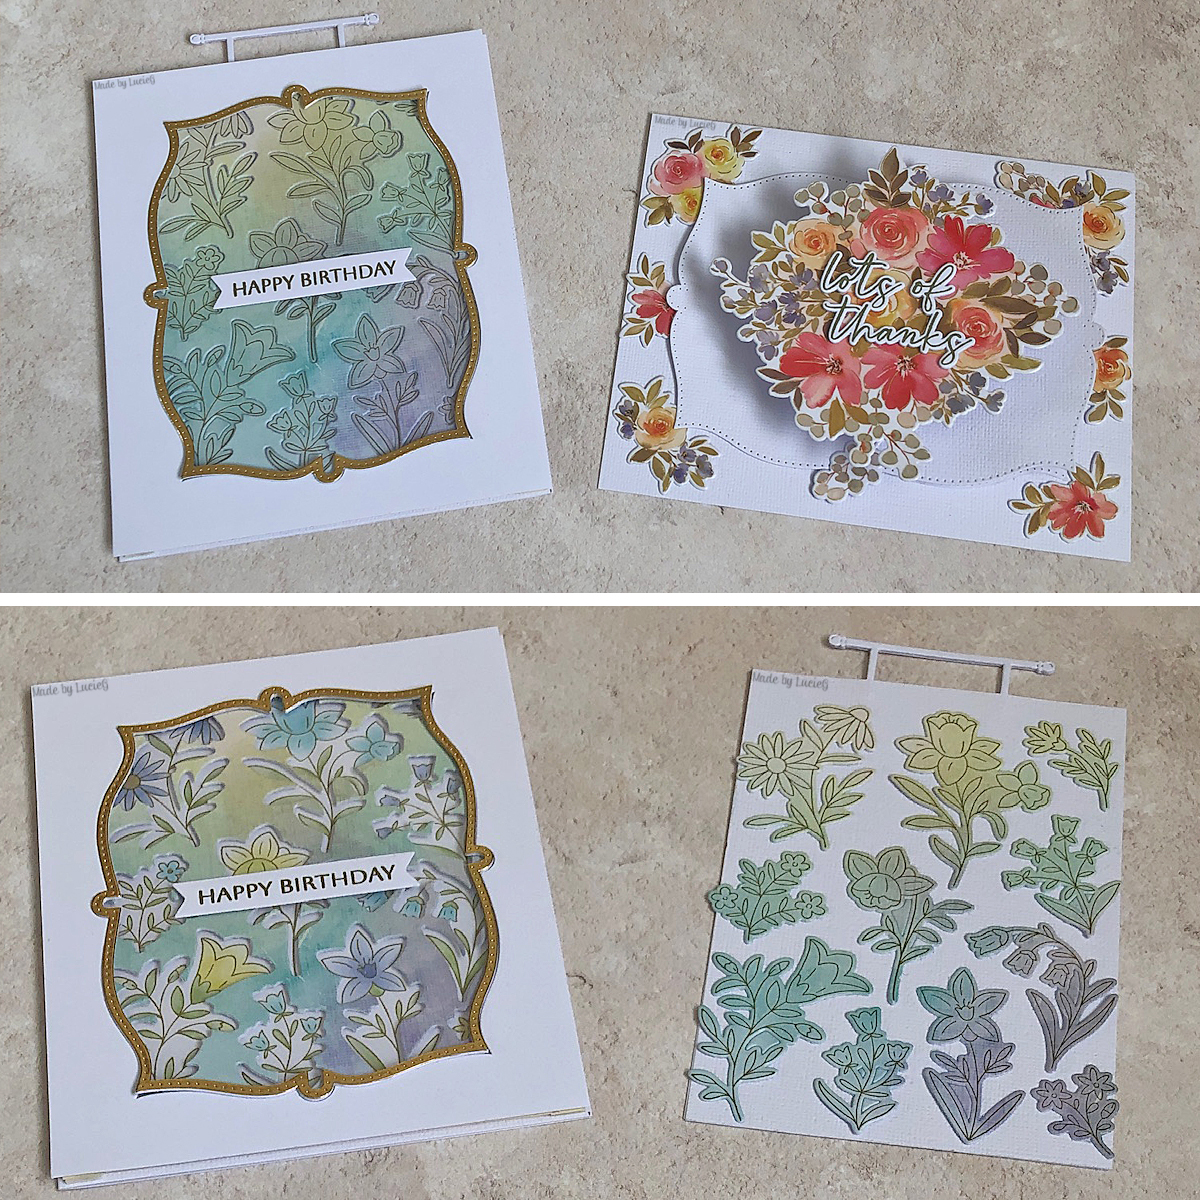
 Day 2 started at 3pm my time with Class 4 led by Lea Lawson. I don’t recall embossing through stencils before but I was pleasantly surprised at how it turned out. I also cheated here and used Craft Consortium paper instead of an ink blended background behind that fun background die. I did Jennifer Maguire’s Make & Take with the flower image from the set – she also used Spellbinders products with an amazing double embossing technique!
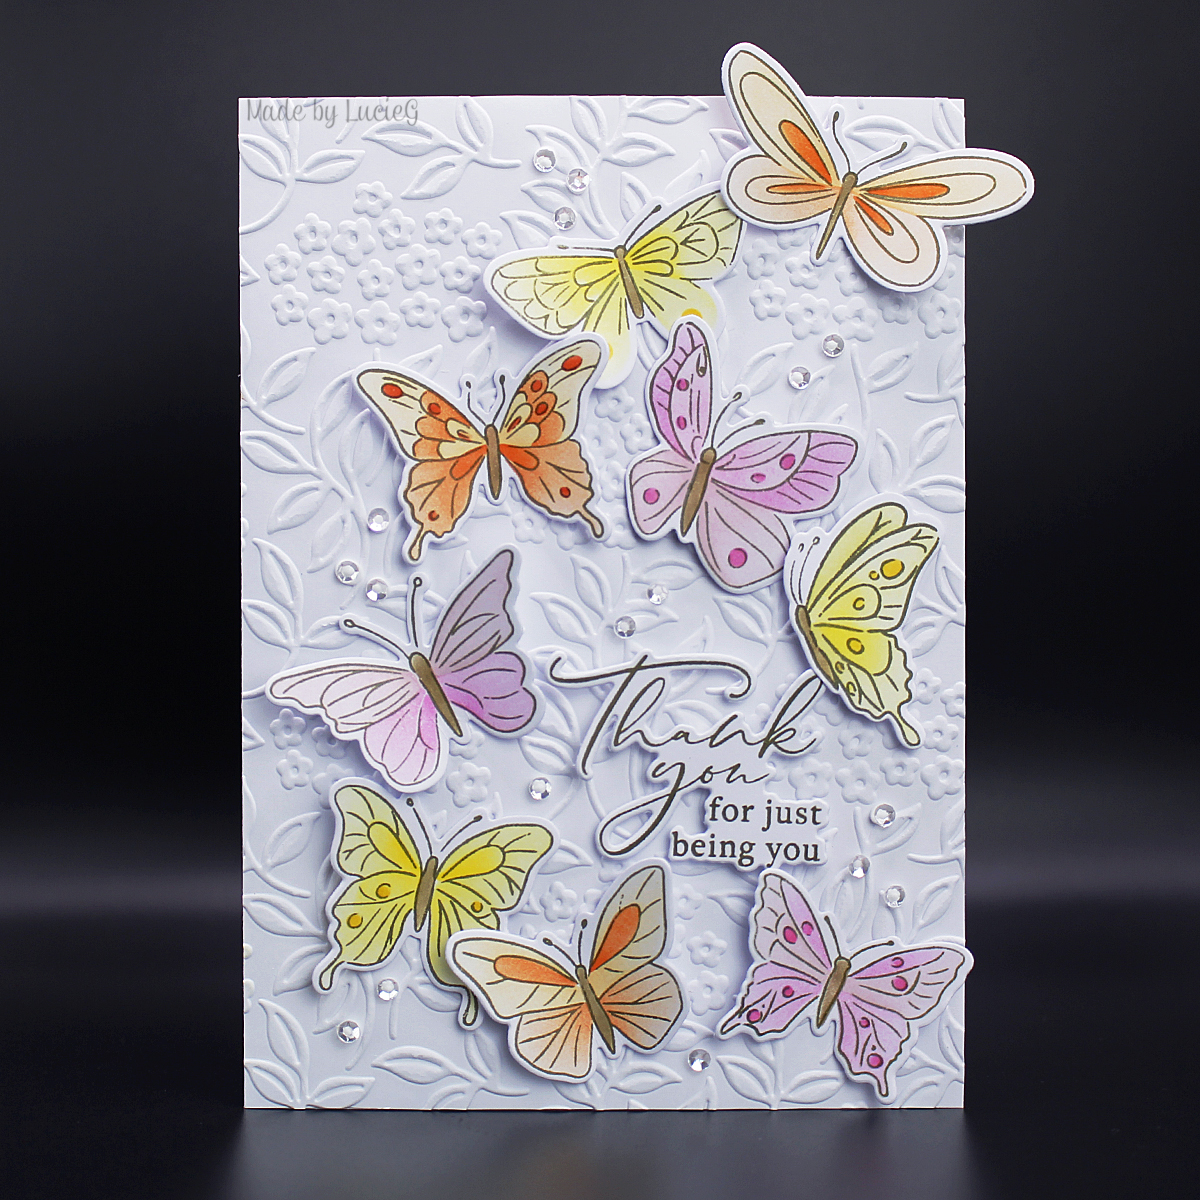
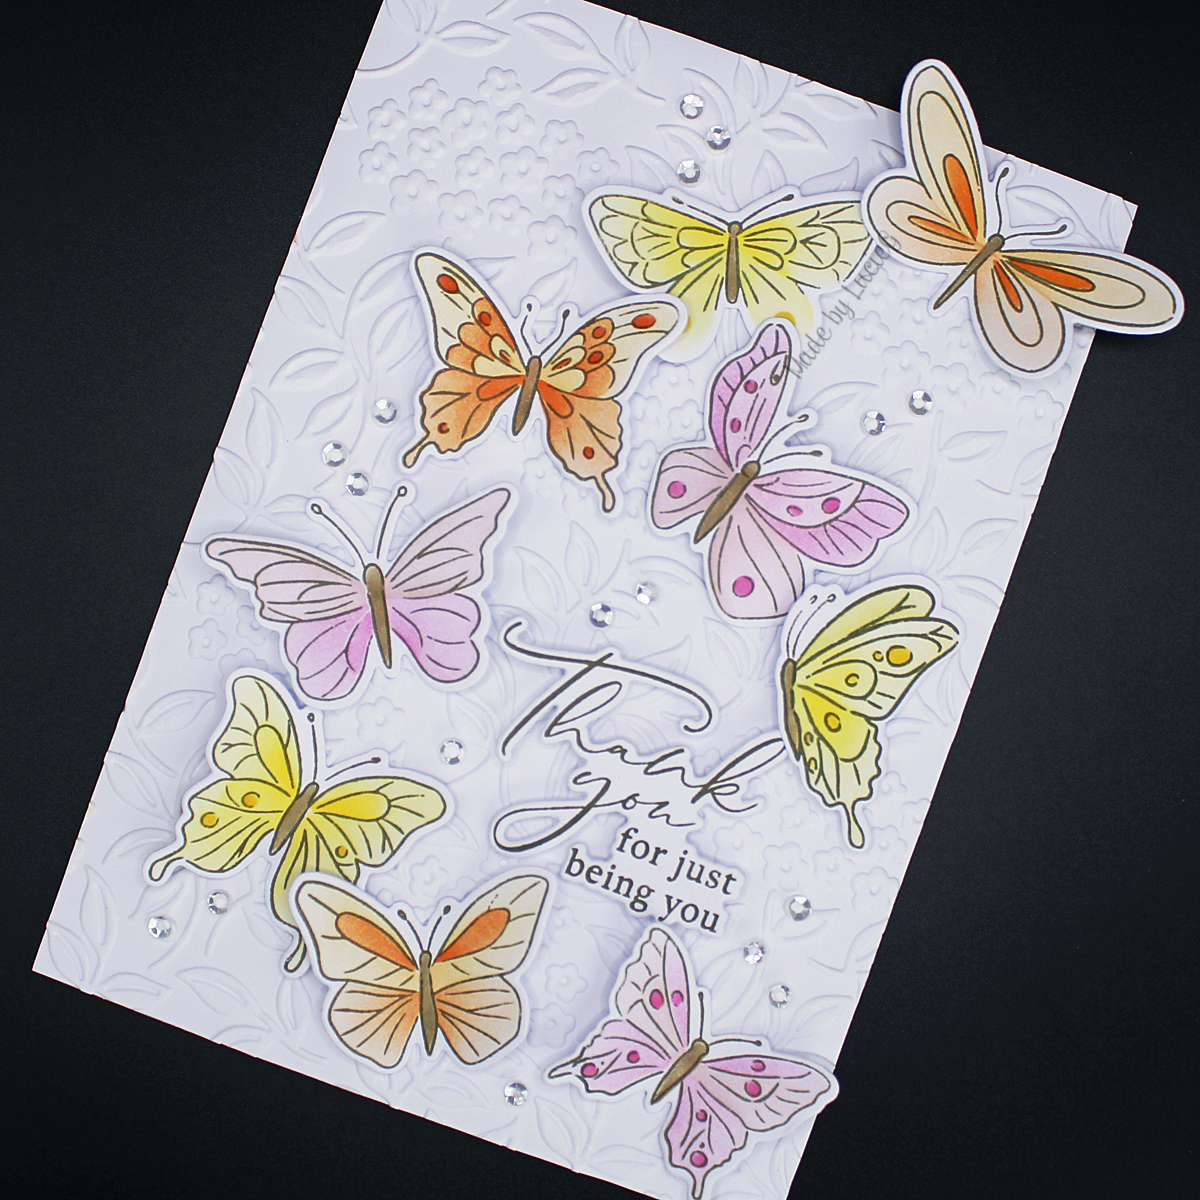
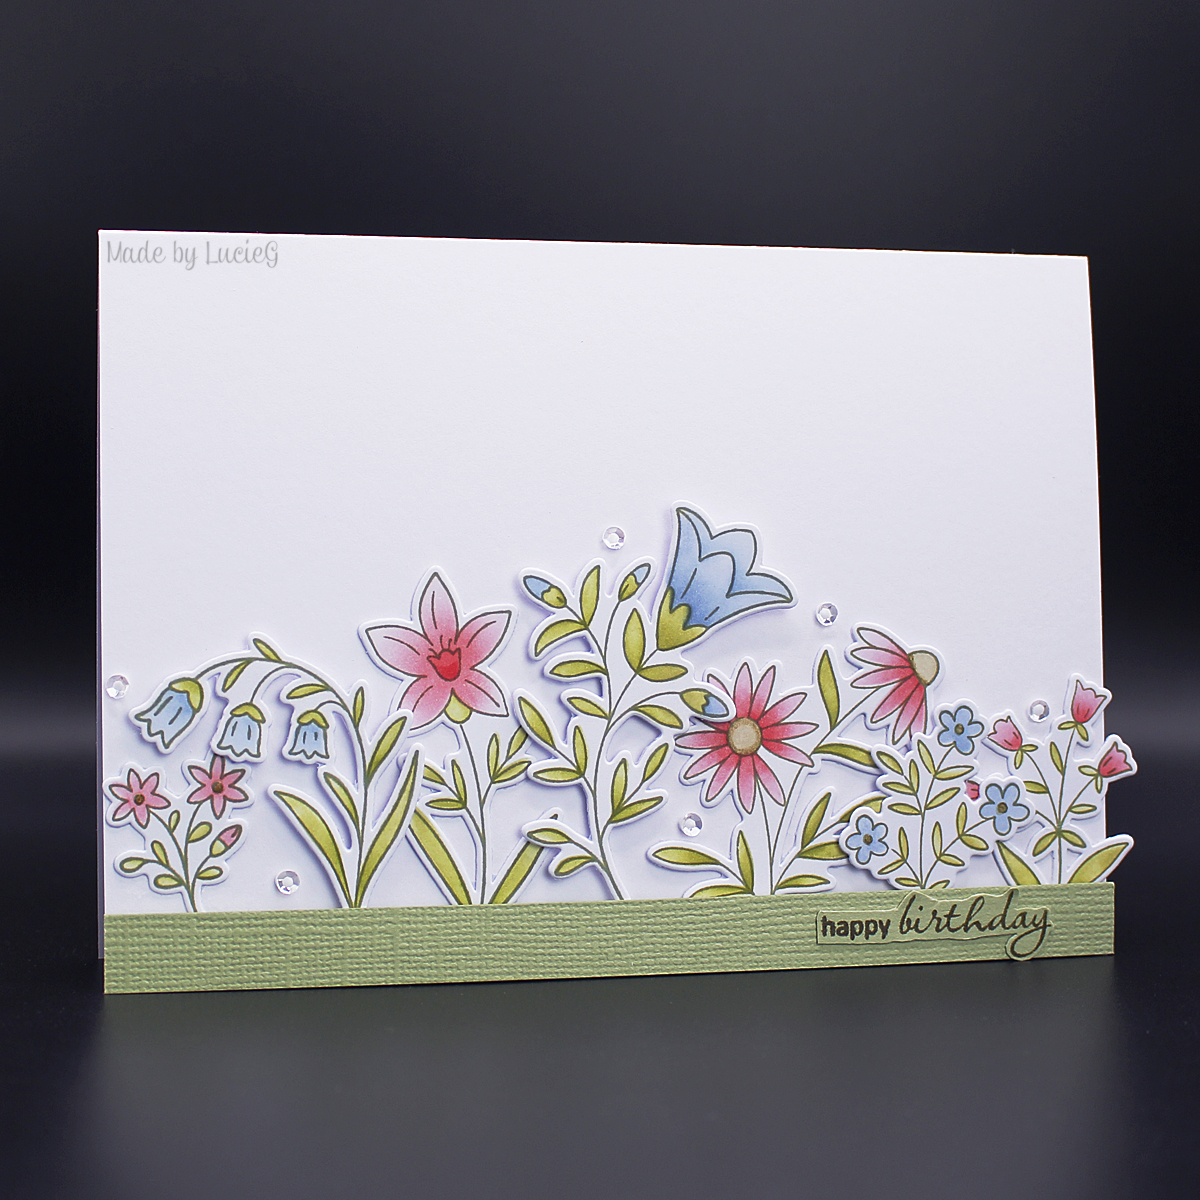
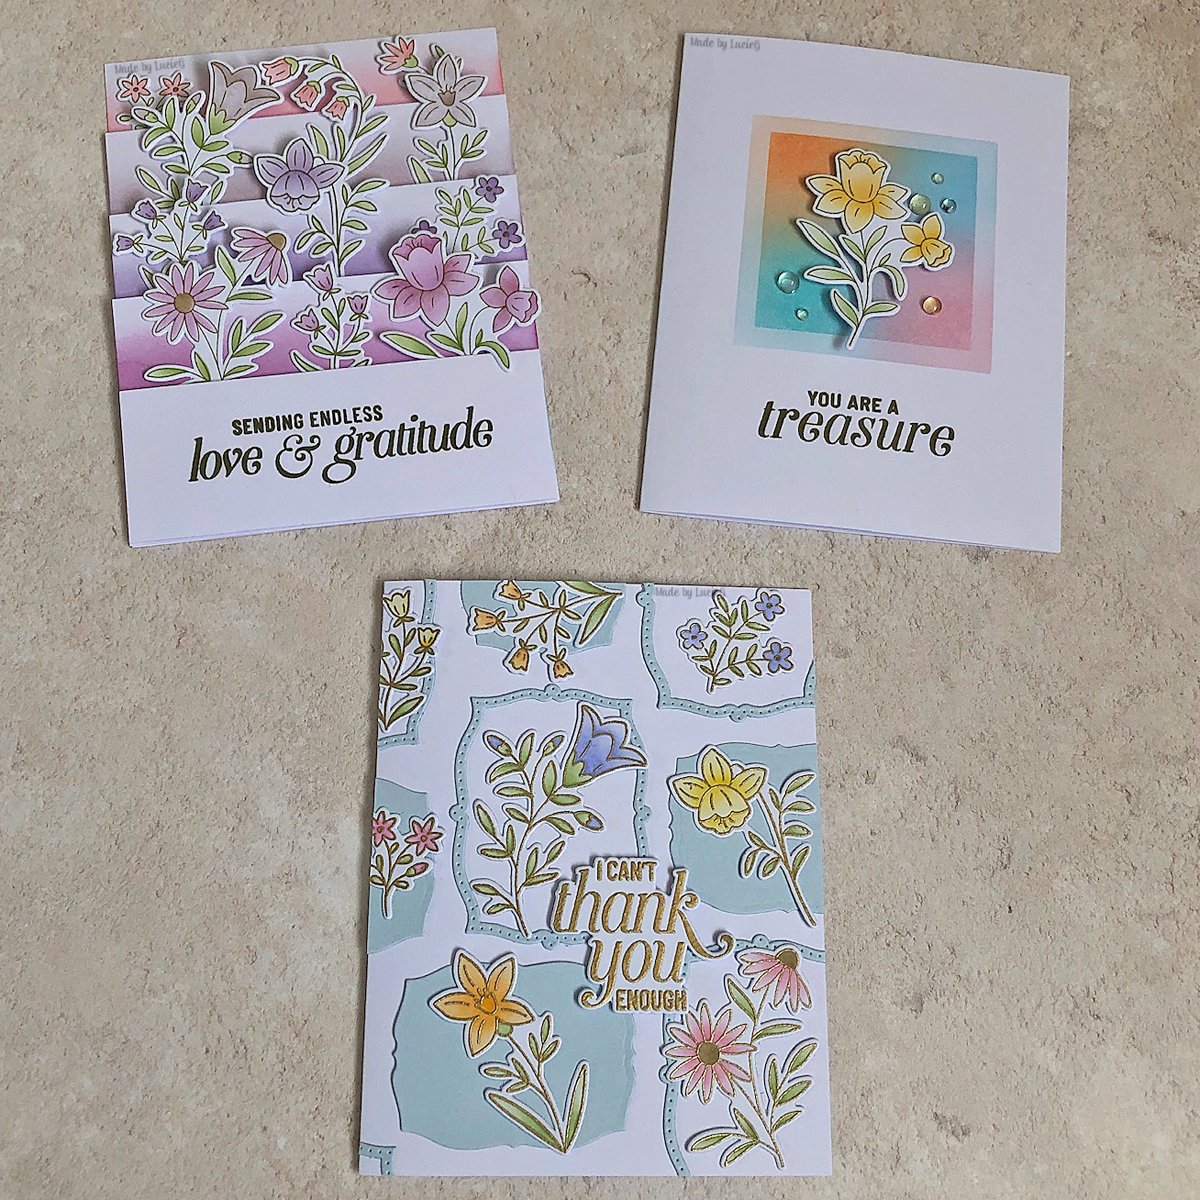
 Class 5 with Kristina Werner was great fun. We used a cling stamp that stamped multiple flowers and then coloured them with three stencils and die cut them all in one go. Super easy and the dies lined up perfectly. And Kristina’s layered flowery card design was so cleverly designed! I loved this class and the set we used, I can’t wait to play with it again! I also did Dawn’s Make & Take – such a pretty design with multiple frames!
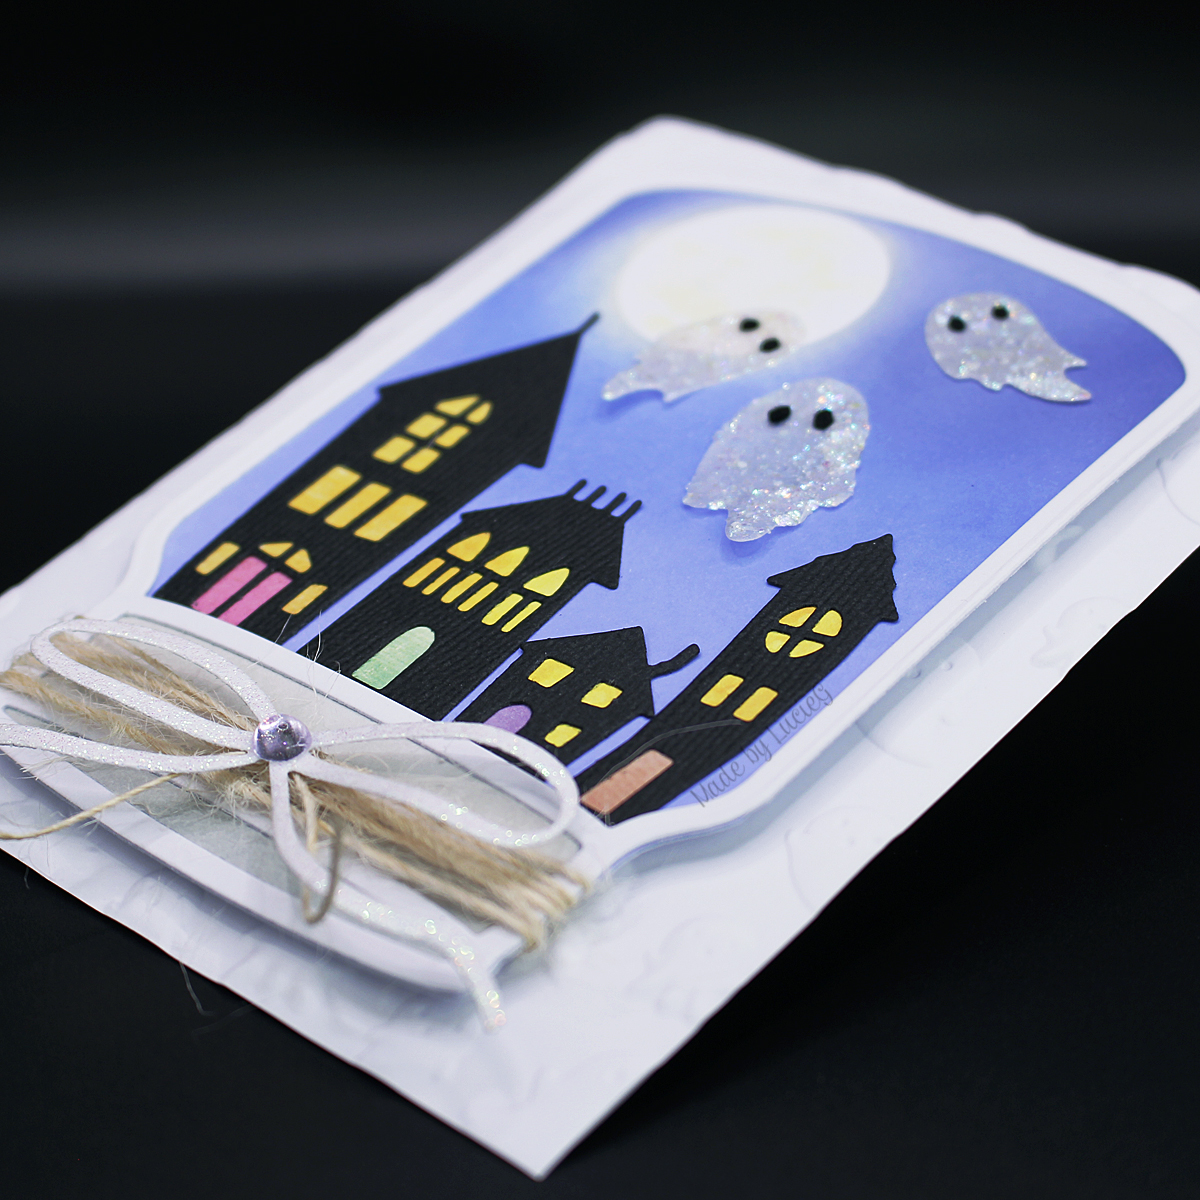
 The last class was with Jennifer Maguire who had created two interactive/pop up cards – not usually favoured by this CAS crafter! But they were interesting to create and I loved how I could mix things up a bit! I chose to use Craft Consortium paper again instead of the ink pad swiping technique and also decorated the pull-up panel that Jennifer had left white – it was very quick to pop the die cut images on the panel. I used more of the washi tape on the pop up card.
So, what did I discover through this event?
- Organisation is key – do all the homework in advance and have a few pieces of cardstock to hand for any mishaps on the day.
- The time zone differences meant that I had to be super focussed with my hour break between classes to eat, do chores etc as the event finished at midnight for me on both days. I did appreciate having the whole morning beforehand though!
- Being an at-home event, I could choose my own colour combos – I know I have disregarded some cards I have made at events in the past because of the colours used – and of course I never got round to making them in different colours.
- When the instructions say blending brushes, they mean brushes! No relying on my trusty blending foams! Luckily I do have a lot of brushes which were well-used over the weekend!
- Not all ultra-smooth paper is actually ultra-smooth! My stencilling highlighted that my new ‘ultra smooth’ card is actually quite textured so I won’t be using that for stencilled images again!
- I love the double embossing technique where you dry emboss both sides of a panel (slightly offsetting the folder on the second side) and I will try it again with suitable embossing folders!
- Pinkfresh Studio products are high quality (well I already knew that of course!) and the stamp and die sets stamp/line up beautifully!
- I’m glad I signed up to the next event – not long to go!
Thanks for stopping by!
LucieG.
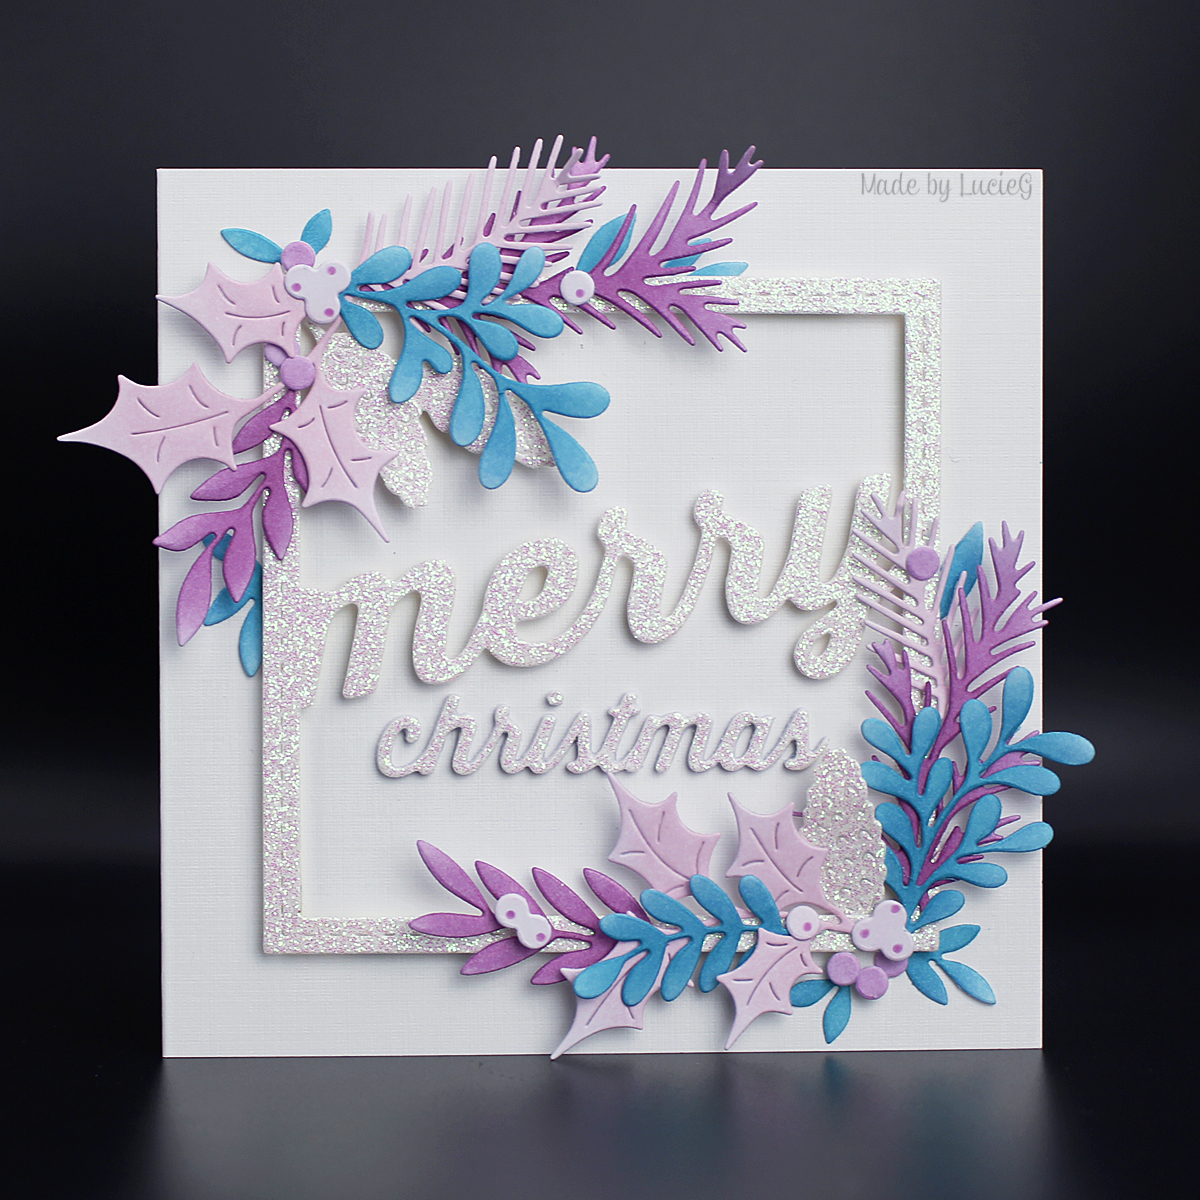
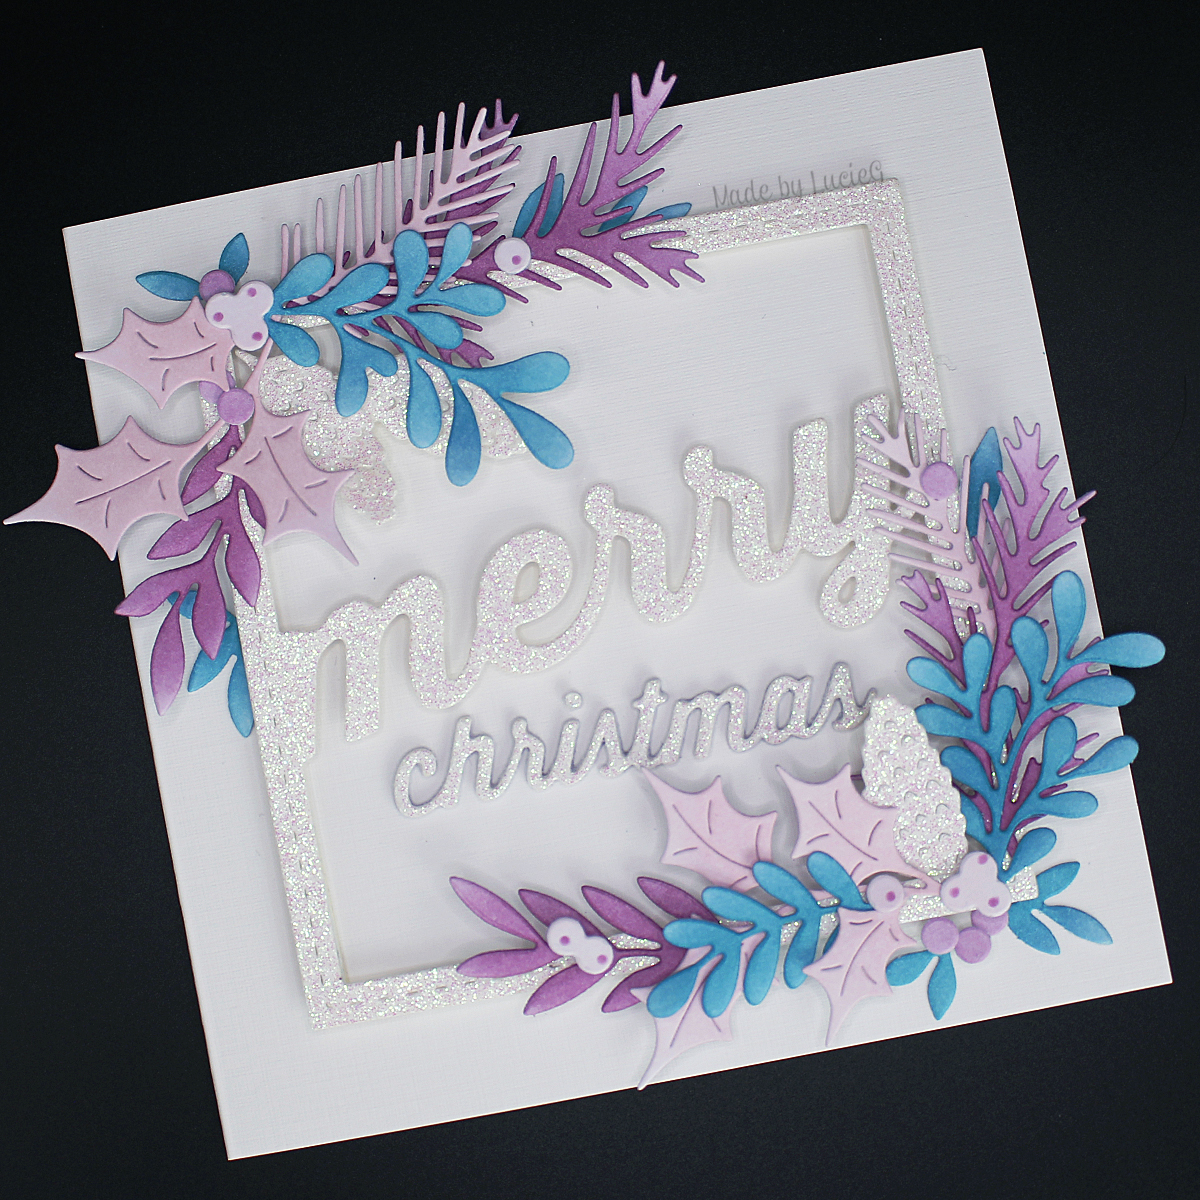
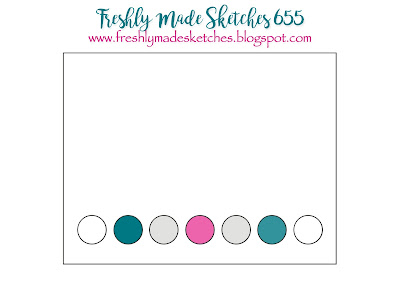
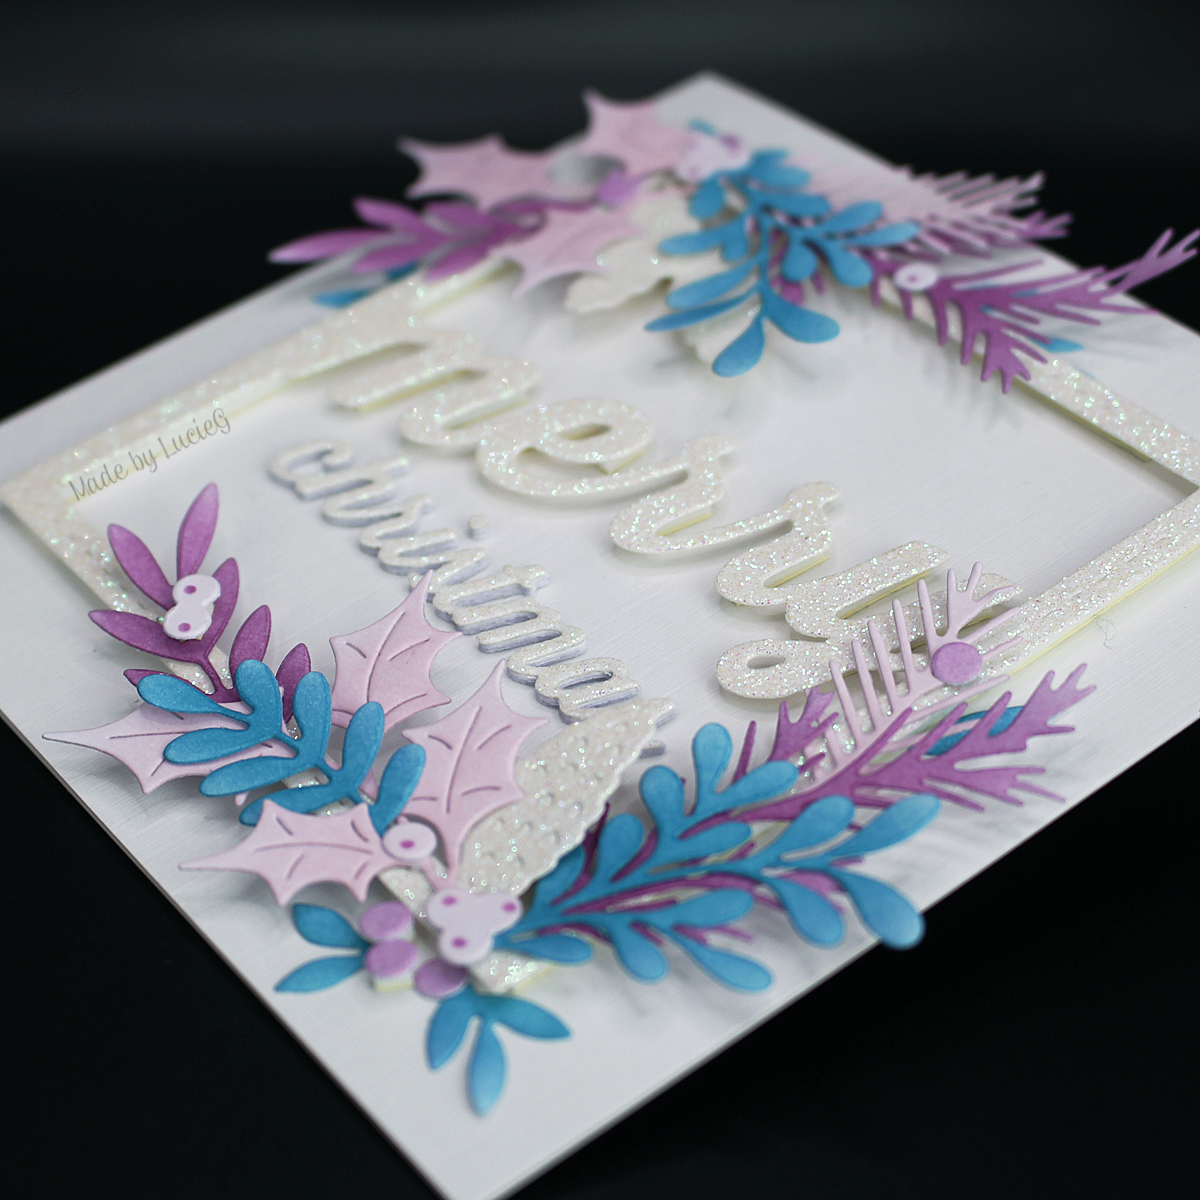 Day 17’s challenge is another colour combo – powder pink, plum and teal blue. What a fun combo!