Love and Friendship

This category includes: Valentines Day, engagement, wedding, anniversary, friends

Always a good idea

Hi everyone!

It’s time for my next Crafts-U-Love Design Team post and today I challenged myself to use every single product that I was kindly sent for this month and keep ‘own supplies’ to a minimum. And look! I managed to create a CAS card too!

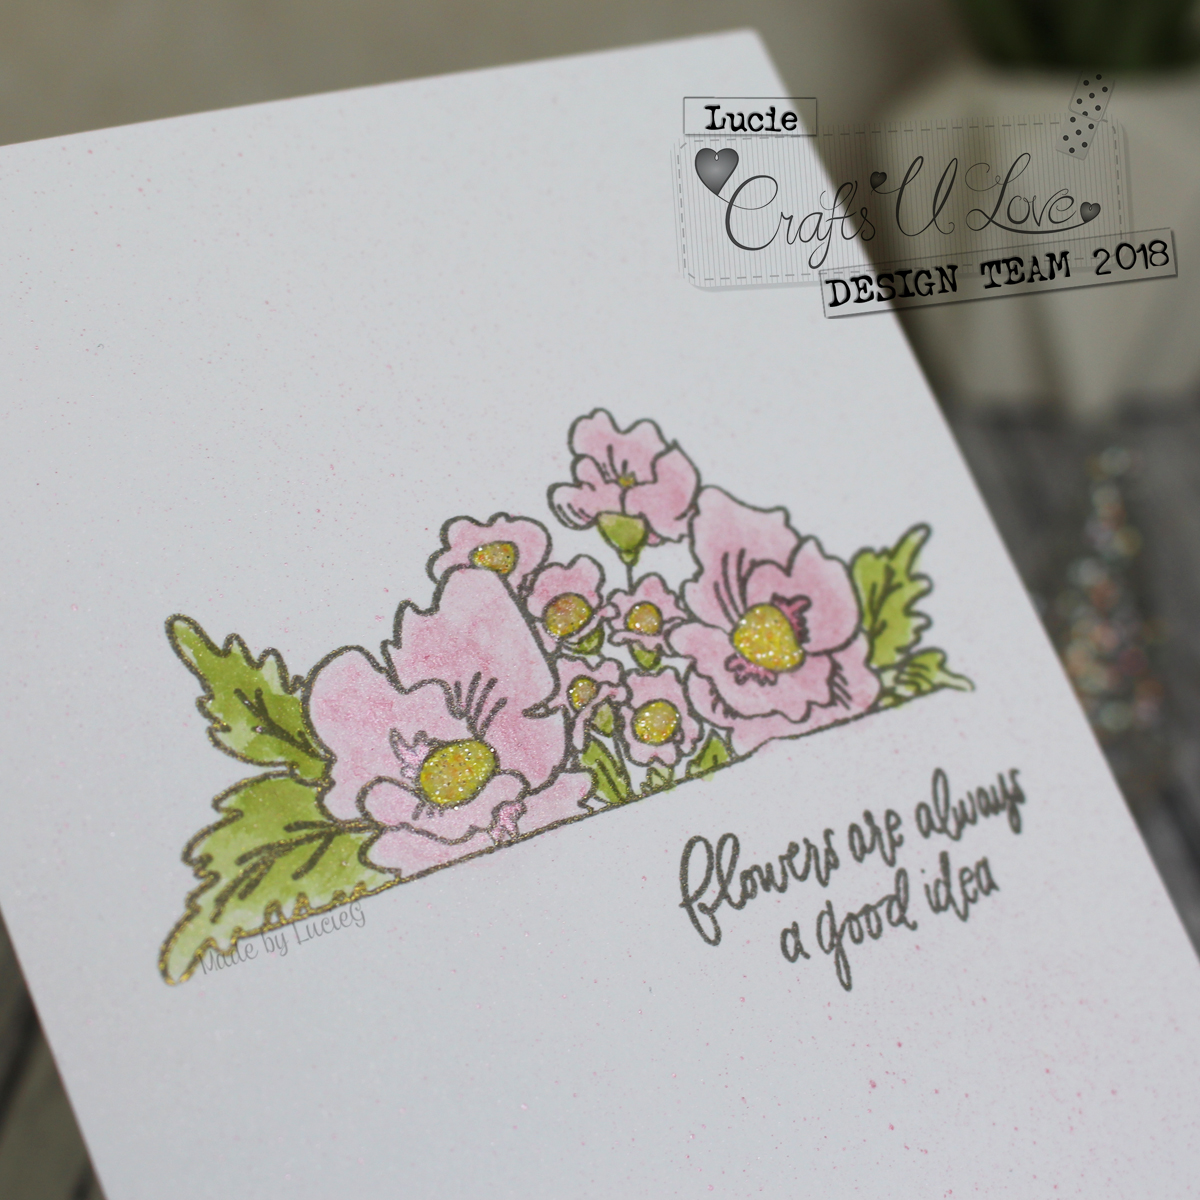
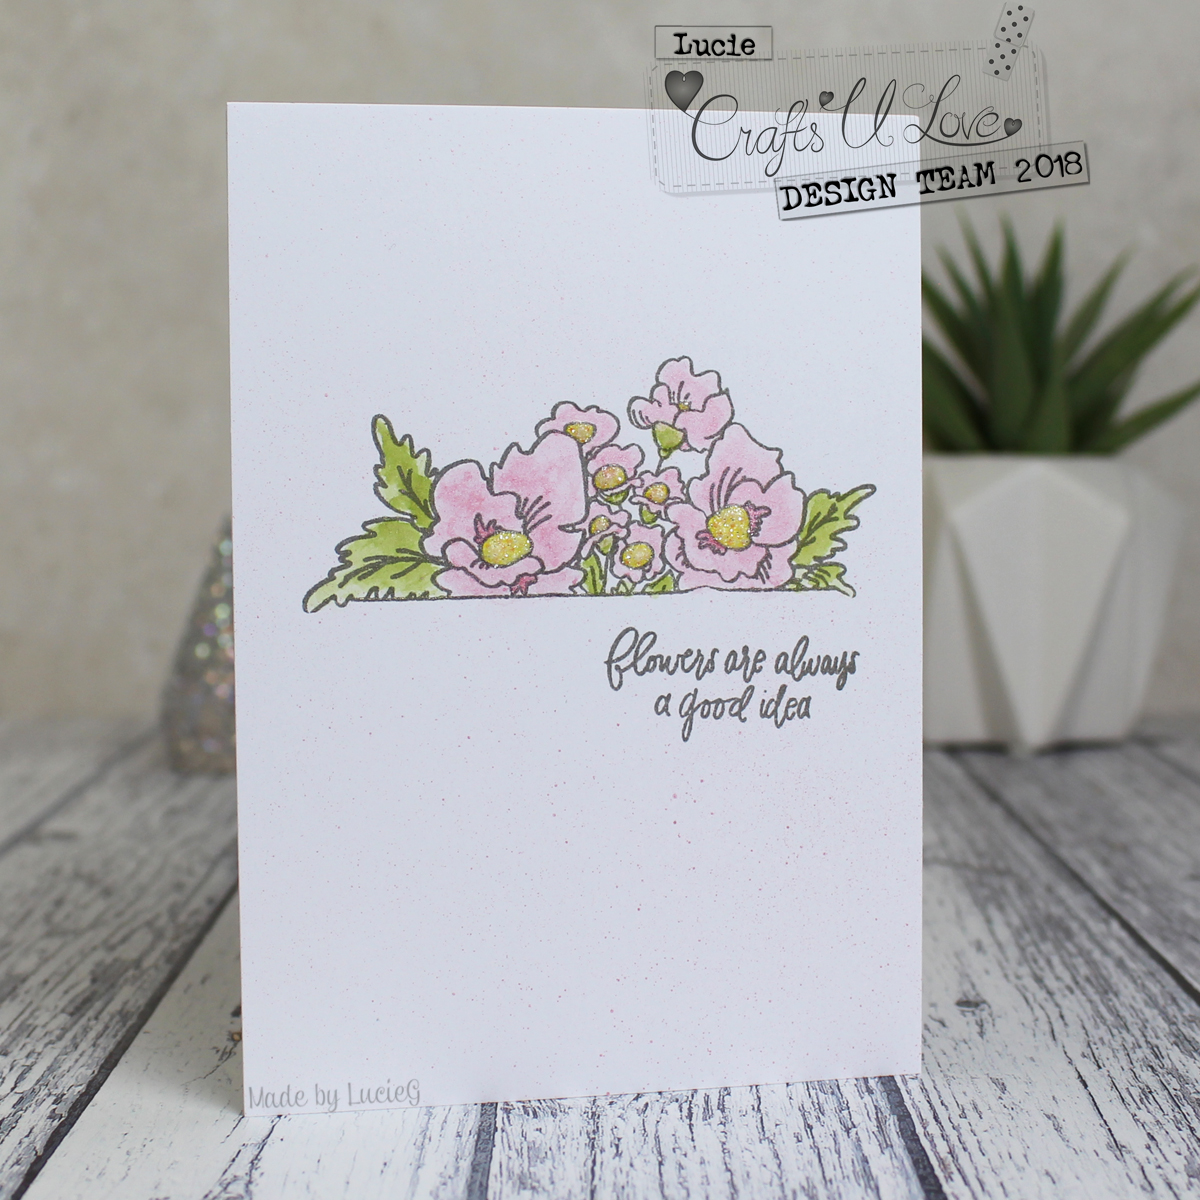
This month I received the ‘Always Flowers’ stamp set by Pinkfresh Studio and decided to use the largest floral image as my centre piece. After stamping the image, I painted it using some Nuvo Mica Mist that I had poured into a watercolour palette. I coloured the leaves with regular distress ink and used a Nuvo marker for the centres.

After stamping my sentiment, I applied just one spritz of mica mist over the whole card and added a thin layer of Nuvo glitter to the flower centres (as this glitter glue dries opaque, I made sure the layer was quite thin so you could still see the yellow of the centres).

Et voila! My CAS card!

Thanks for stopping by!

LucieG.

Supply List

Here are the links to the products I used on my card. Products marked with an asterisk (*) were kindly sent to me to use.

Pinkfresh Studio – Always Flowers stamp set*

Tonic Studios Nuvo Mica Mist – Turkish Rose*

Tonic Studios Nuvo Glitter Accent – Fresh Snowfall*

Distress ink – Peeled paint

Tonic Studios Nuvo Creative Pen – Sunshine Yellows

Embossing Powder – Nuvo Classic gold


Better with Friends

Happy Sunday everyone! August already! Seriously! where is this year going?

It’s time for a new challenge over at AAA Cards and our theme this fortnight is friendship. Our sponsor is CAS-ual Fridays.

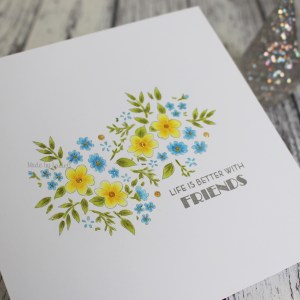
There are so many ways to reflect this theme, aren’t there? In the end I decided to do some simple stamping and colouring using the Altenew Ditsy Print stamp set. I love that pretty pattern – and even though Altenew included layering stamps in the set, I wanted to use my Prismacolor pencils to colour it. I must confess, I got a little carried away when colouring this image – I lost track of time and burnt my dinner! Oops! At least it was still edible…. just!

My teammates have shared some gorgeous CAS cards on the AAA Cards blog and we are also joined by Sandie from London Days as our Guest Designer. She has some fabulous creations – you must pay her a visit!

Thanks for stopping by – I do hope you play along with us!

LucieG.


One in a million

Good morning everyone!

It’s time for my next project for the Crafts-U-Love design team and I decided to do something a bit different for today!

I received some pretty Prima Marketing 12×12 paper and the Marianne Designs Rosettes & Labels Collectables dies. Although I have MOUNTAINS of patterned paper, I rarely use it nowadays as I prefer to make my own backgrounds, but I was determined to include it in my DT card for today!

I decided that an ‘impossible card’ would be a great way to show off that pretty paper.

An impossible card is made from one piece of cardstock which is cut and folded in a couple of places. There are loads of tutorials online, but I thought I’d run through my process today. I haven’t included measurements as you can vary them according to the size of your project.  The size of my card was driven by the rosette die which I knew I wanted to use on the bit that stands up

Step 1 – set up and cut your base card
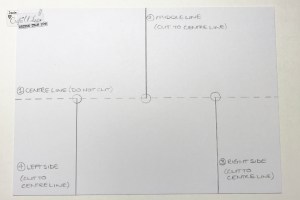
 (Click to enlarge image)

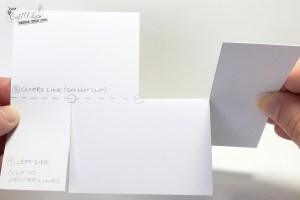
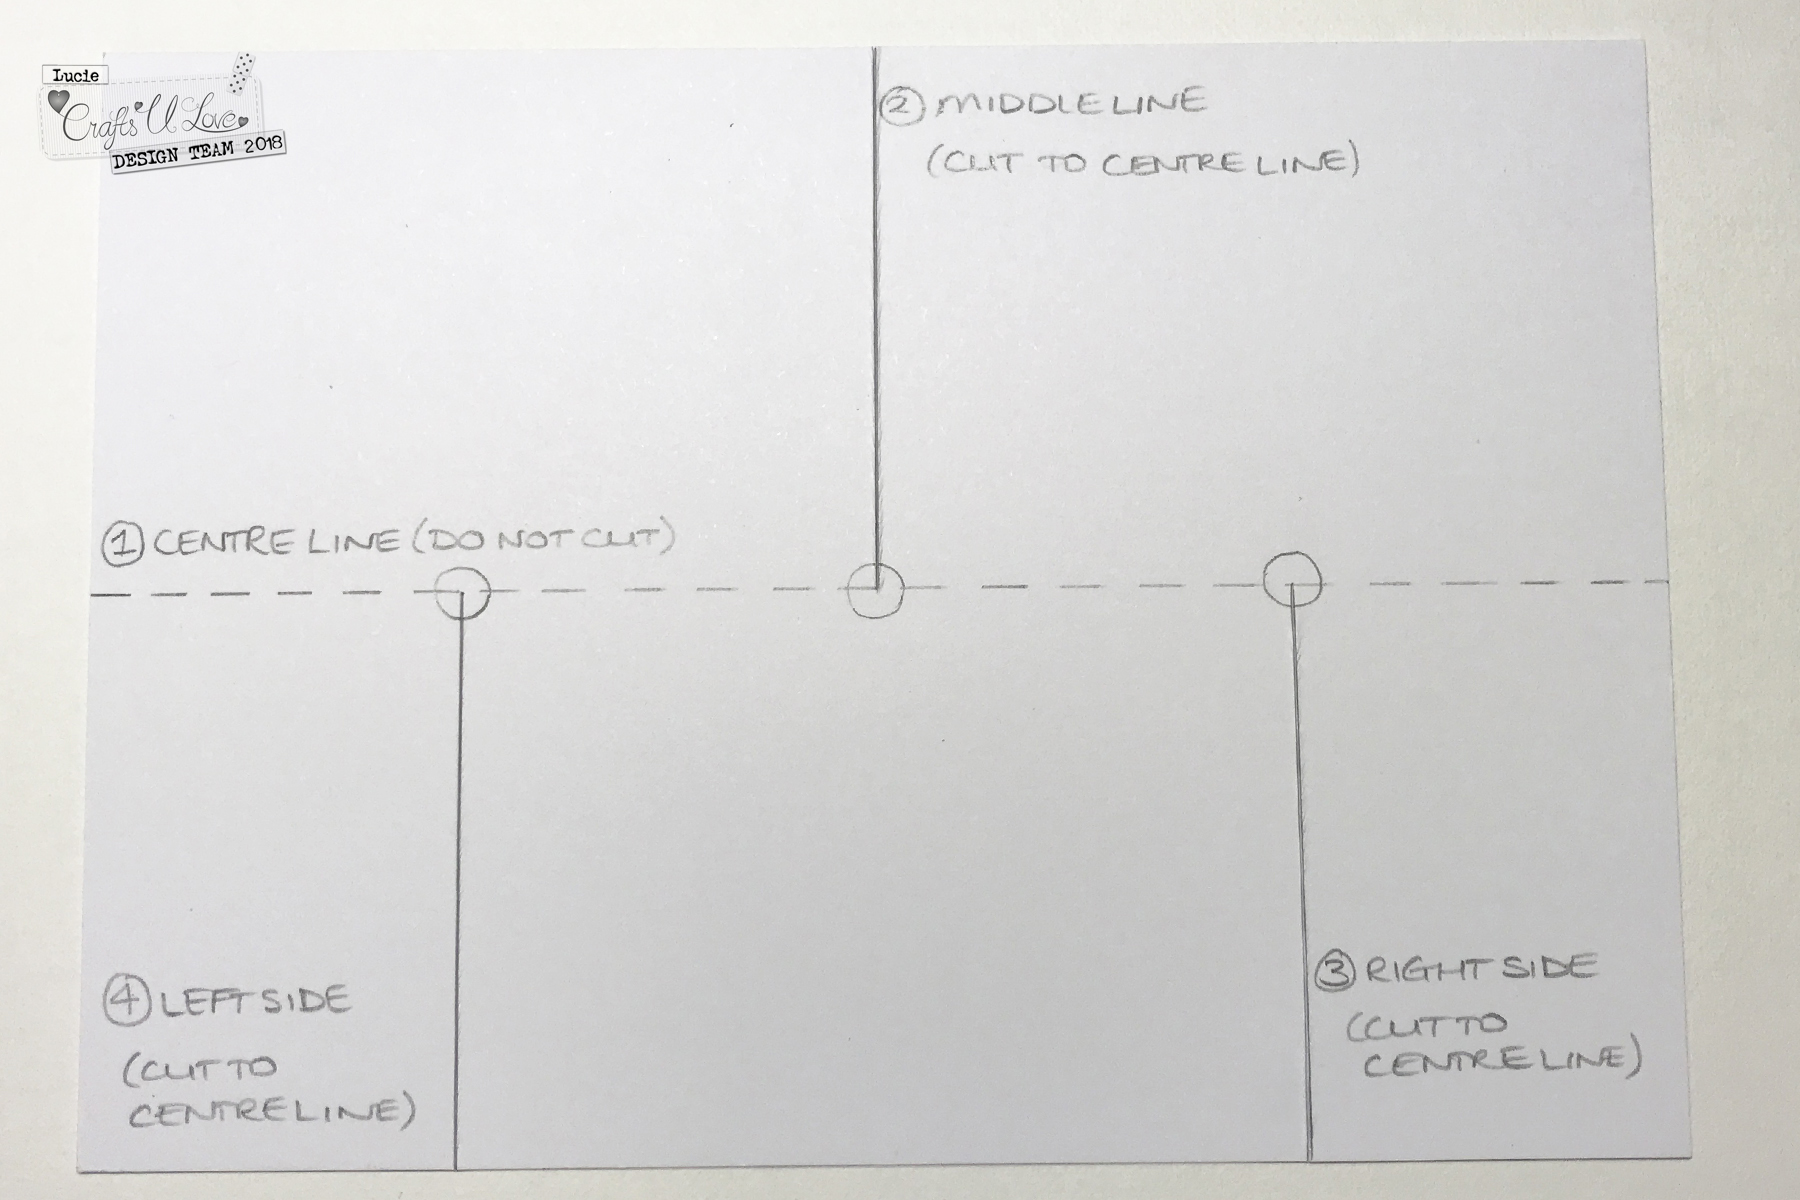
I started by drawing the cut and fold lines on my base card in pencil and then cut it in the three places as indicated by the unbroken line. The key with this project is to make sure that the three vertical cuts reach the horizontal centre (dotted) line.


Step 2 – twist/fold the right side of the card

Firmly hold the left side of the card and then twist the right side of the card up and then back. Fold along the centre – use a bone folder to smooth down the fold/crease.

Step 3 – lift up the centre flap
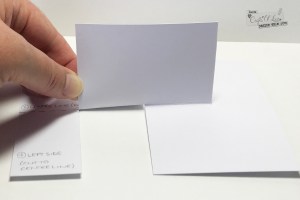
 

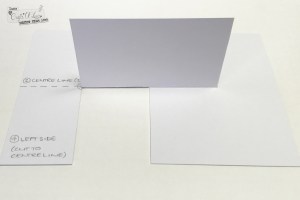
Lift up the centre rectangle and fold backwards. Use the bone folder to ‘sharpen’ the fold.  The centre flap should stand up of its own accord.

Step 4 – decorate the creation!

And there you have it, the impossible card, ready for decoration! I erased the visible pencil lines and adhered patterned paper. I added the rosette which I had made with the Marianne Design dies and a Penny Black stamp.
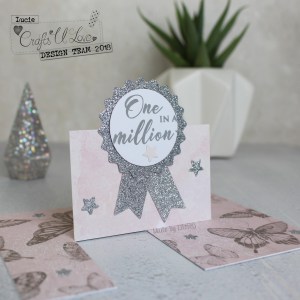


 To finish off the card, I added a few die cut stars.


This is what the card looks like from the reverse and underneath (obviously I’d erase my pencil marks before using the card!). I still can’t believe how this can be created from one sheet with a couple of cuts and folds! The card can be flattened and popped in a regular envelope.

Thanks for stopping by!

LucieG.

Supply List

Here are the links to the products I used on my card. Products marked with an asterisk (*) were kindly sent to me to use.

Marianne Designs Rosettes & Labels Collectables dies *

Prima Cherry Blossom 12″ x 12″ Paper – Transformation *

Penny Black Clear Stamp Set – Grateful Heart

Core’dinations Silver Mist 12″ x 12″ Glitter Cardstock

Distress Oxide ink 


Sea you soon

Happy Sunday everyone!

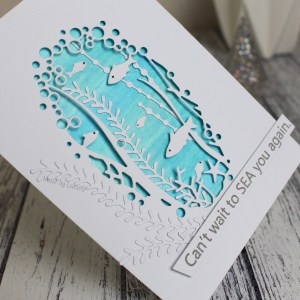
There’s a nautical/beach theme for the current Memory Box challenge which gave me the perfect opportunity to finally open up the Under the Sea Collage die – I’ve had it for a while but for some reason I had never used it!

I started by creating an ocean background with distress oxide inks on glossy paper. I mounted the Under the Sea Collage die on top of the background using funky foam and then added a few seaweed stalks on the background and on the frame. Finally I added a sentiment from a Paper Smooches set.

Thanks for stopping by!

LucieG.

Geometric circles

Hello everyone!

My name is Lucie and I may have a problem with background dies! Love them all! But they have a higher price point so I often dither before committing….

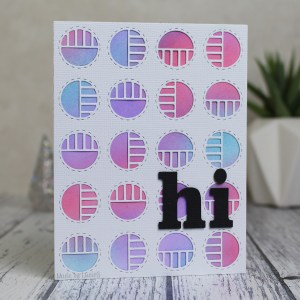
But as soon as I saw this fabulous background die from Revere Confetti, I knew I had to have it and snapped it up as soon as it was in store! Isn’t it fabulous?

I have so many ideas for it, but today I simply popped the die cut on top of one of my rejected distress oxide backgrounds. I’m so glad I save them like the guru Tim Holtz suggests – what might not be right immediately is often just right at a later date!

The sentiment die is from Winnie & Walter.

Thanks for stopping by!

LucieG.

Better than Summer Sunshine

Hi there!

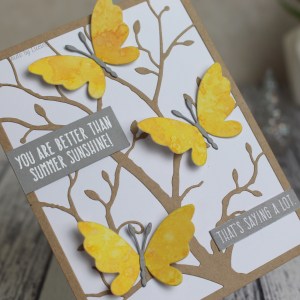
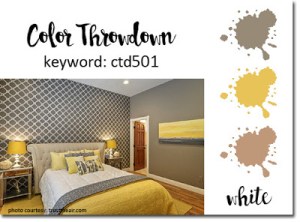
It’s Wednesday which means it’s time for another Color Throwdown challenge and look at what the team has come up with this week – grey, yellow, kraft and white. Now usually I am a bit wary of yellow – I often find it a challenge when using it as the main colour, but fortunately for me my Simon Says Stamp order arrived on Monday and I was just itching to try out the fabulous Adeline butterfly, so my card evolved from that starting point.

I used an older background branch die from Poppystamps and sentiments from Simon Says Stamp. The first sentiment is white heat embossed on grey card and the second one is stamped on white card – I was so chuffed to see that the Altenew Silver Stone ink was almost an exact match for my grey card!

In addition to the CTD challenge, I’m entering this into the current Simon Says Stamp Monday Challenge, the Simon Says Stamp Wednesday Challenge and the Simon Says Stamp Flickr Challenge – all have a summer theme!

Thanks for stopping by!

LucieG.