
Hi there!
I spent a wonderful weekend crafting along with Pinkfresh Studio and hundreds of cardmakers across the world! It’s a full-on event which starts mid afternoon and ends close to midnight for me, but totally worth it! The inspiration was amazing, the teachers were fabulous and I learnt new tips and tricks too! I’ll share my makes later this week.
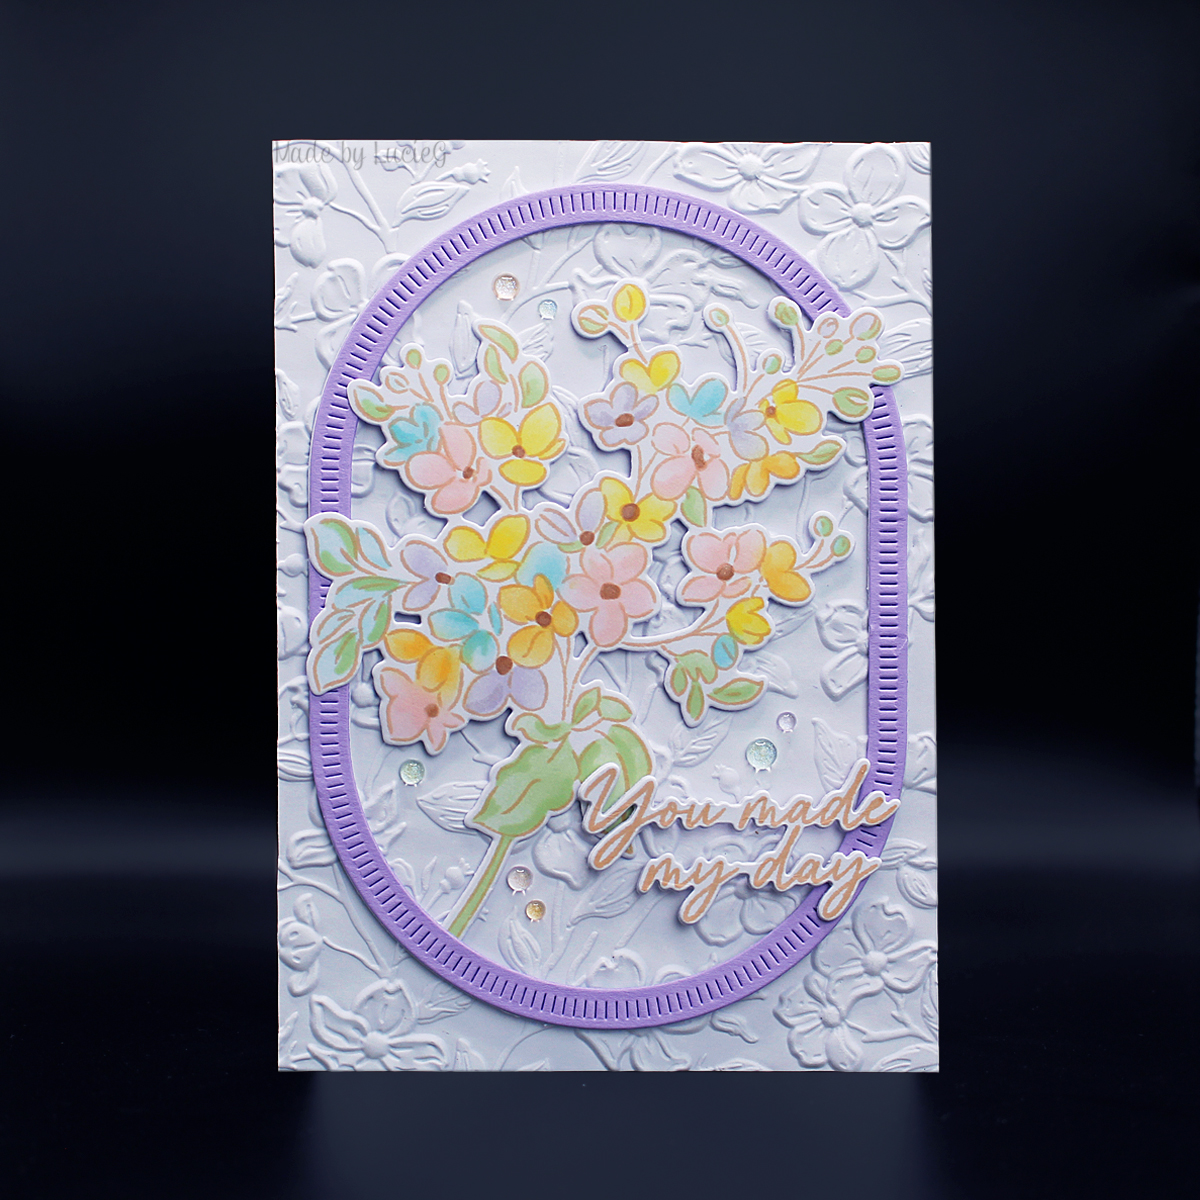
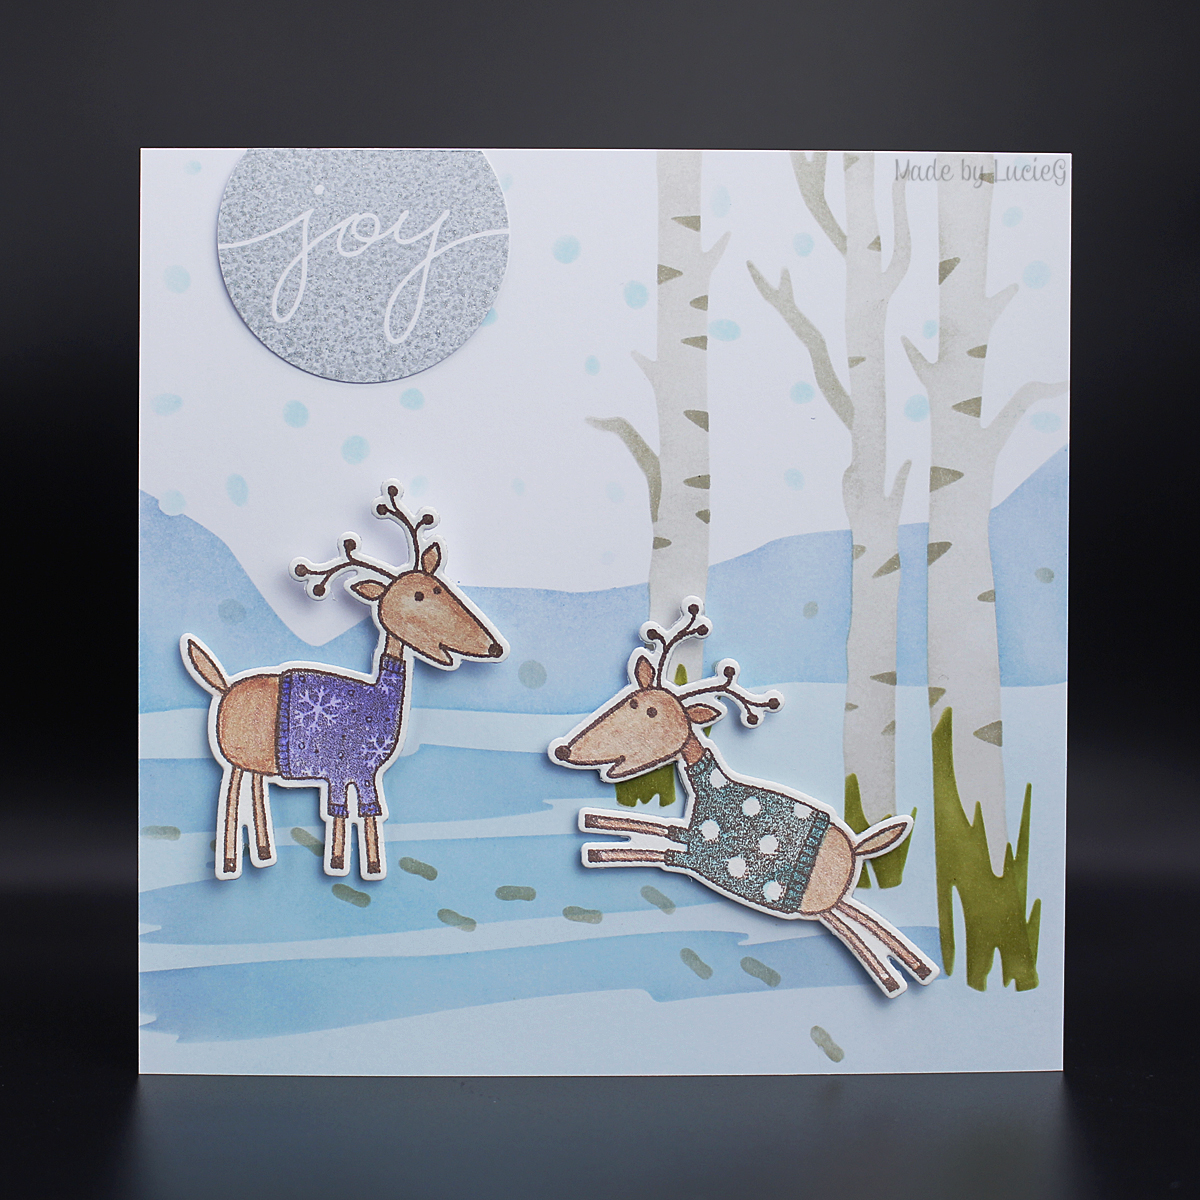
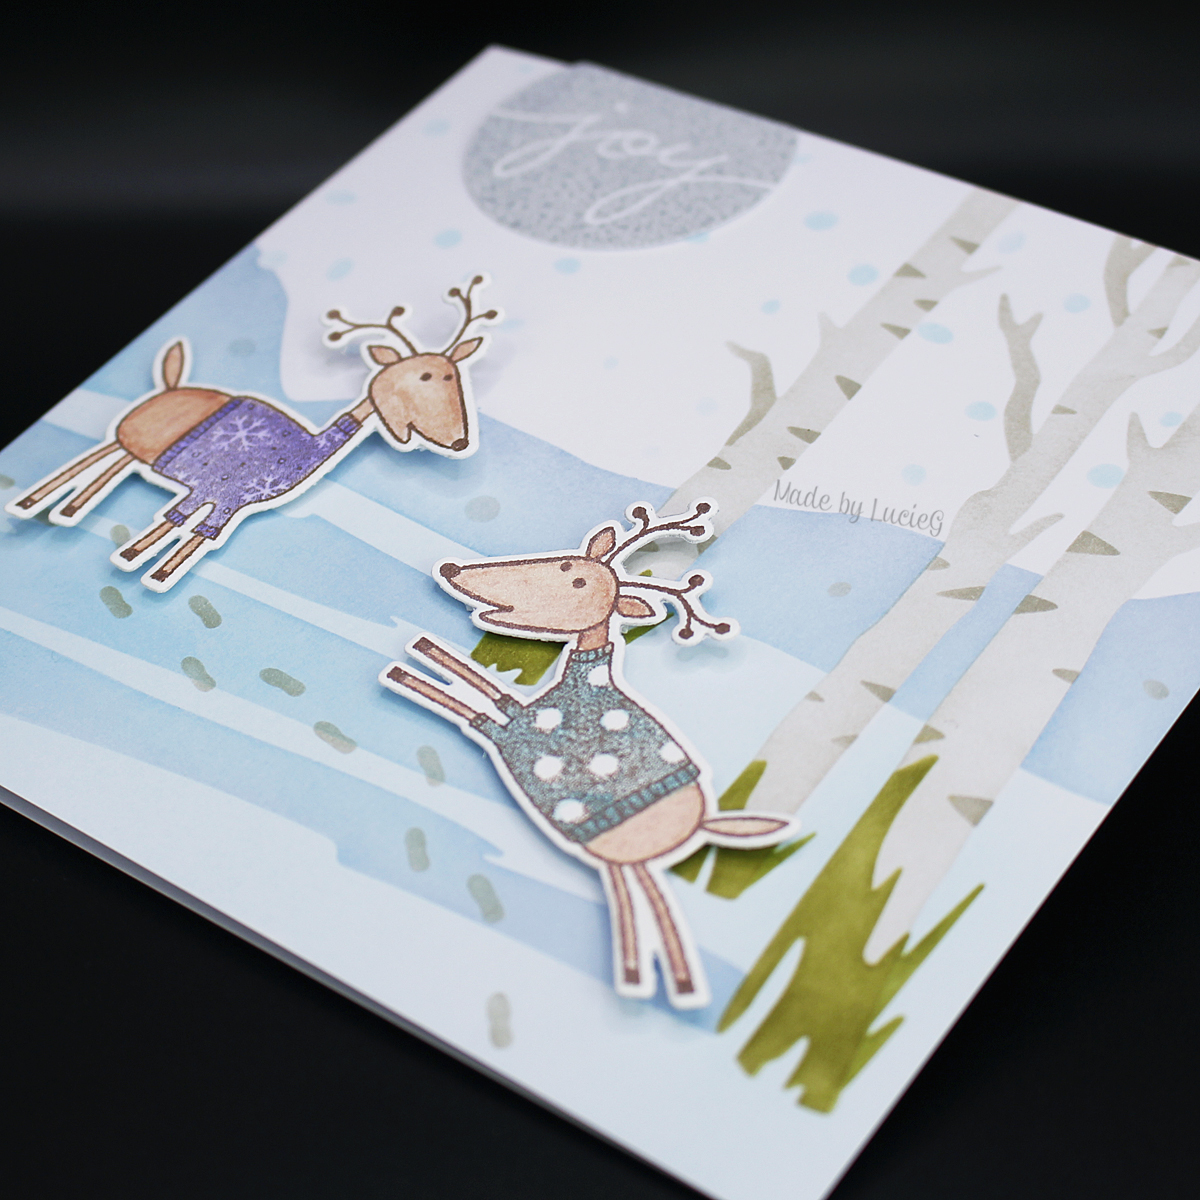
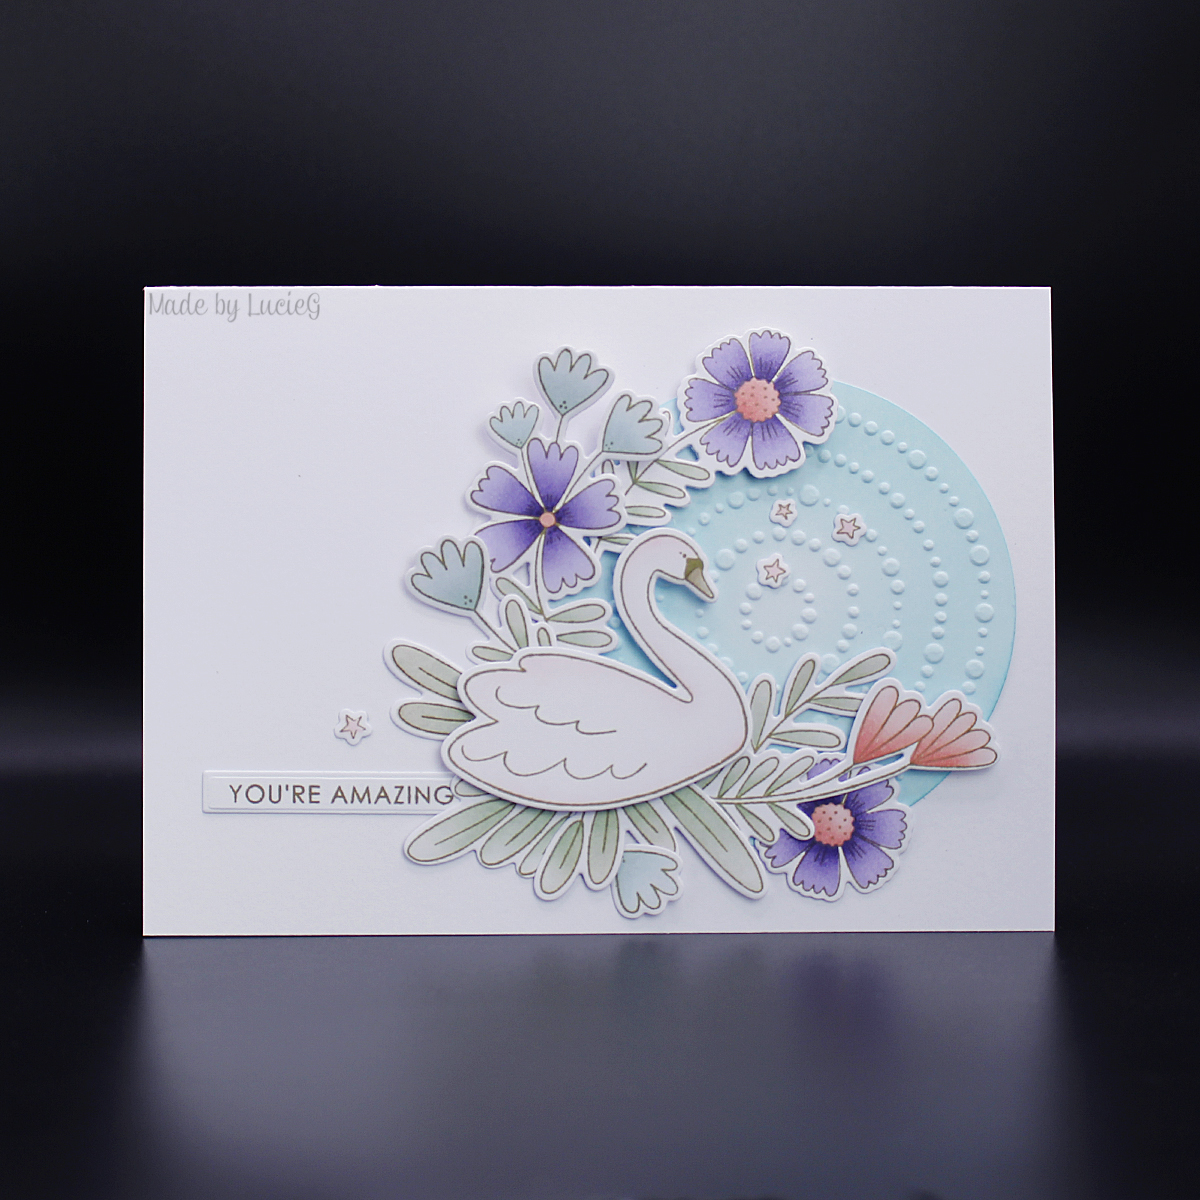
 In the meantime, here is my card for this week’s challenge at Freshly Made Sketches. I used the Majestic Swan product suite that we used this weekend. The super-talented Raquel Arribas taught a class using this and it may well have been my favourite one! I love how easy it is to colour and cut so many images in one go…. and the red rubber cling stamp gives such beautiful crisp lines. N0thing beats red rubber stamps in my view. The background circle was created with a Carabelle Studios folder and the sentiment is by Sugar Pea Designs.
Thanks for stopping by!
LucieG.