Technique – heat embossing

Featuring heat embossing

Festive Foliage wishes

Hello everyone!!

The theme for the December Pinkfresh Studio monthly challenge is ‘Very Merry’ and I decided to CASE my last card using the challenge colour palette!

This time, I used the Holiday Diamond Coverplate for my background – I popped the trees and stars out and adhered the panel to some multicoloured mirror card. I coloured my embossed Festive Foliage Tree image with the challenge colours and added Evergreen into the mix. Once again the entire card is supported by an octagon from the Octagon Grid Coverplate die, although I made a larger folded card support for this tree, making it much more stable.

Thanks for stopping by!

LucieG

Transparent Treasures

Hi there!

Last weekend, I took part in Pinkfresh Studio’s Create and Connect event, which was such fun! Bridget Casey from Altenew taught a new-to-me technique where you colour the reverse of an image embossed on vellum and then adhere a double-sided adhesive sheet on top, ‘trapping’ the colour and making the image a little more opaque.

After the event, I realised that I’ve never taken part in a Pinkfresh challenge and decided it was time for me to do so. I was delighted to see that the theme for the month was ‘Transparent Treasures’ – perfect timing for me to play with the new vellum technique! I embossed and coloured images from the Fluttering Butterflies stamp set before covering them with a self adhesive sheet (leaving the backing on) and die cutting them.

I arranged them in a frame cut from the Nested Elongated Ovals Blanket Stitched Essentials die set and added a sentiment from the Cozy Blooms stamp set that I got for the August 2024 event.

Thanks for stopping by!

LucieG.

Fringed Flowers

Hello everyone!

Just popping in quickly with my entry for the Freshly Made Sketches challenge!

I’m having problems with my connection at the moment and I don’t want to miss the challenge deadline so I will be back later to fill in the details!

Edited to add: Now that I’ve entered the challenge, I can upload a few more photos and share a bit more about my card!

Memory Box’s new release arrived at Bumbleberry’s last week and I could not wait to order a few die sets! The Fringed Flowers set really stood out to me – I love the irregularity of the flowers, I don’t think I’ve got anything else like them at all! I cut them from Craft Consortium paper but used some different centres as I wanted something that was a little irregular and the centres in the die set seemed too perfect to my eye! I adhered the flowers to some white vellum and then turned my attention to the card base.

I spotted a white heat-embossed image in my ‘unused’ box and decided to trim that down for the background centre panel. I think the stamp is an older Hero Arts image. I dotted glue to the vellum behind the fringed flowers and adhered it to my panel and card base.

Finally I added a few gems – but no sentiment because time was short. I may add a sentiment under the vellum panel when I send it out, we’ll see!

Thanks for stopping by!

LucieG.

Snowflake Tree Cloche

Happy Festive Friyay!

Today I’m playing along with the current colour challenge over at the 52 Christmas Card Throwdown!

When I saw that this week’s colour palette was blue and white I was excited to play along with the challenge – it’s the perfect combo for icy cards!

I decided that I wanted to use one of my wood mounted rubber stamps and had already decided that I would pair the stamp with the Concord & 9th Cloche die set that I bought before Christmas but never got round to using! I have two snowflake tree stamps – one was too large but this one, by Inkadinkadoo, was perfect! I heat embossed it and then blended some distress ink across the background.

I used a number of the Concord & 9th dies to create the cloche scene which I adhered to a blue card base and then added the flourish and flakes from the Memory Box Wintry Snowflake Bundle set.

Thanks for stopping by!

LucieG.

One wood block stamp, two New Year cards

Hi there!

It’s that short time of year when my cardmaking attention turns to New Year cards. Ordinarily I use a lot of die cuts but today I wanted to use a pretty wood-mounted stamp that I’ve had for AGES plus some newer products kindly sent to me by Penny Black.

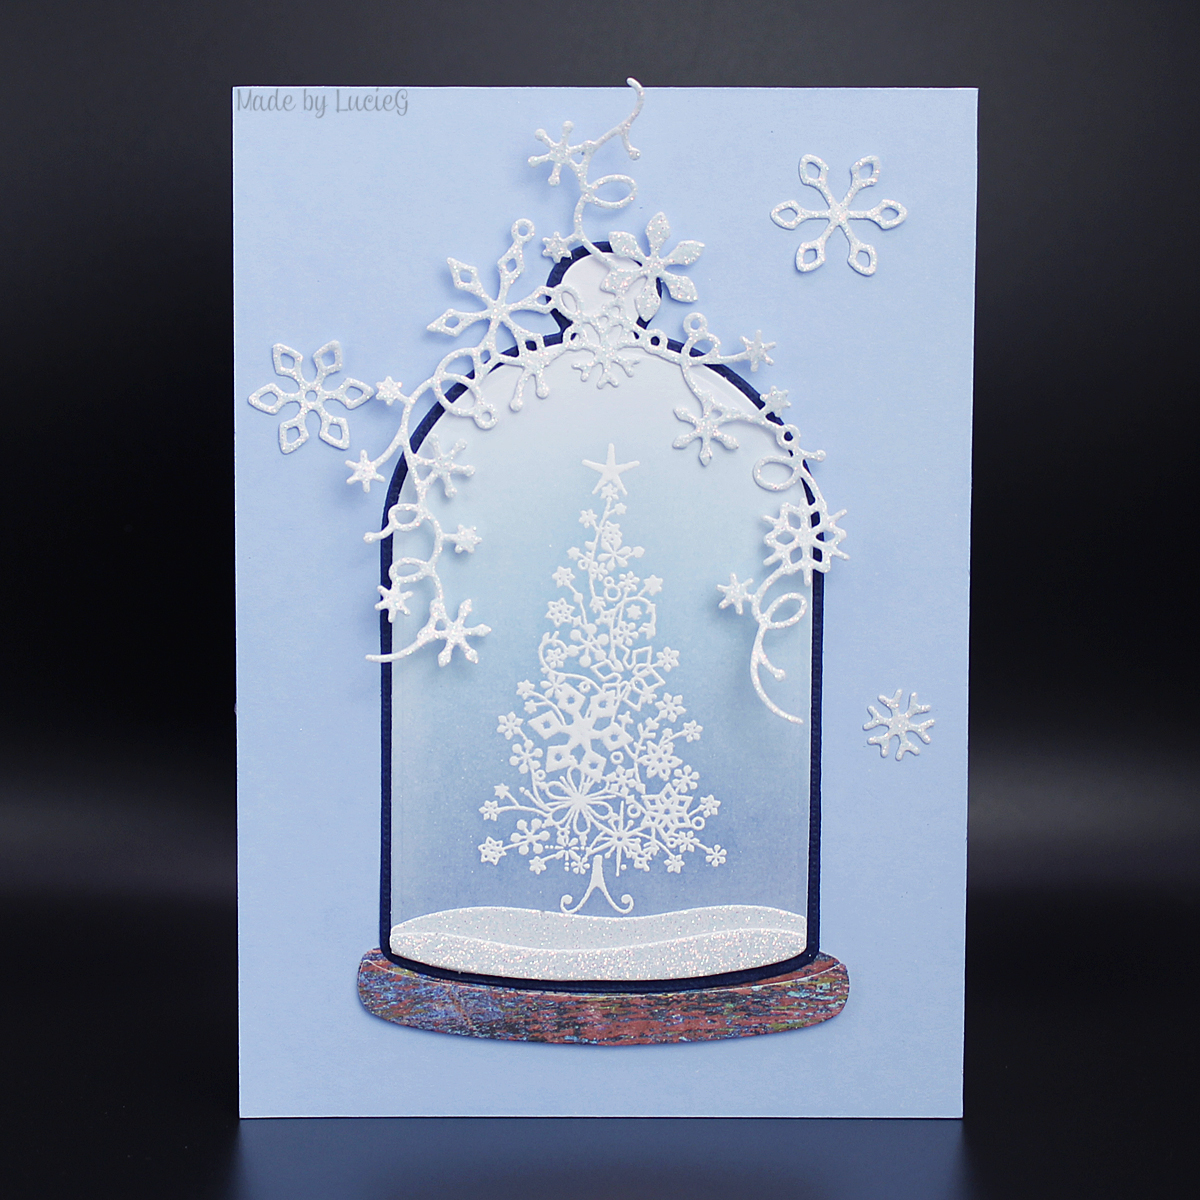
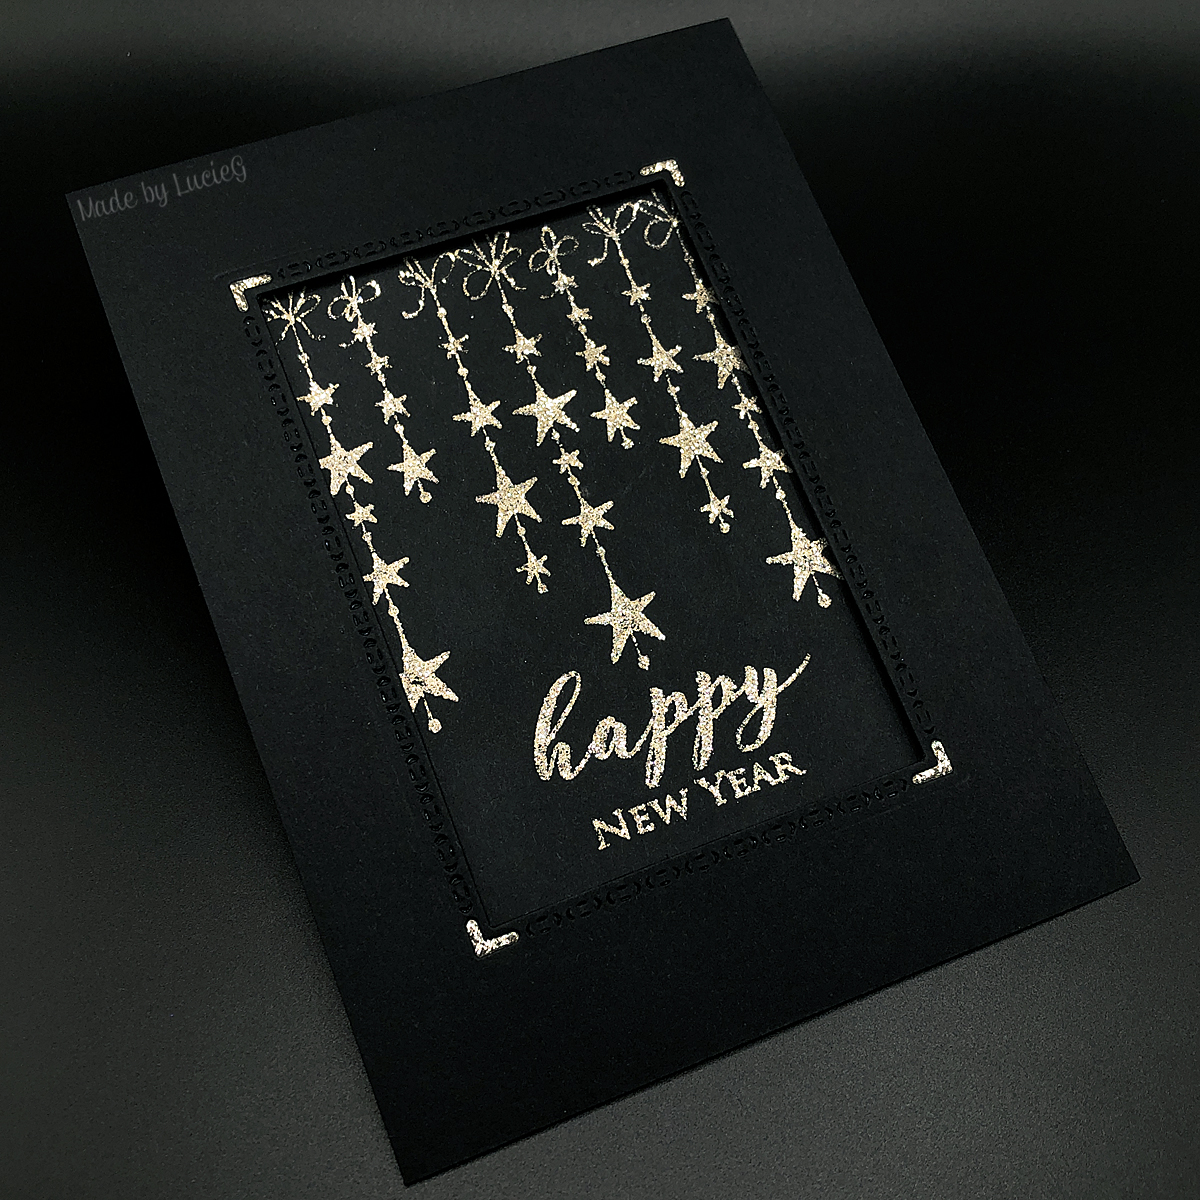
The stamp du jour is called Falling Stars (3890H) – mine is dated 2008 (I think I may have bought it in 2010) and is still available online at the Penny Black store. I know many people are nervous about stamping with wood-mounted stamps, but they leave a beautiful impression – I will always love all mine! I do a few practice impressions when I’m stamping multiples of the same image, like I did with these cards.


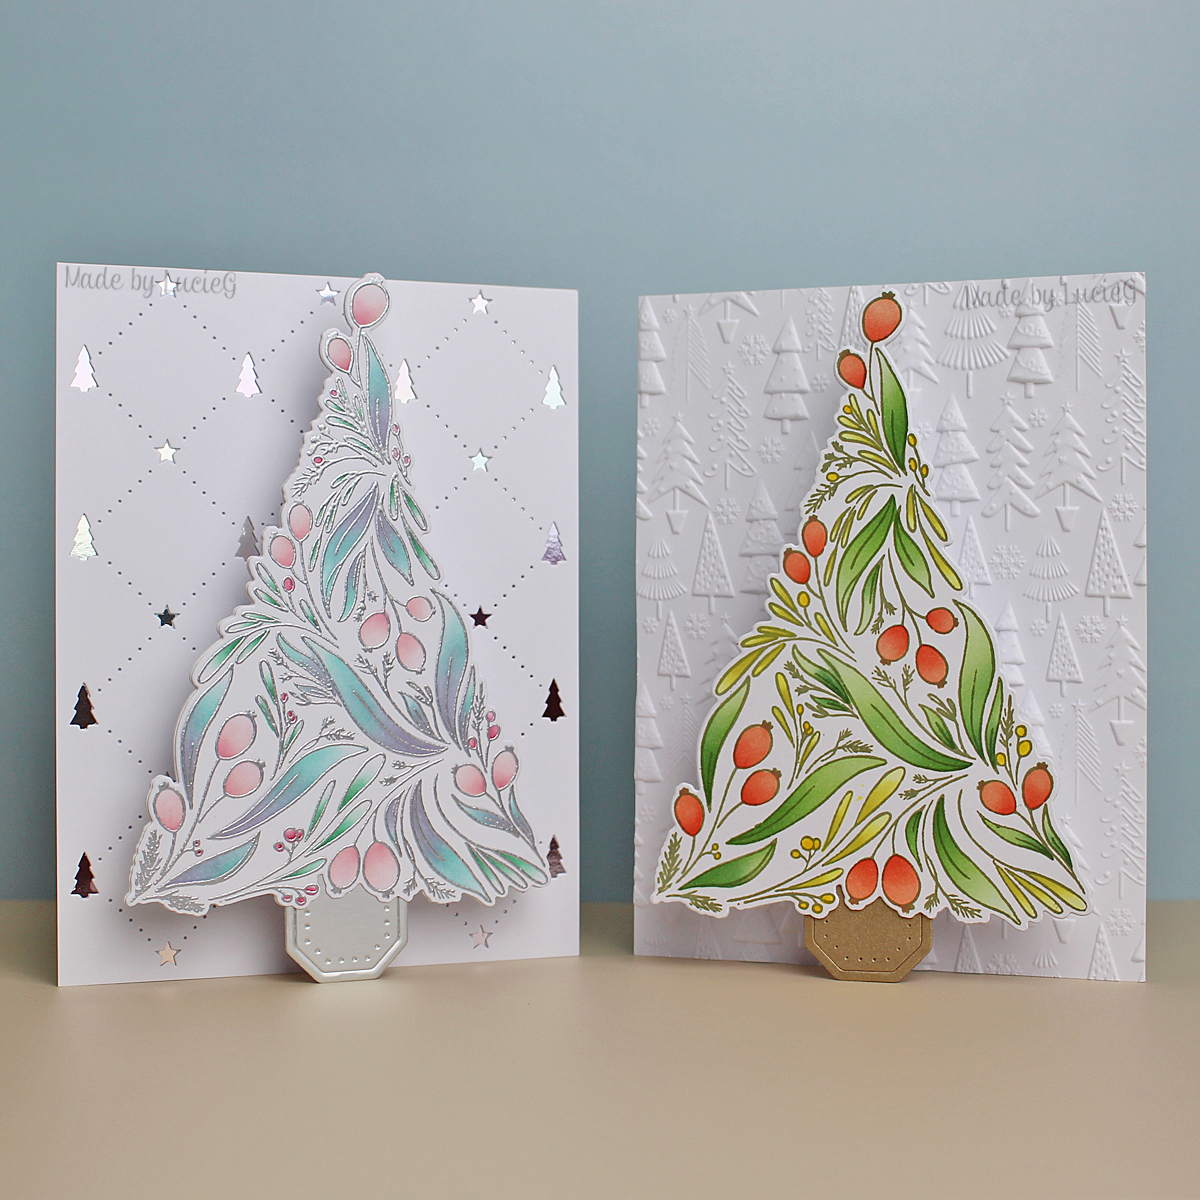
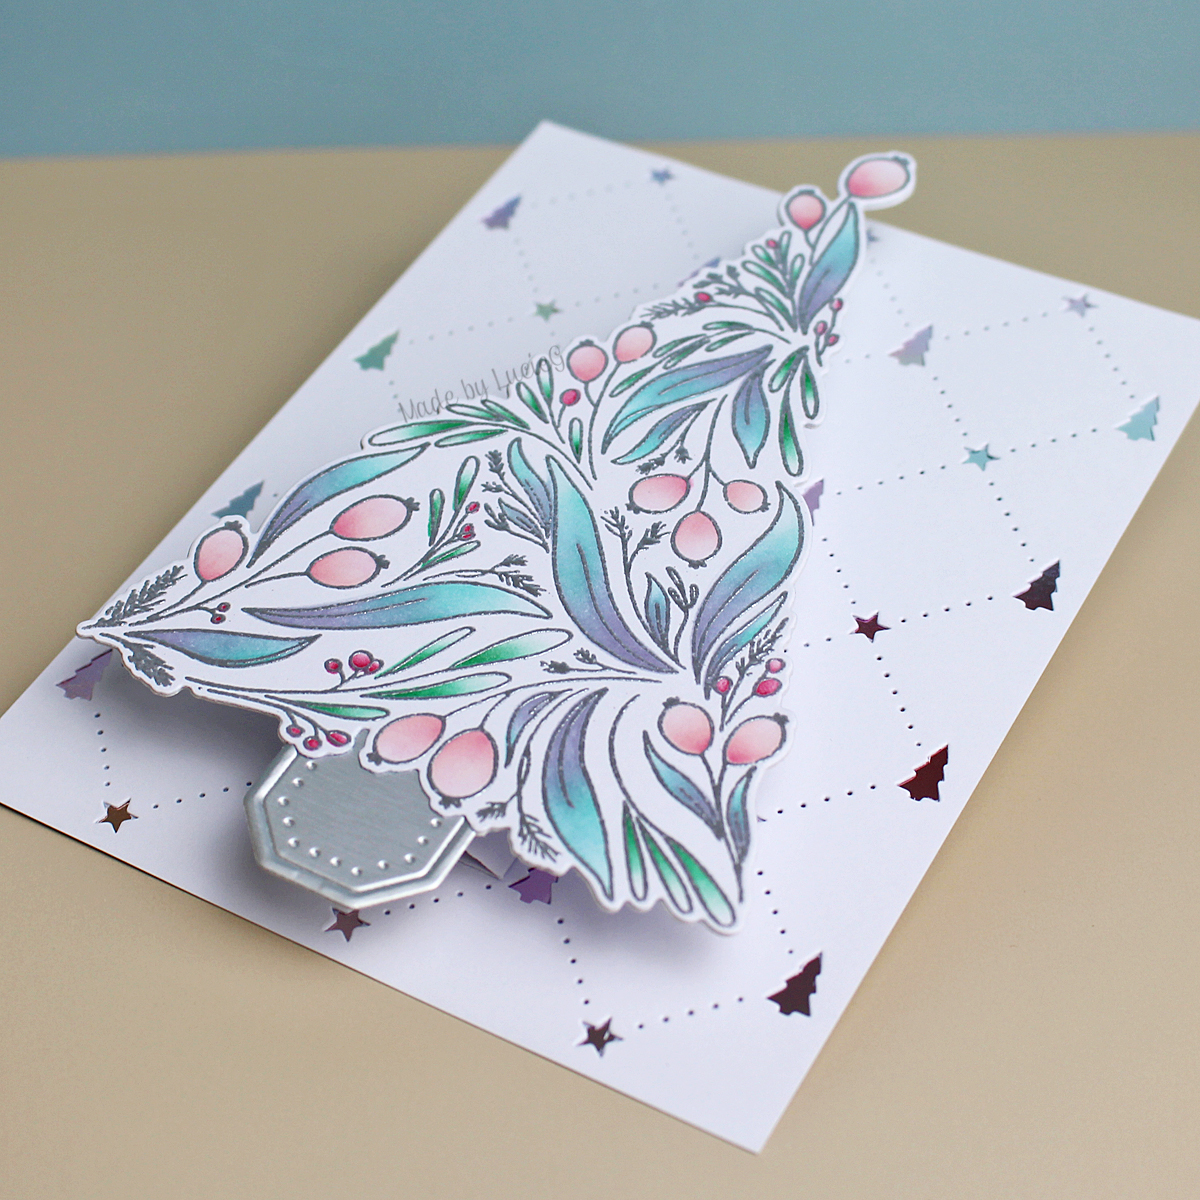
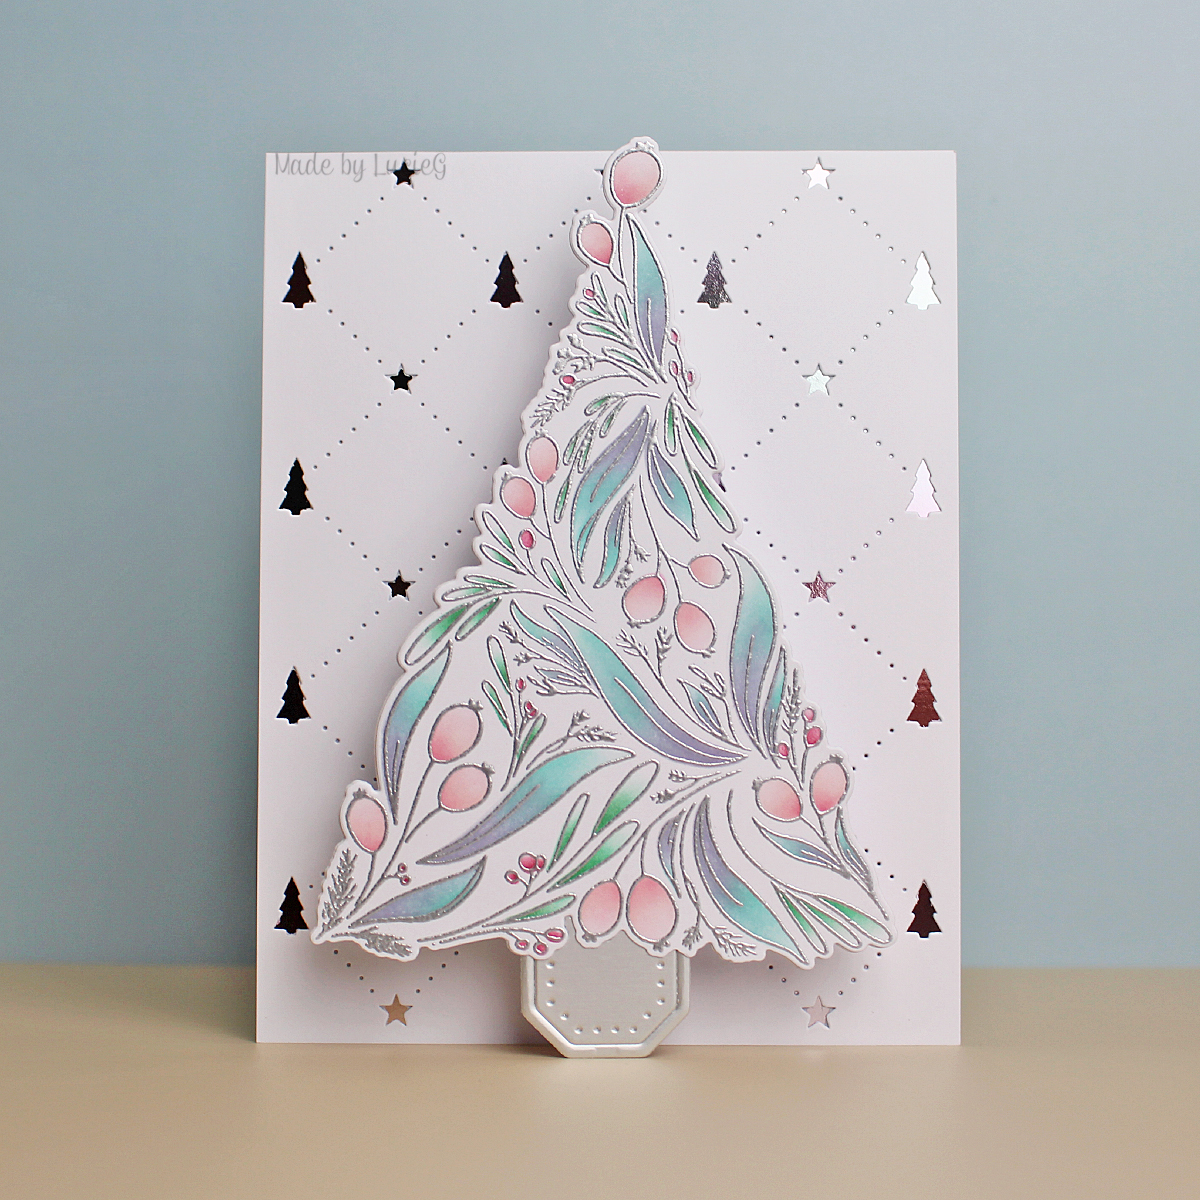
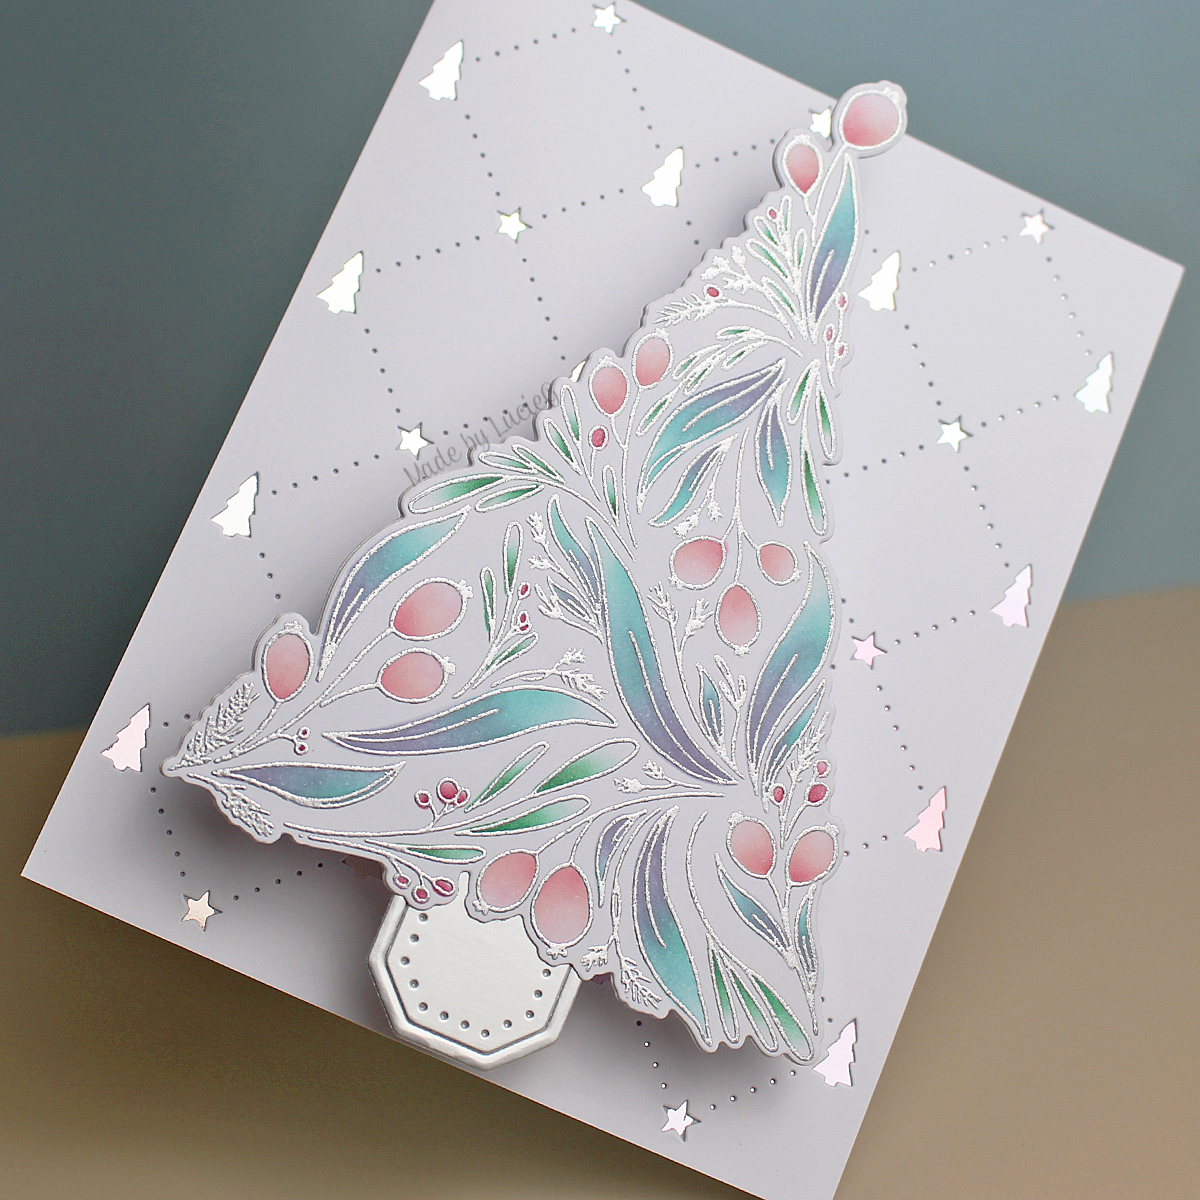
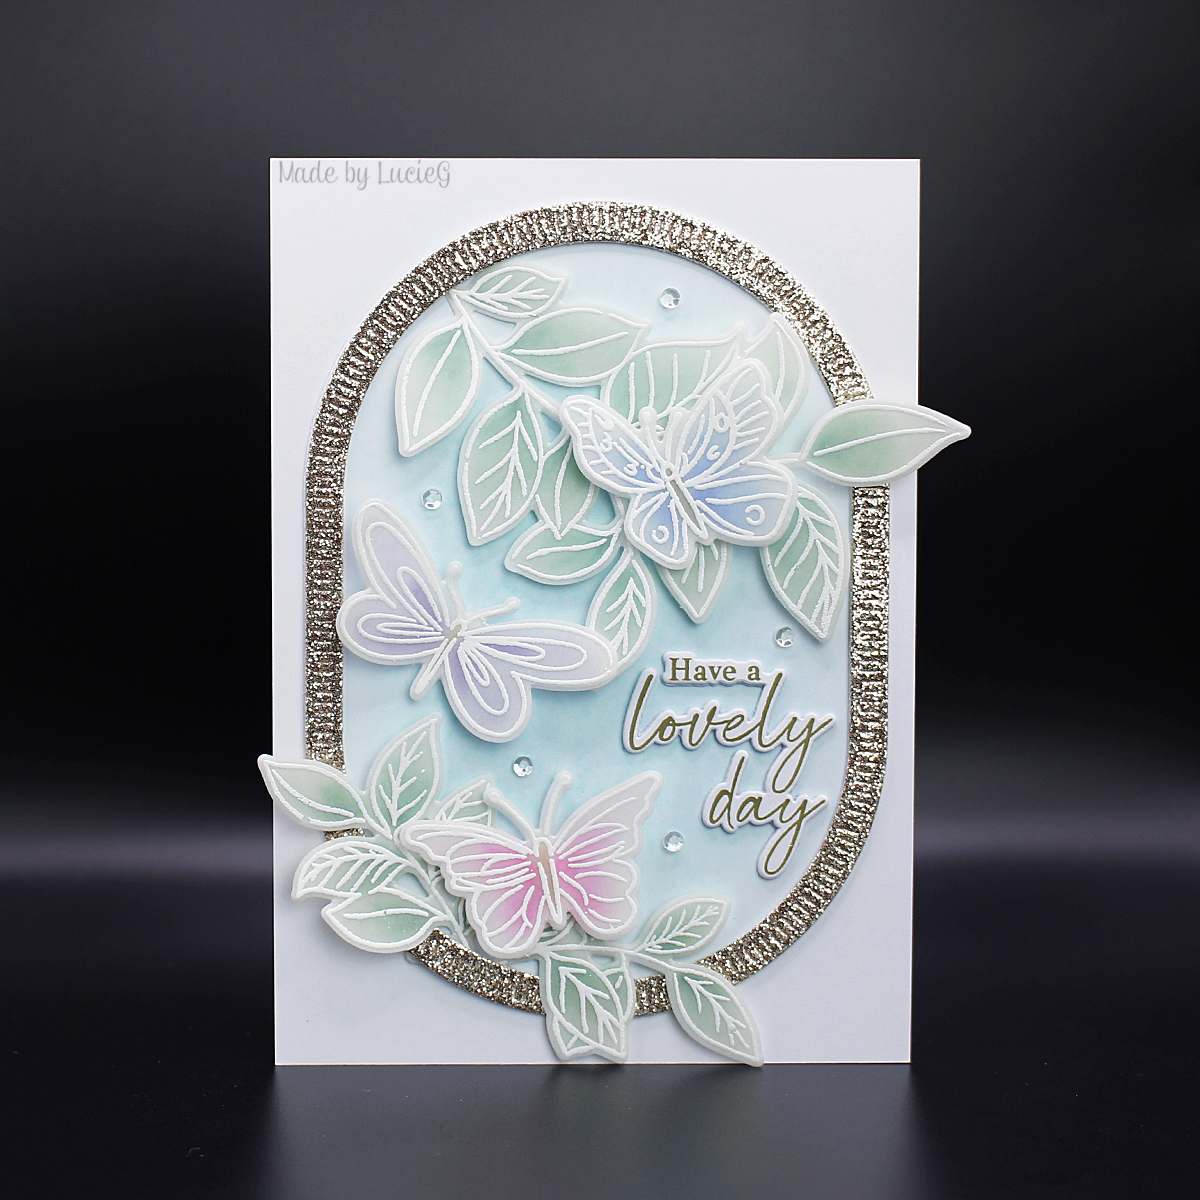
My first card uses minimal supplies – the stamp, a sentiment from the Smile All Season stamp set (30-516), some versamark ink and glitzy embossing powder. I also used a frame from the Stitched Frames die set (51-709).


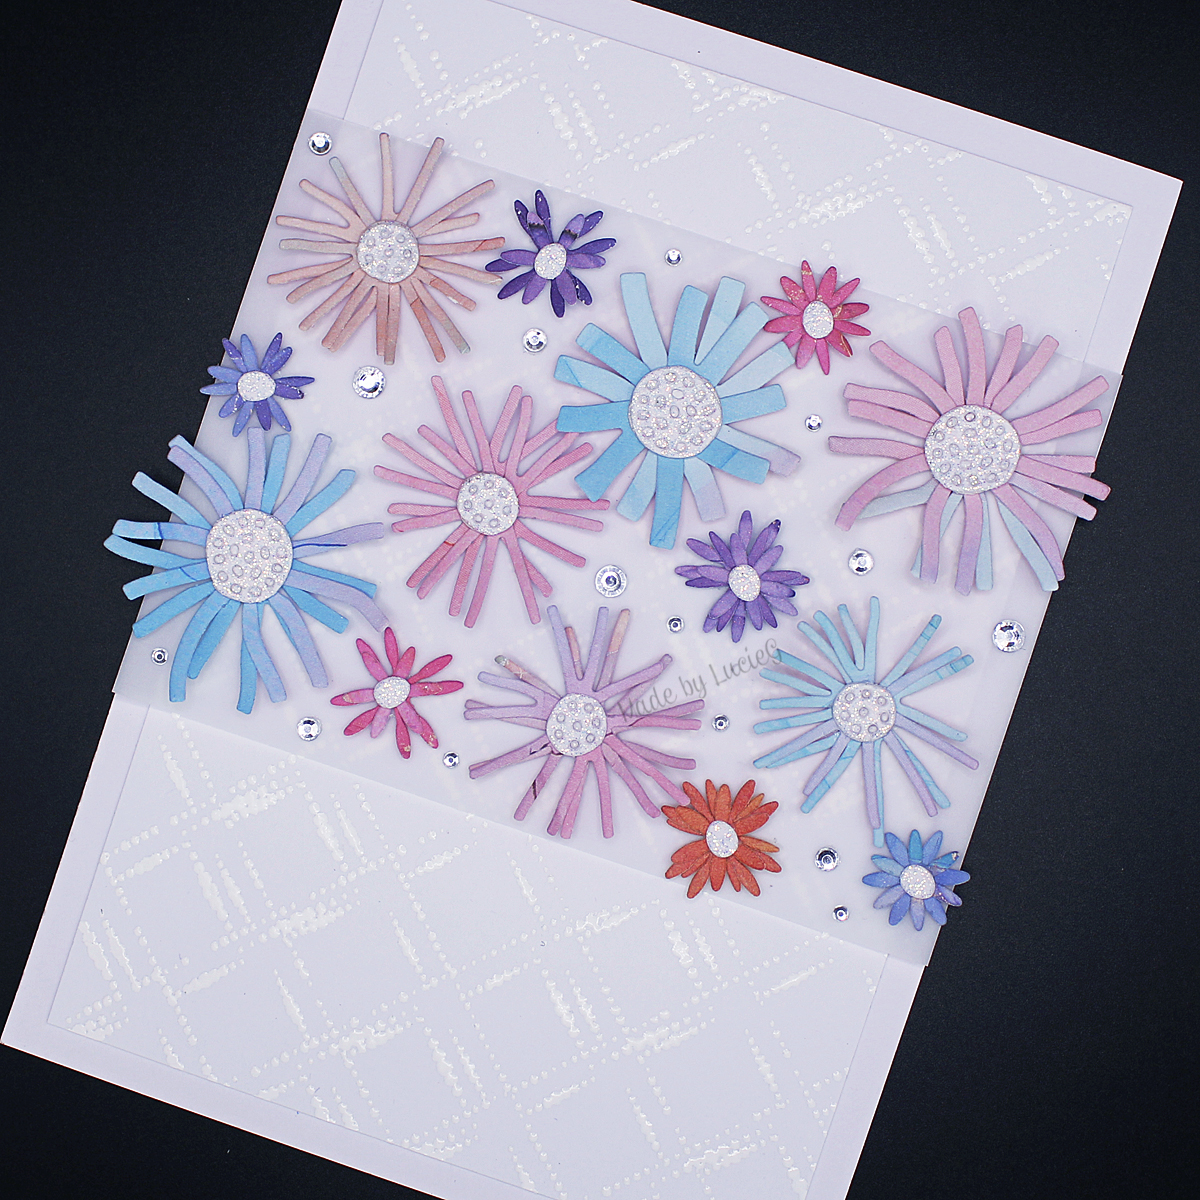
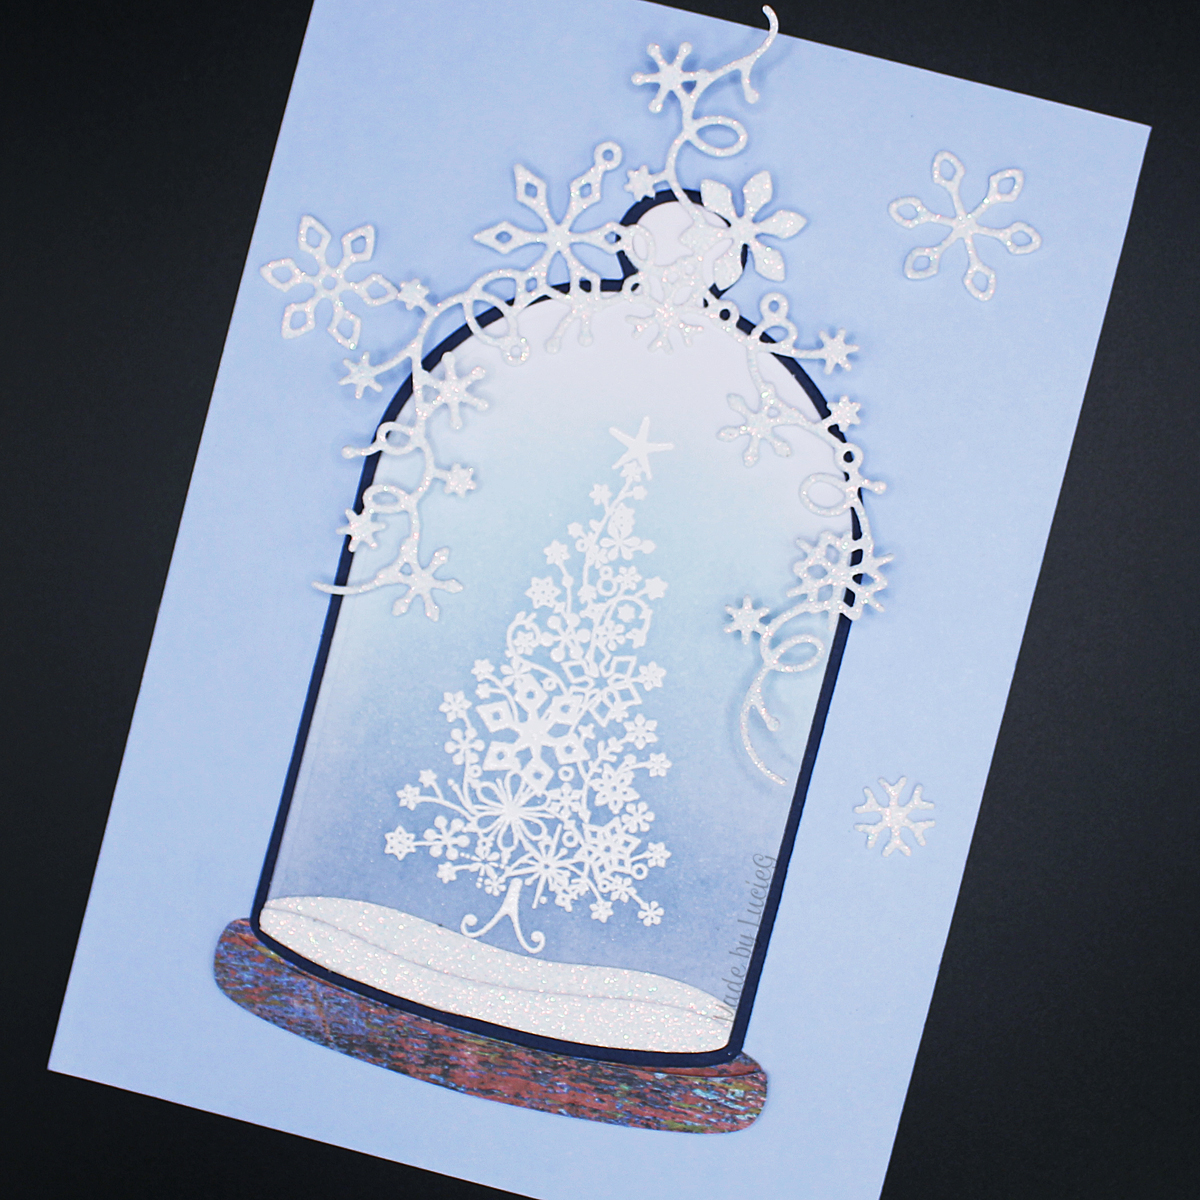
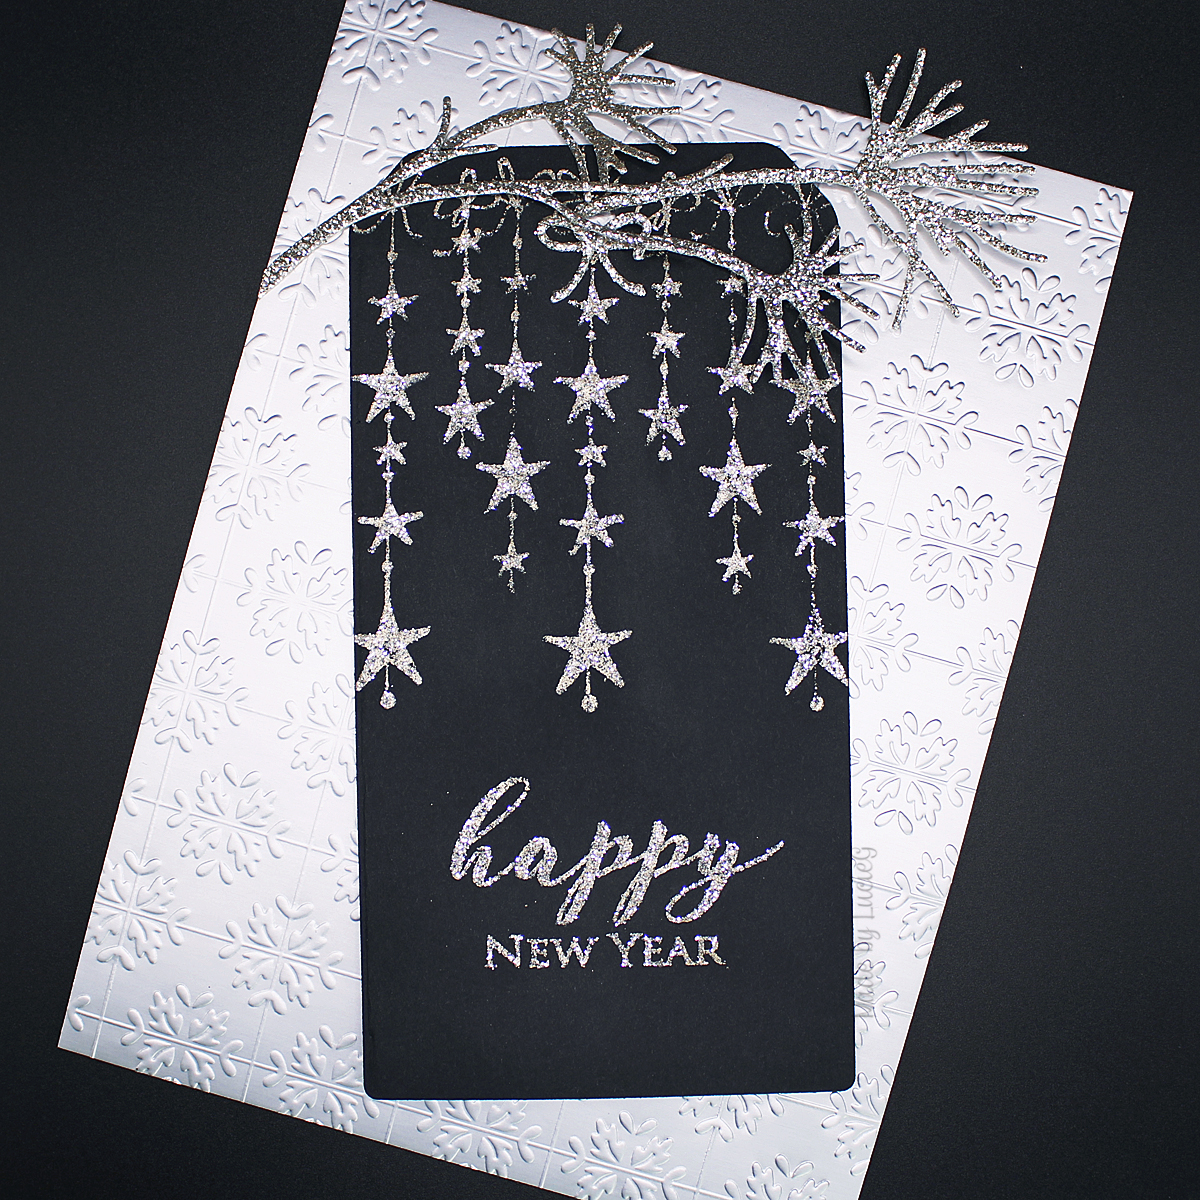
It’s a product explosion on my second card! I used the same stamps from my first card, plus a tag die from the Tagged set (51-007) and dies from the Peaceful Pines set (51-705) and Little Ornaments set (51-090) (bow) plus a tiny bit of branch from the On A Limb set (51-749). The beautiful embossing folder is from the most recent colllection and is called  Filigree (65-010).


I’m going to enter these into Amy’s December Woodblock Wednesday challenge.

Thanks for stopping by!

LucieG.


Beware of the Cat!

Hi everyone!

There’s an amazing sketch over at the Freshly Made Sketches challenge this week – lots of layers!

I chose to make another Halloween card using a bargain Simon Says Stamp embossing folder and a fabulous cat stamp by Picket Fence Studios.

I stamped and embossed the cat image on vellum as I didn’t want to hide the ghosts completely. I ended up using a couple of additional layers of vellum behind the stamped image to soften the ghosts a little.

The sentiment is from the same Picket Fence Studios set.

Thanks for stopping by!

LucieG.