Hi there!
It’s Day 26 of LucieG’s Christmas in July 2025!
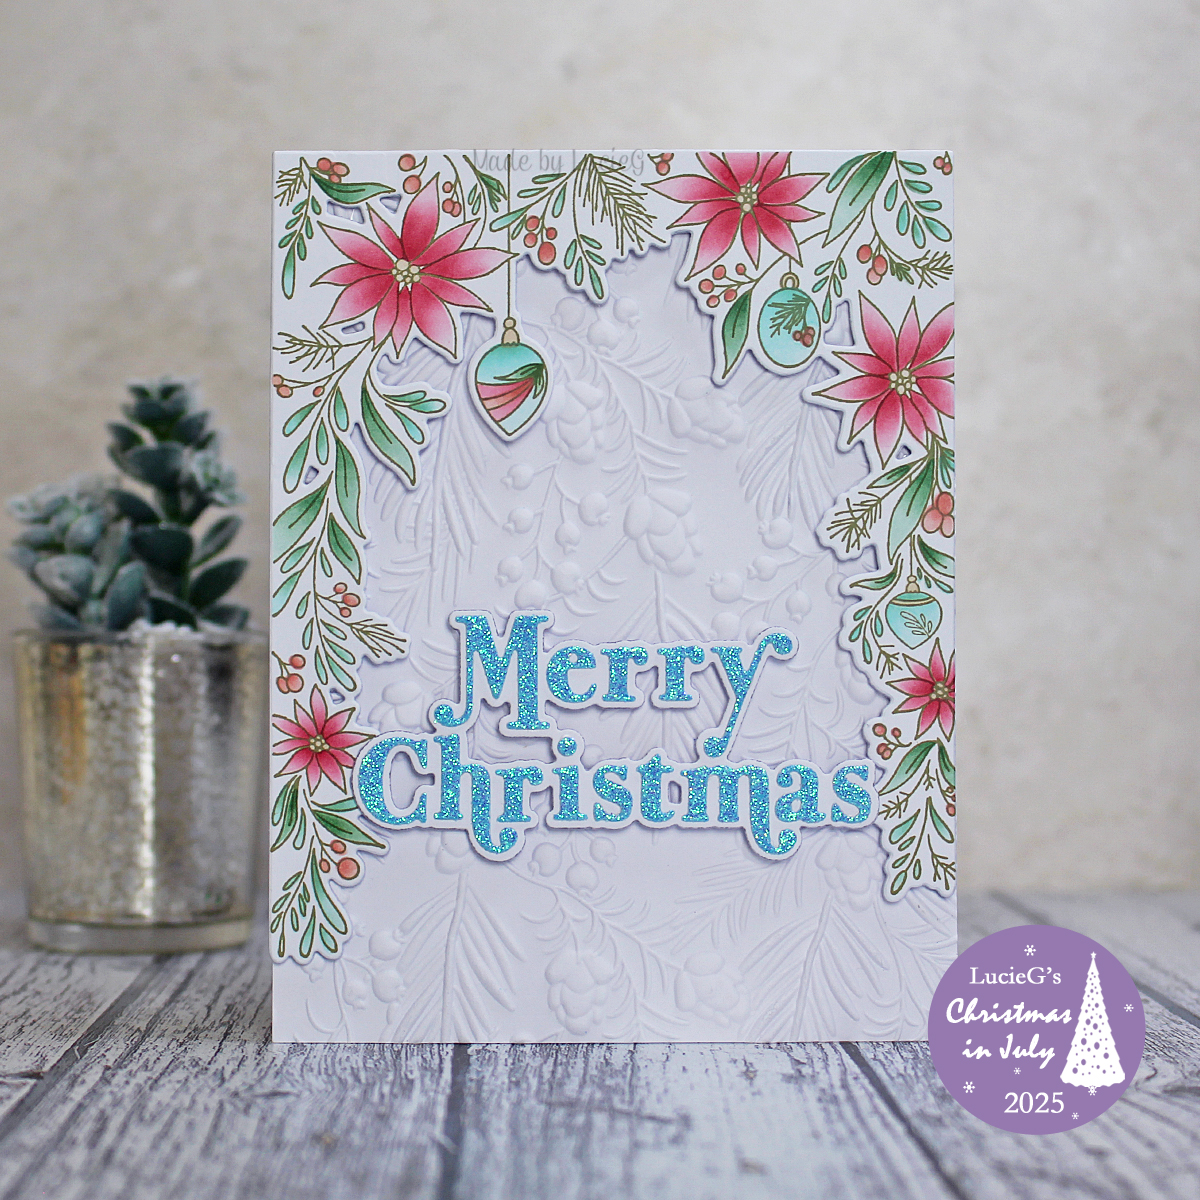
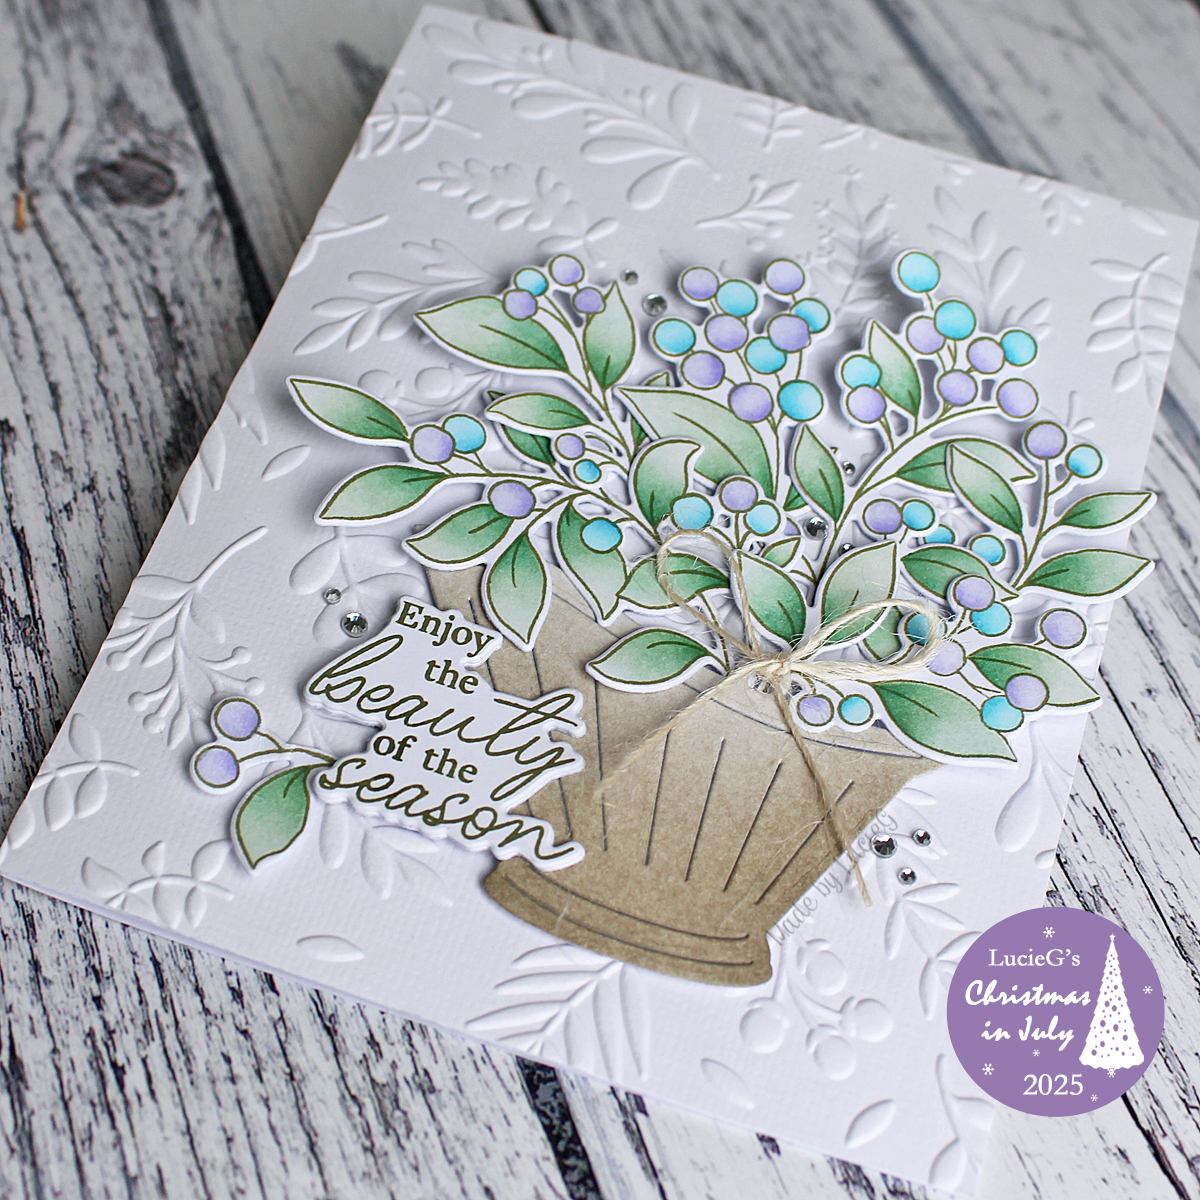
I’m slowly building my Pinkfresh Studio collection and when I saw the Winter Berries product suite, I HAD to have it! It’s retired so it took me a while to track it down, but I’m glad I did – it is a joy to colour!
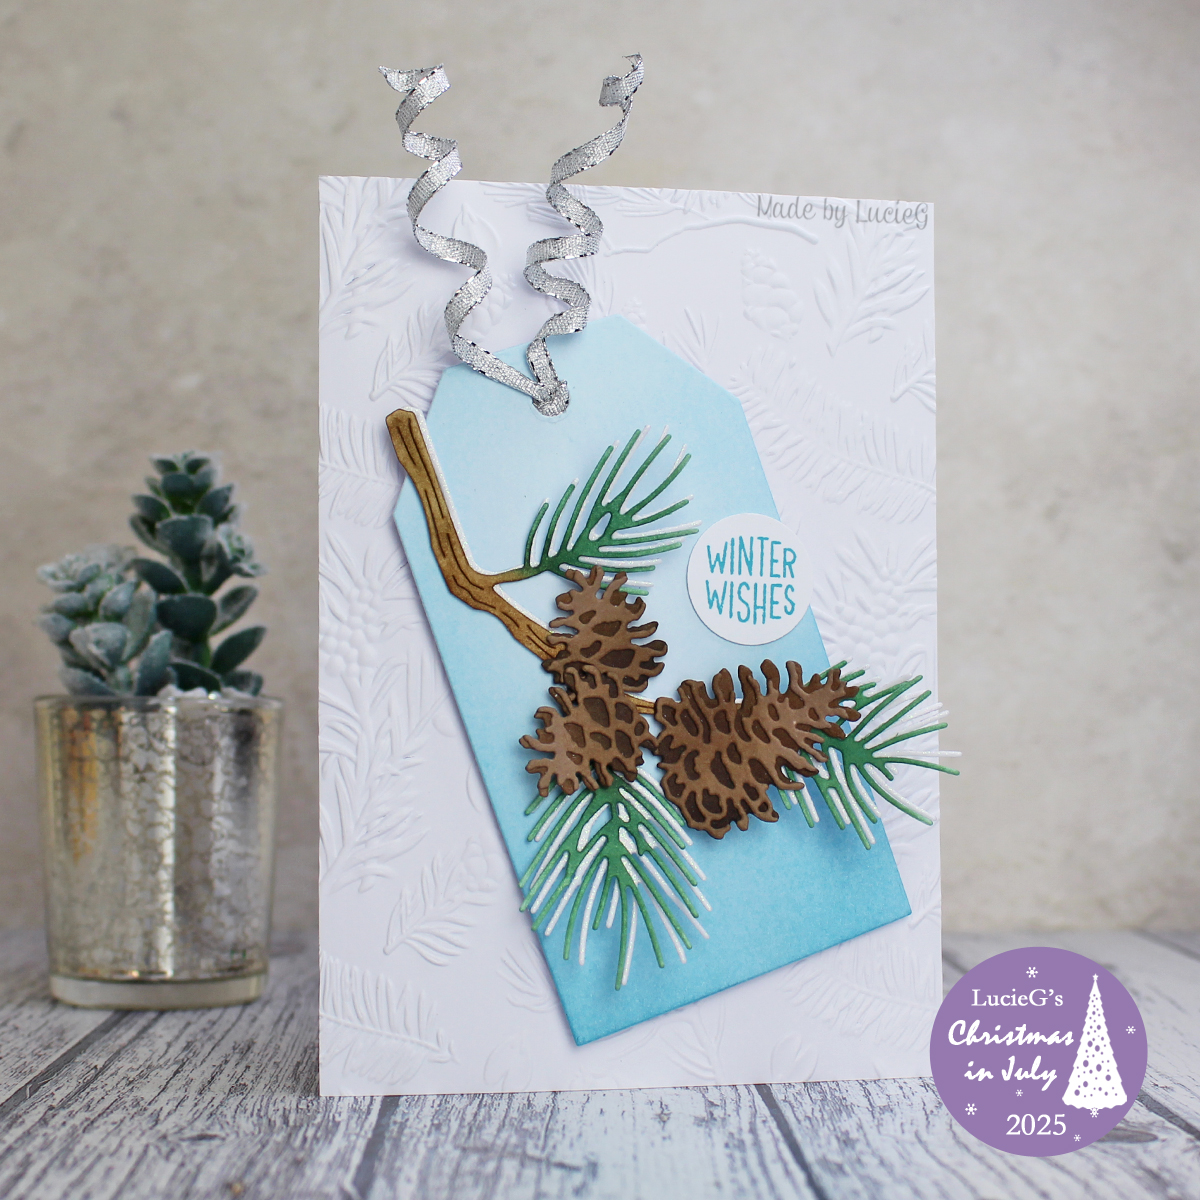
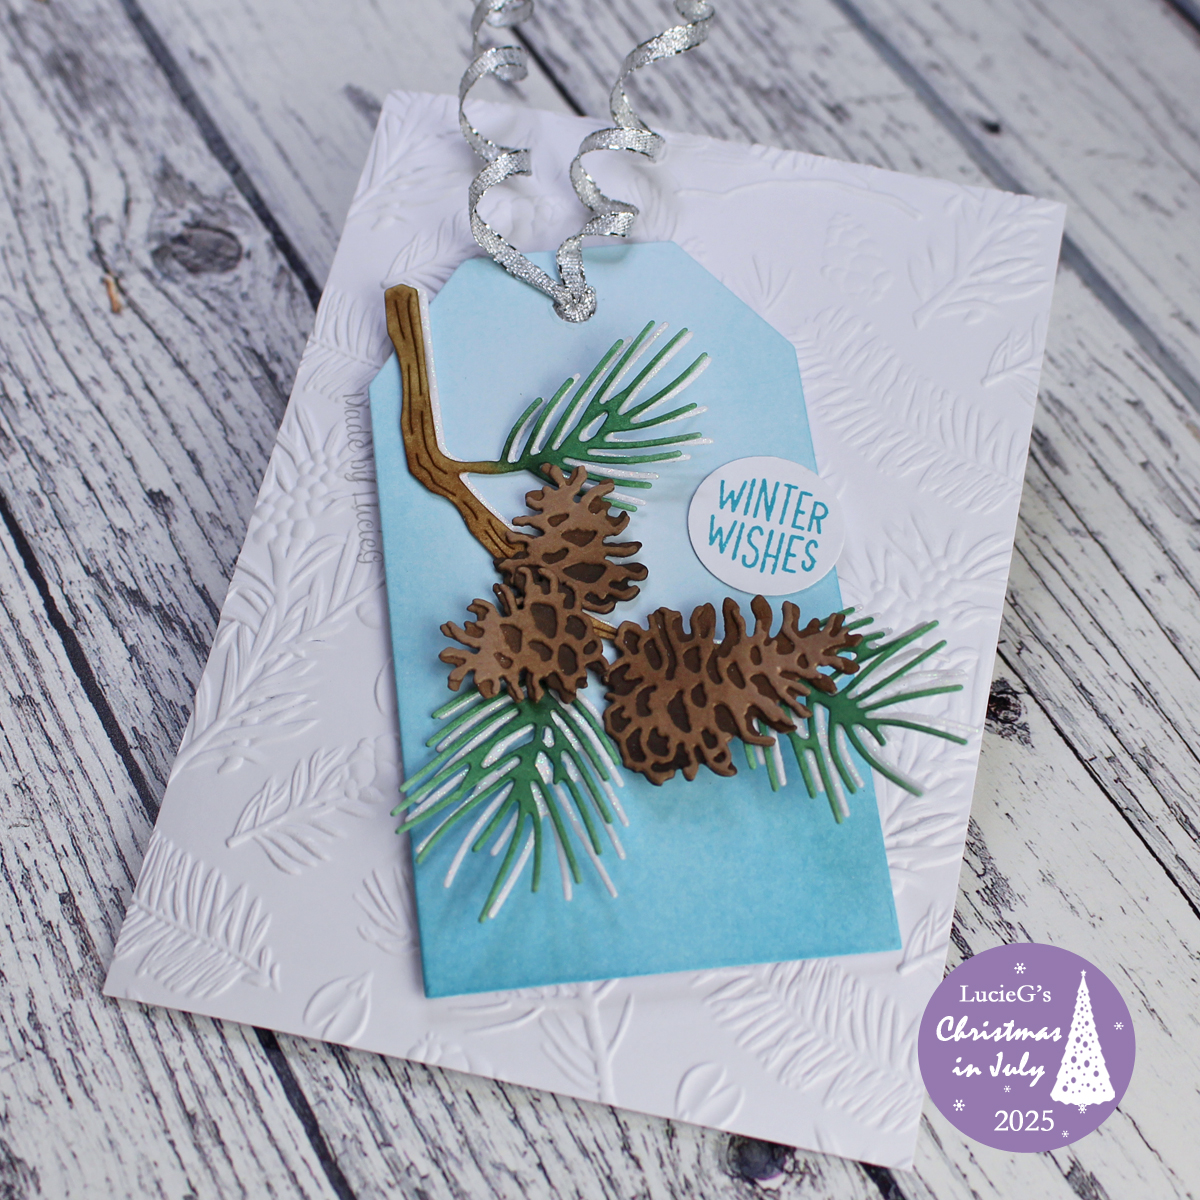
Today, I arranged all the die cut berry branches in a pail from the Taylored Expressions Antique Pails set and adhered everything to a base layer that I had embossed with a Nellie Snellen folder.
Thanks for stopping by!
LucieG.