
Hi everyone!
I’m playing along with Martin’s 30 Day Christmas Card Challenge this month.
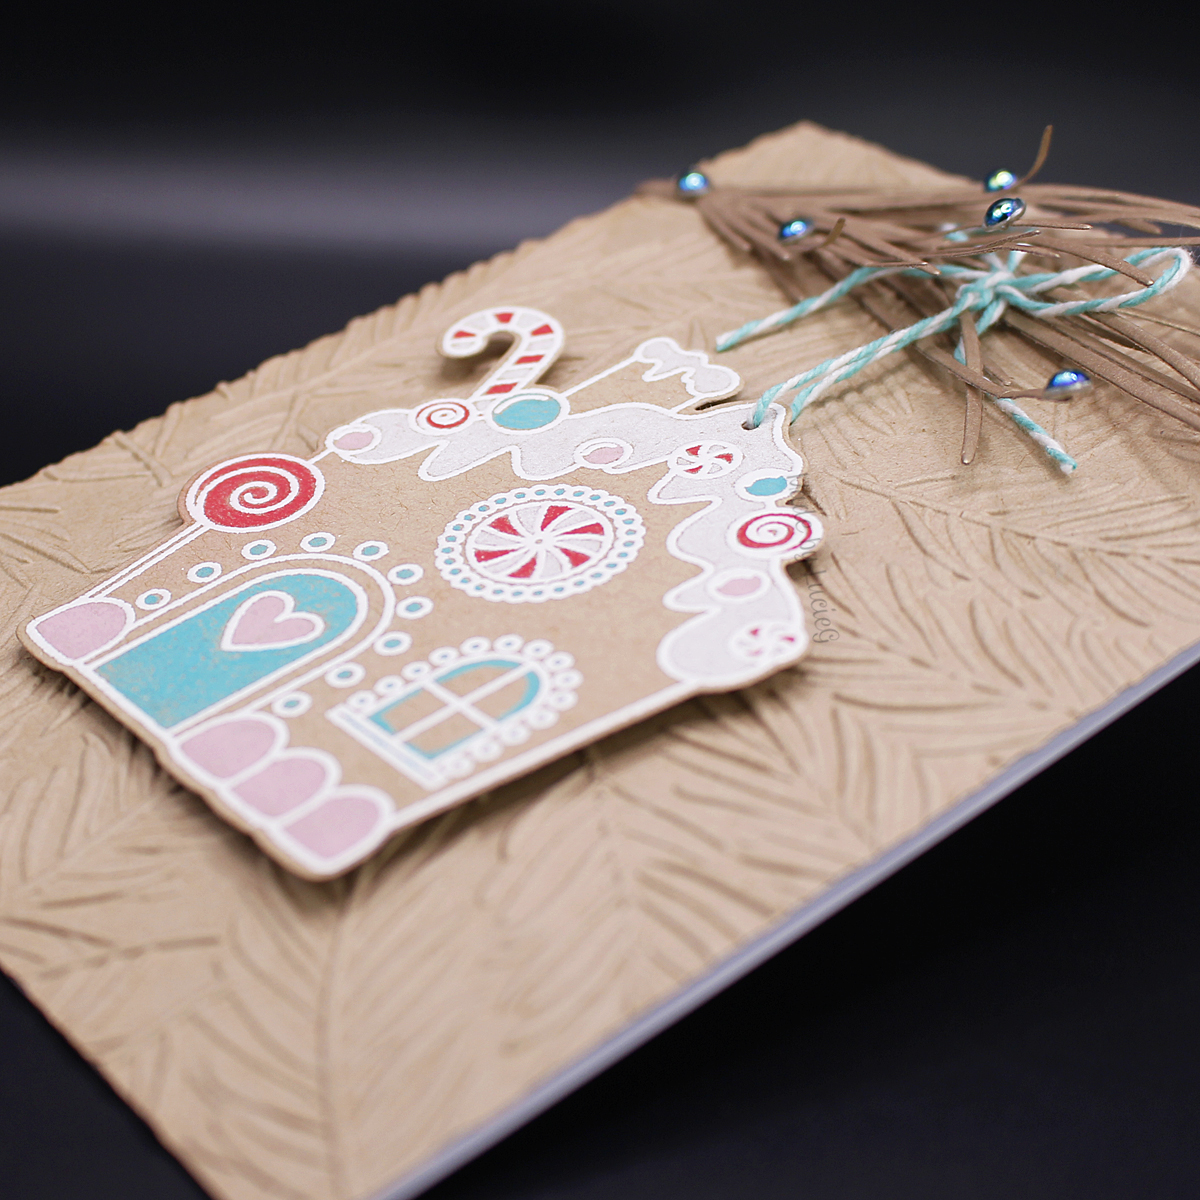
 The theme of today’s challenge is ‘deck the wreath’.
After some prevarication, I ended up creating a wreath with Spellbinders pine branch dies, bedecked with lots of fabulous dew drops for my take on the theme.
The embossing folder is also by Spellbinders and the sentiment is by Creative Expressions.
Thanks for stopping by!
LucieG.