Happy Festive Friday everyone!
Welcome to Day 19 of LucieG’s Christmas in July 2024!
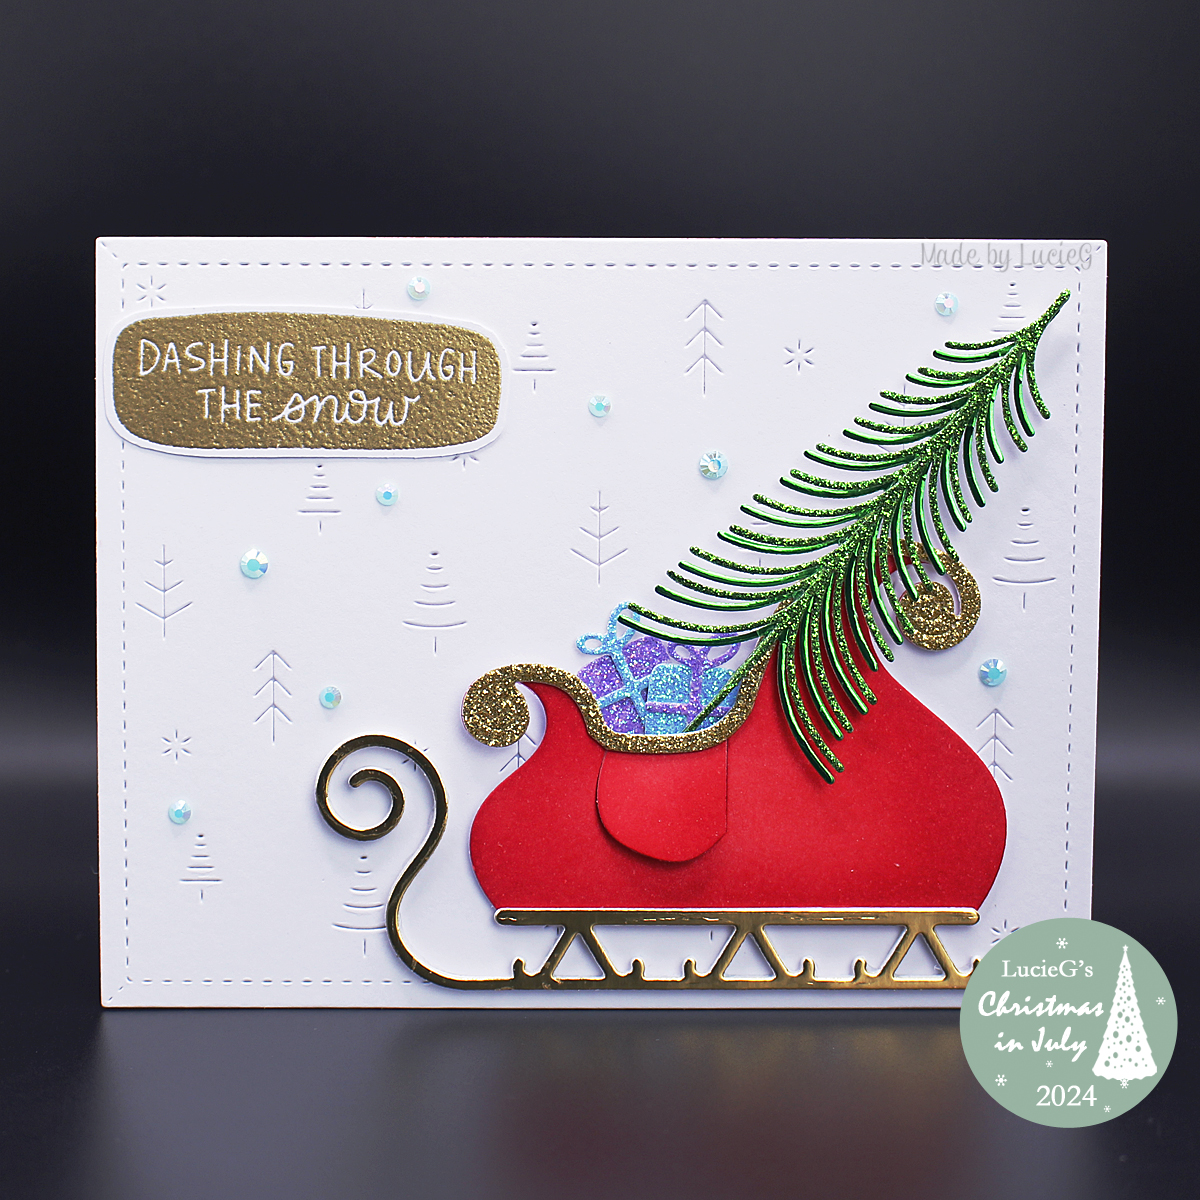
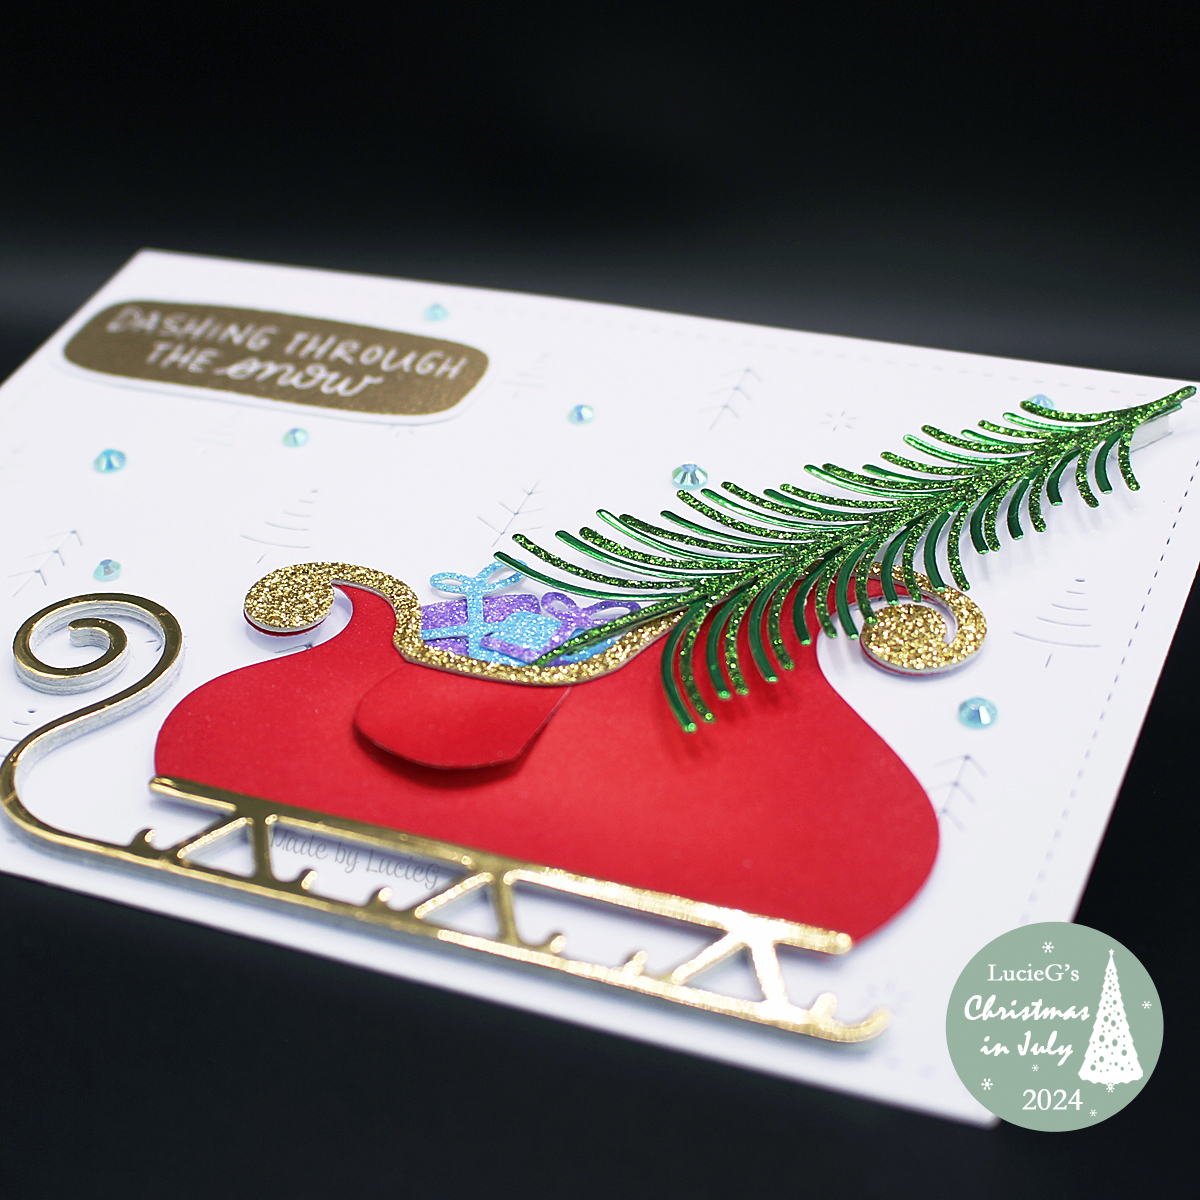
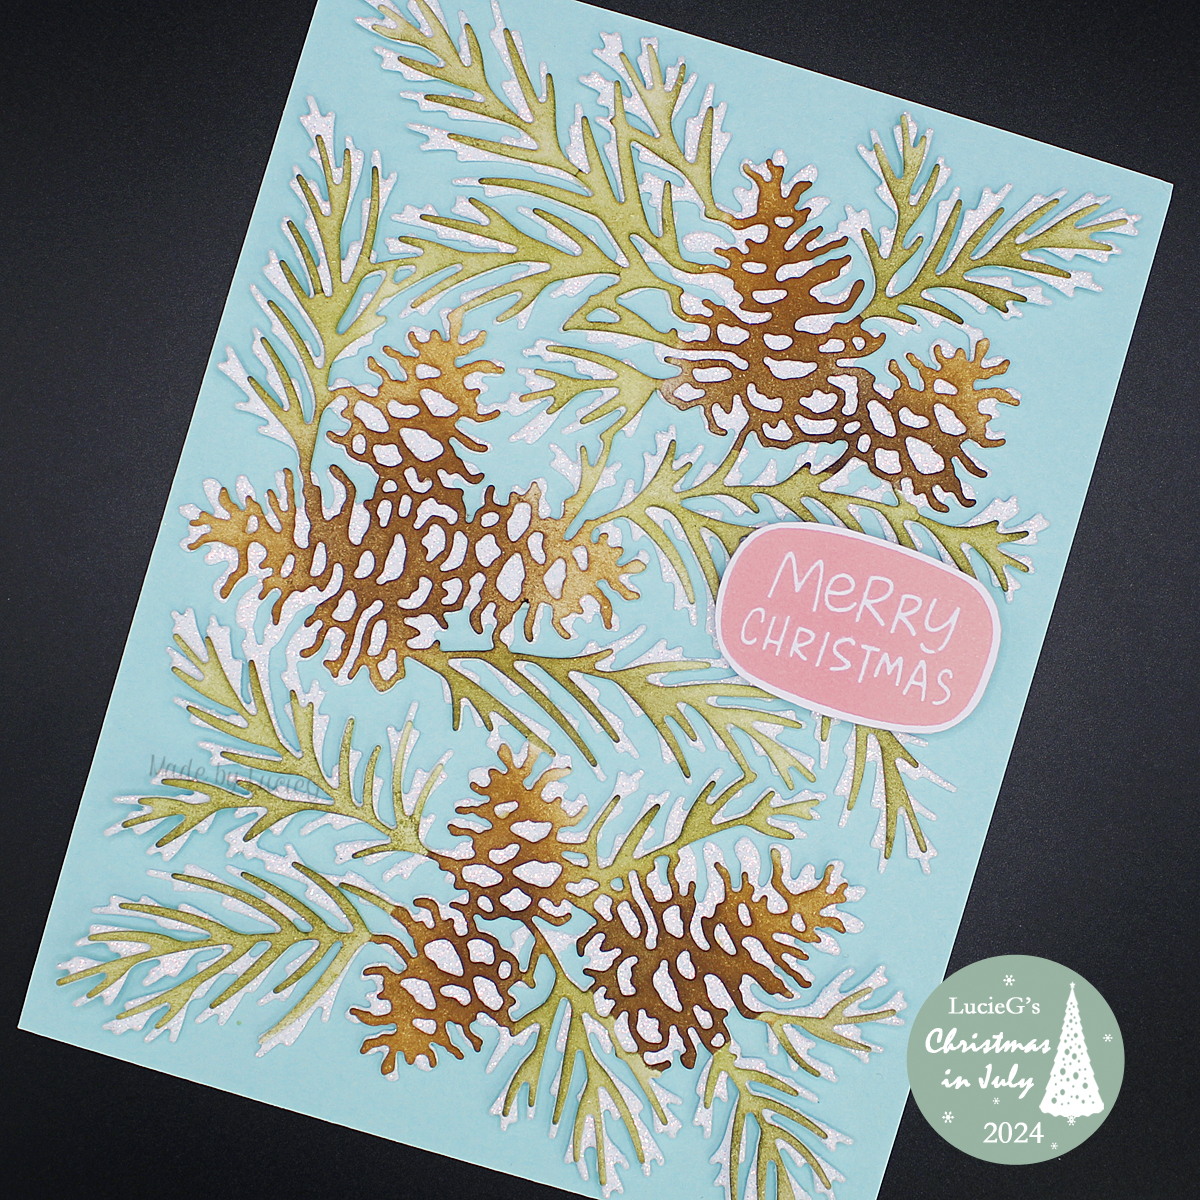
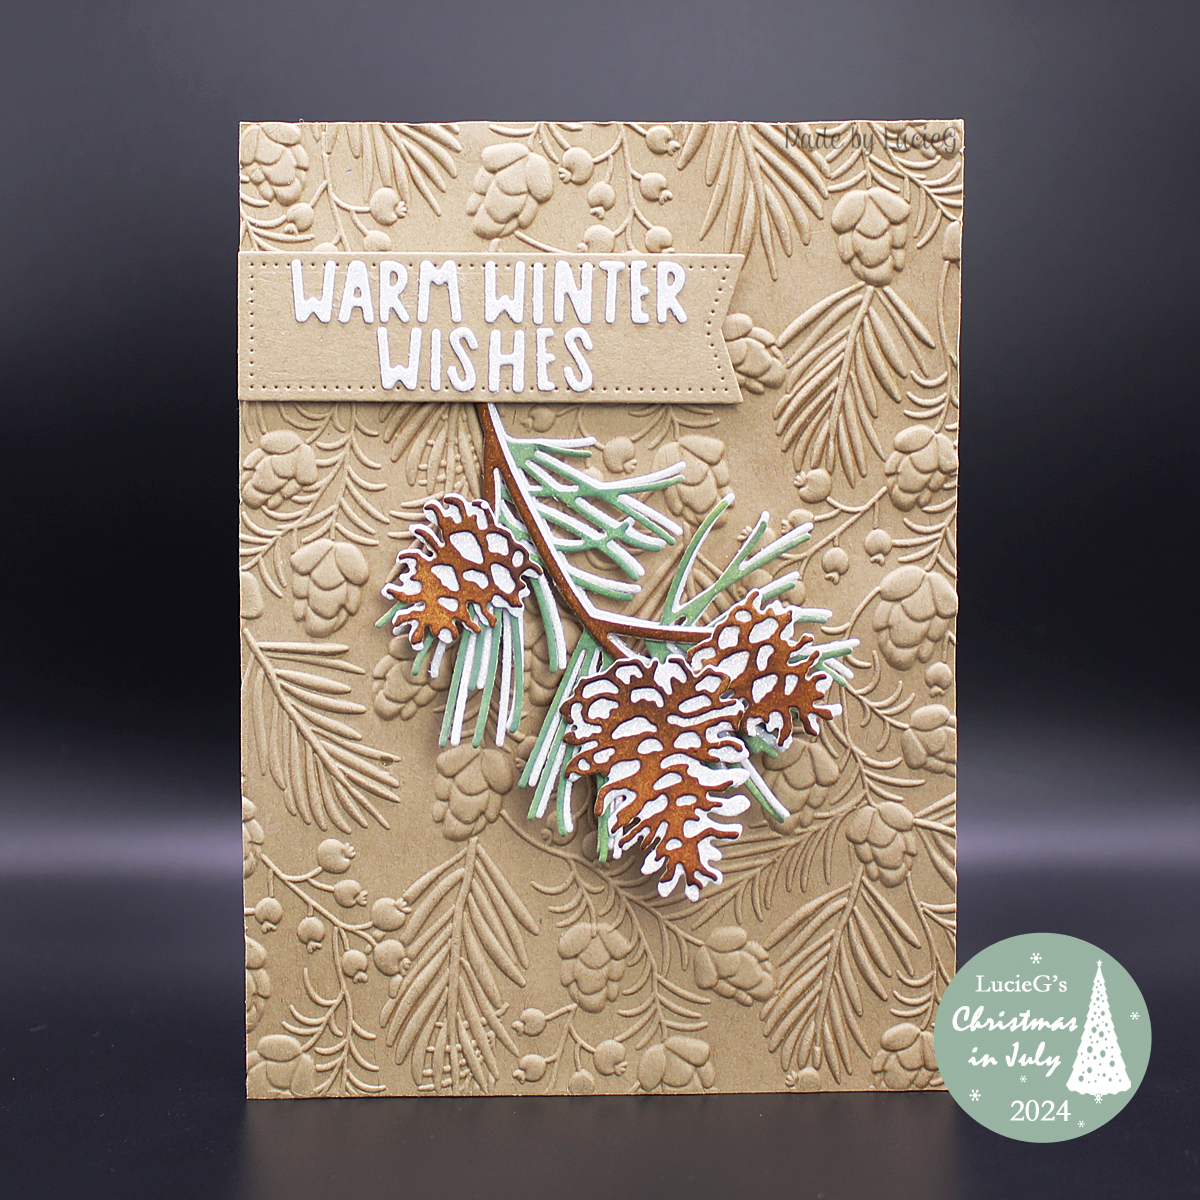
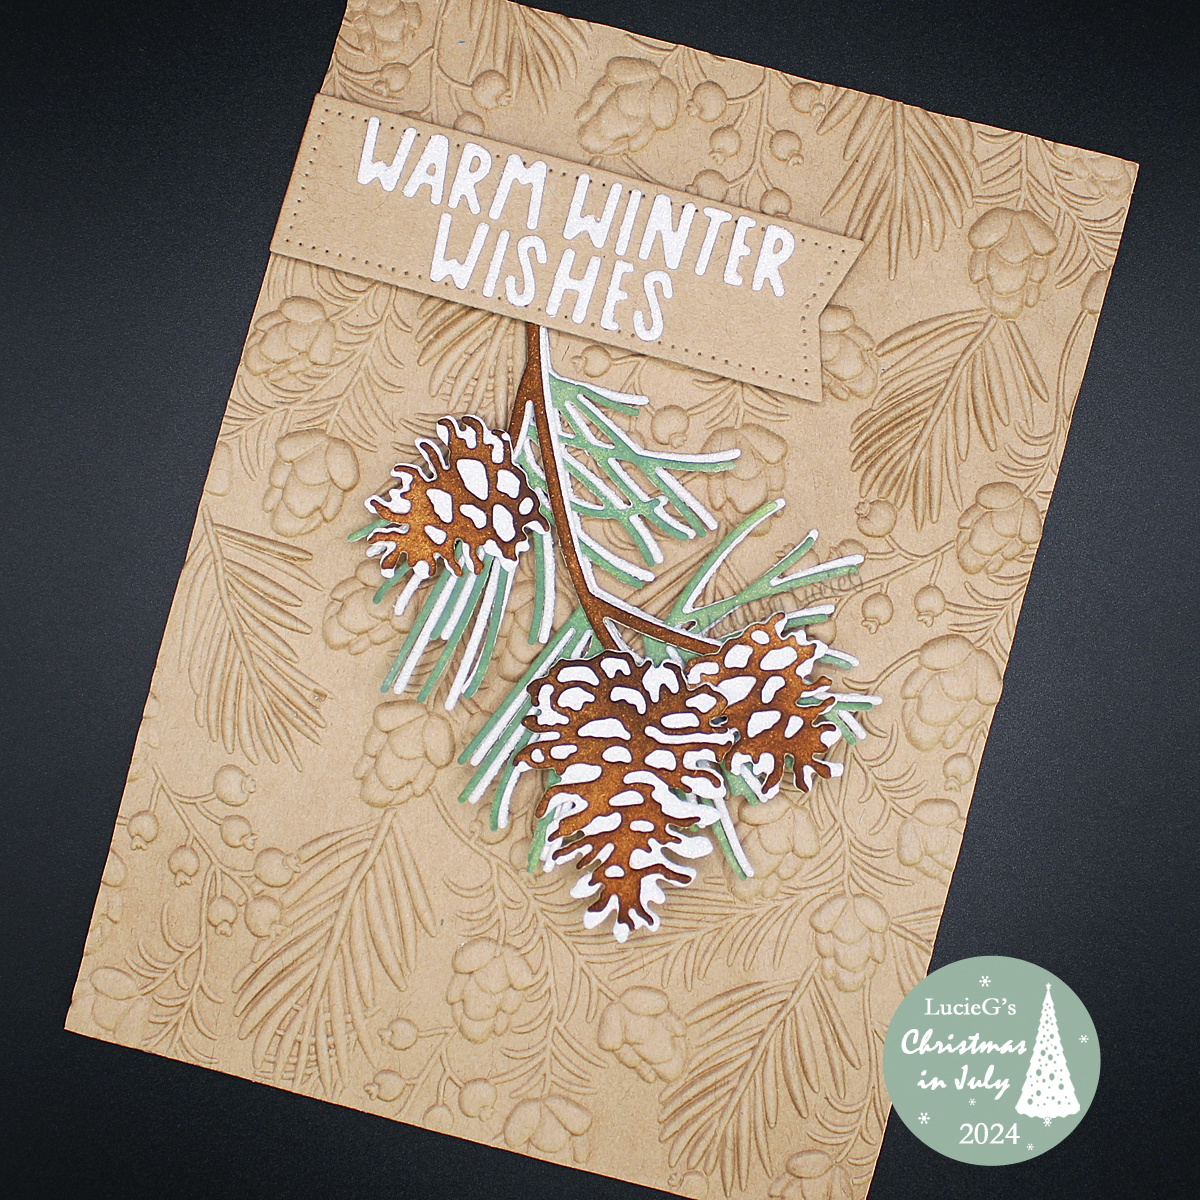
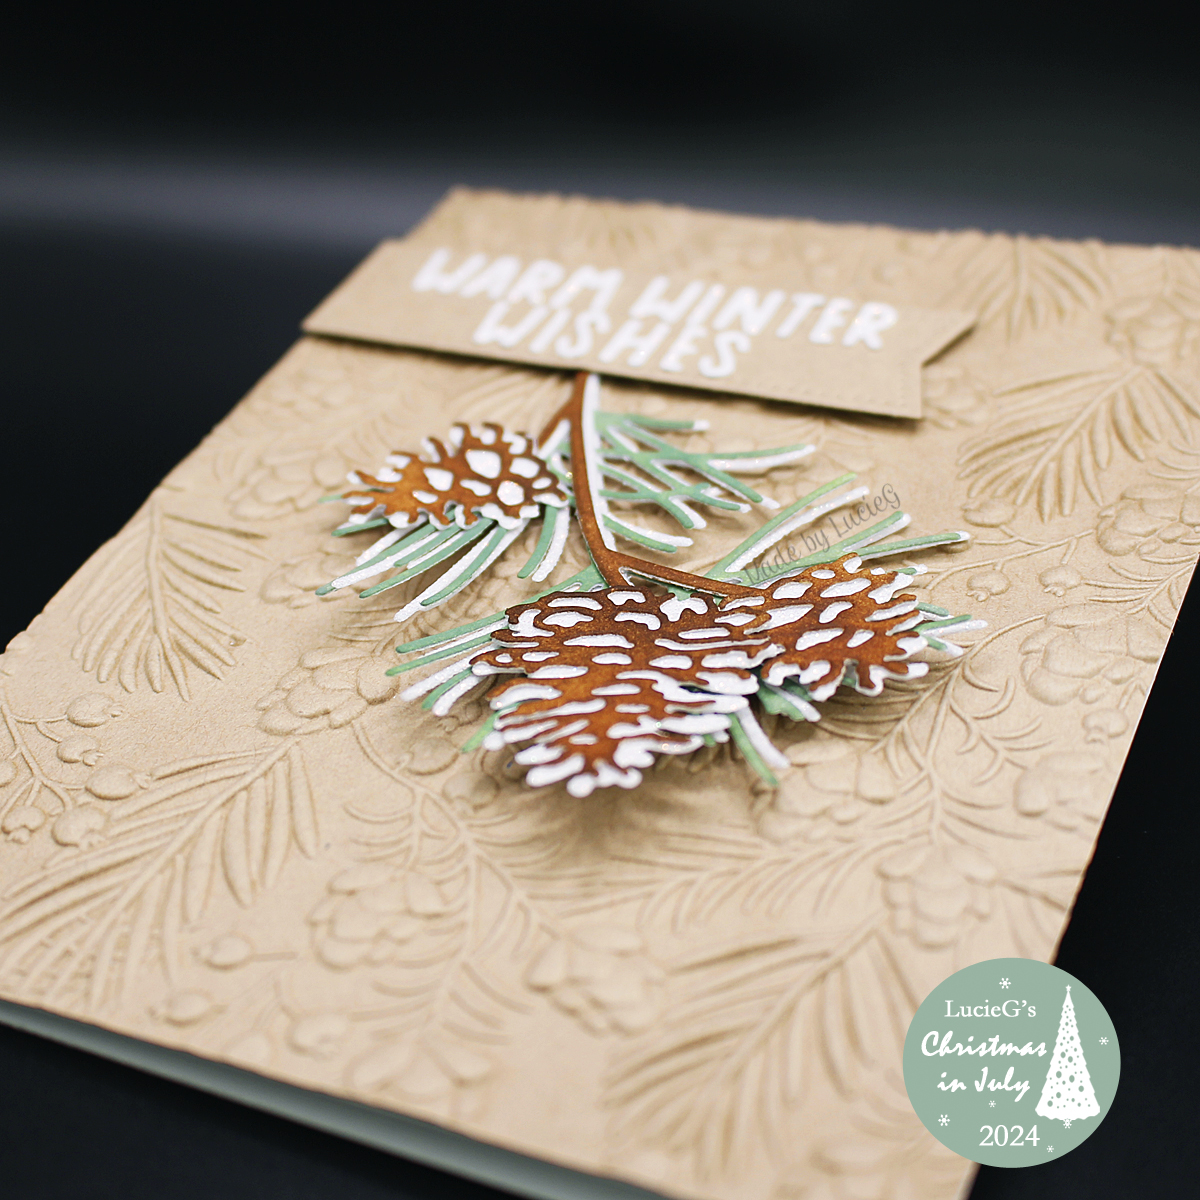 The Spellbinders July Club 3D embossing folder is called Pine Cones & Berries so of course I had to have it! It arrived this morning and it is absolutely STUNNING – the texture is amazing, and I just had to make a card with it straightaway!
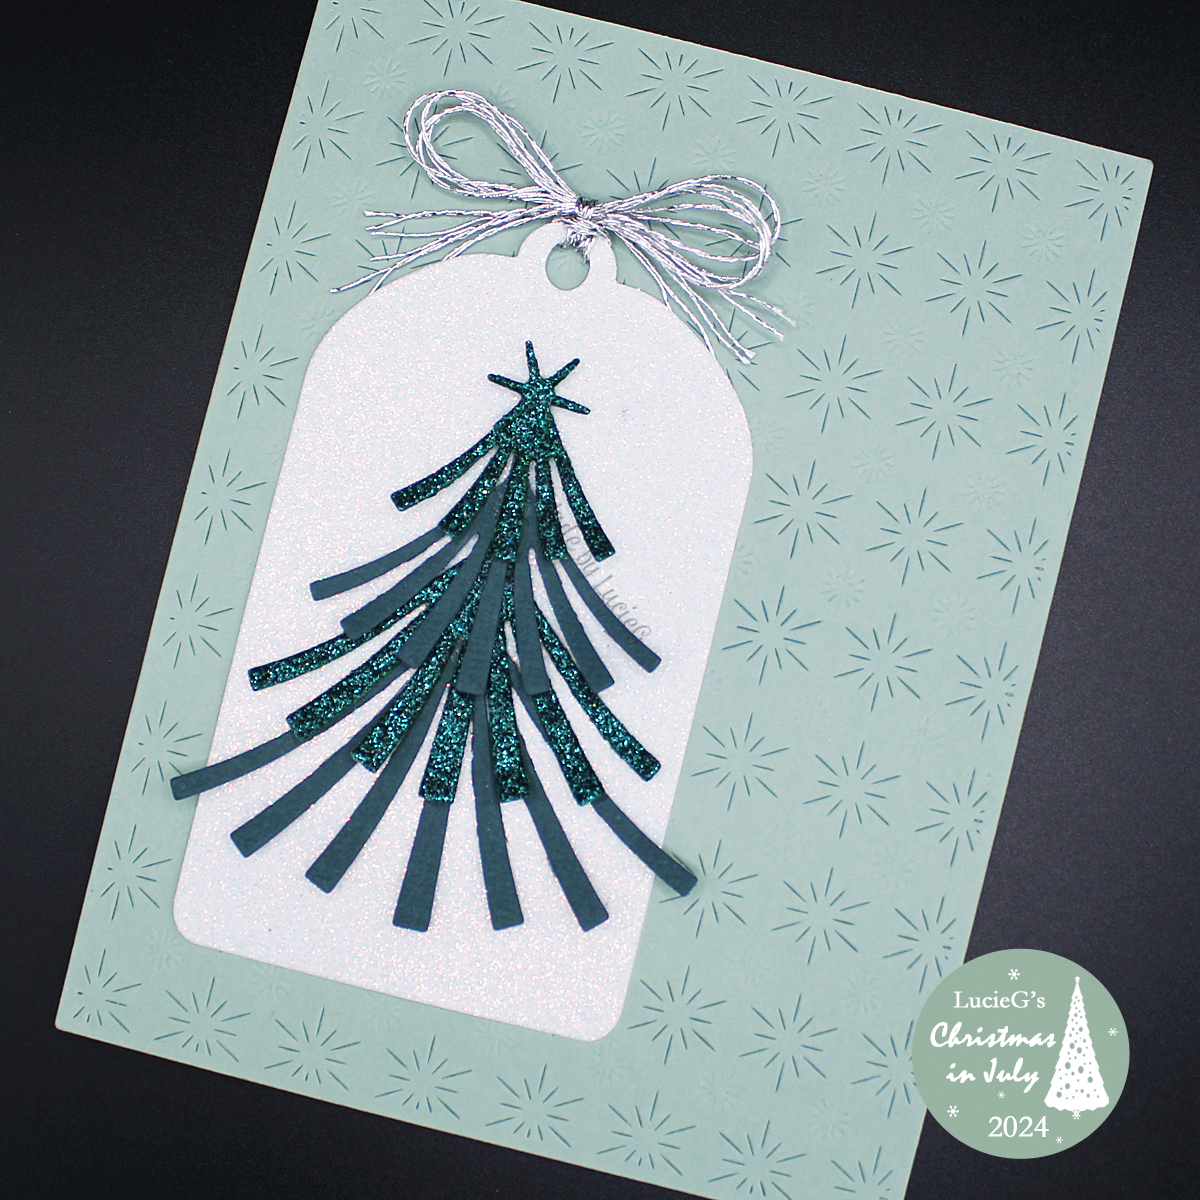
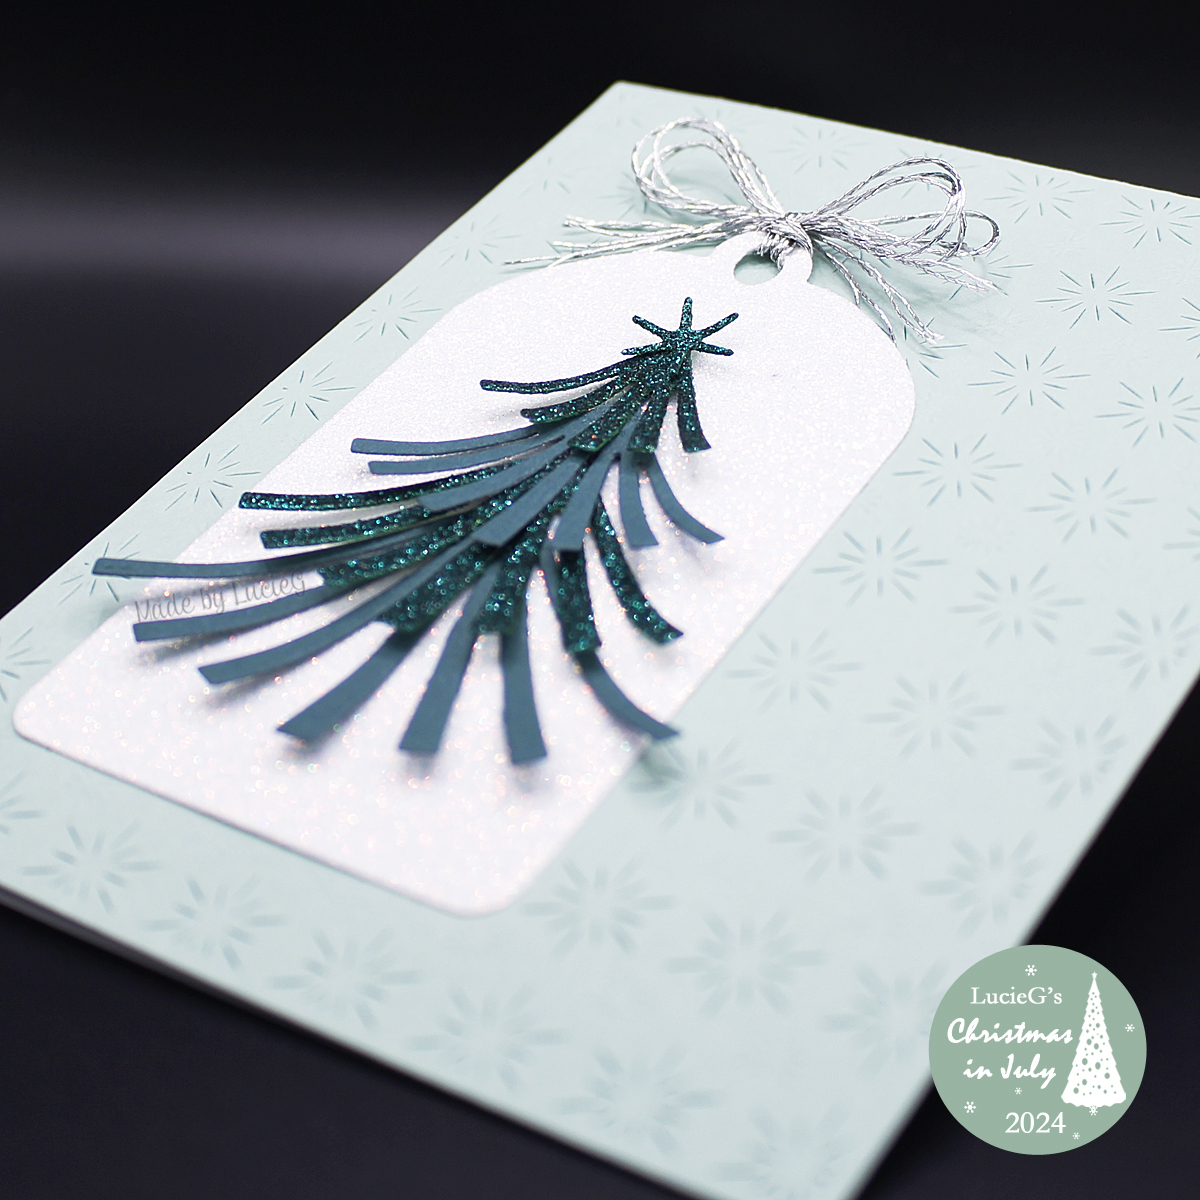
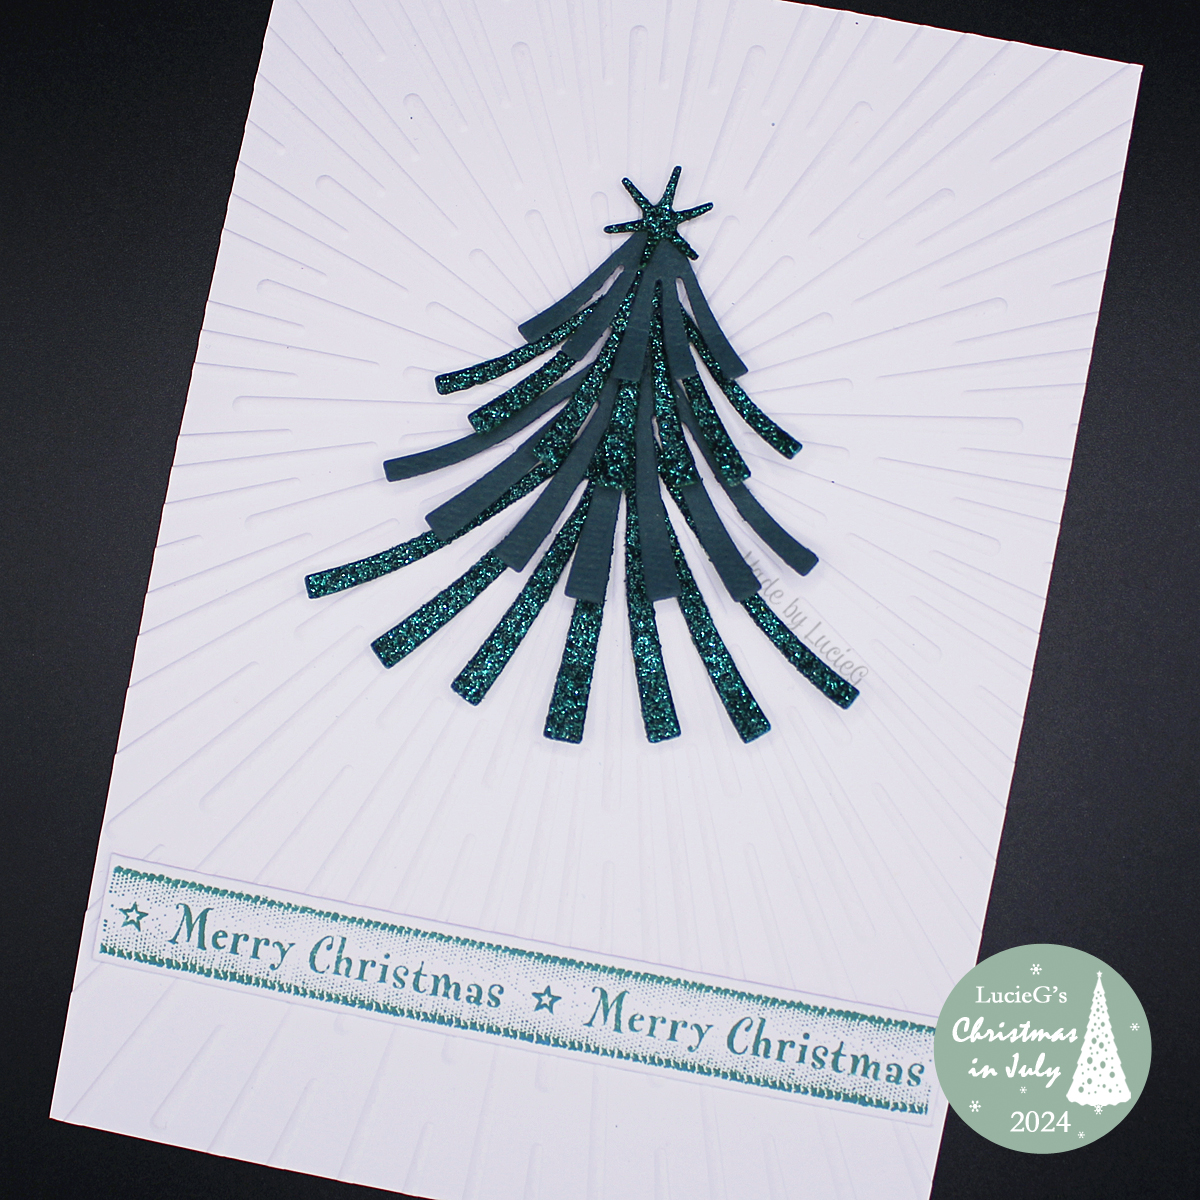
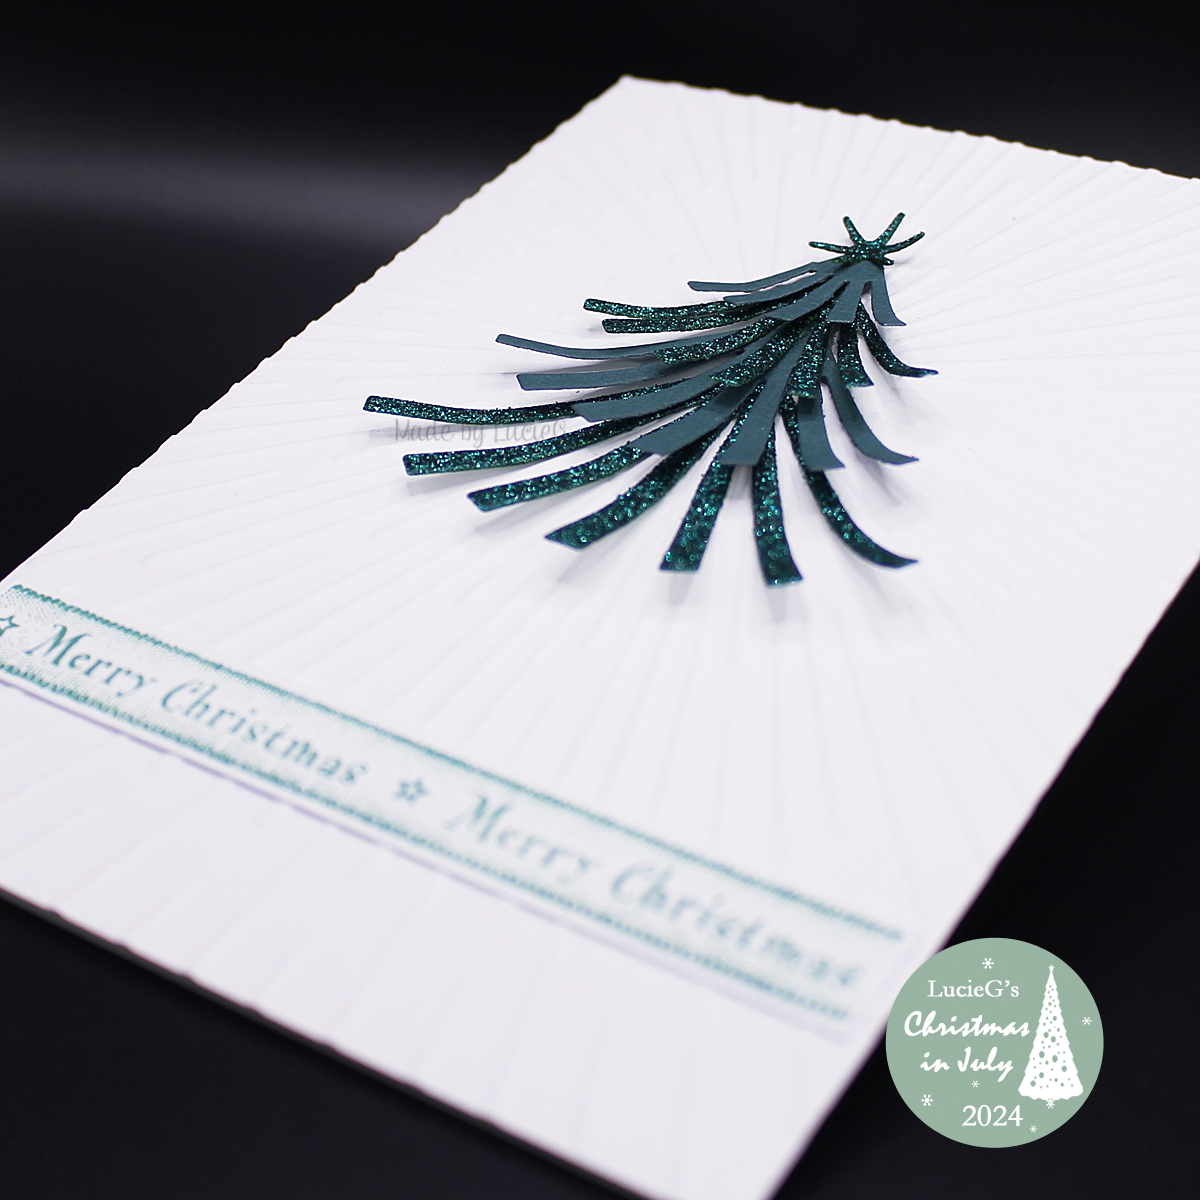
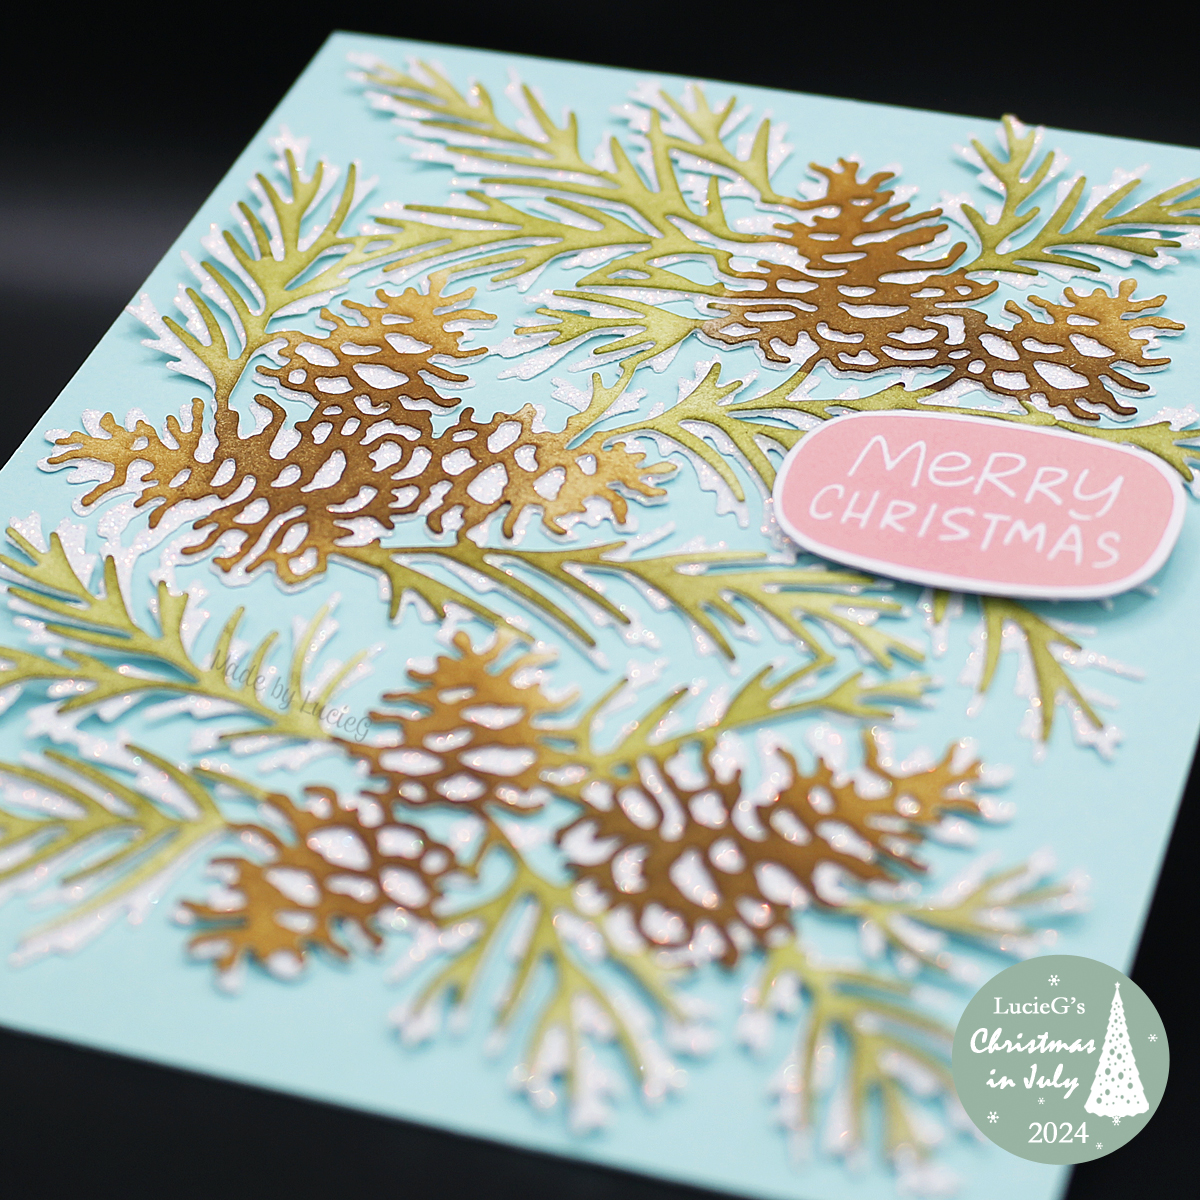
I paired it with a Tim Holtz/Sizzix pine die and some cones from the Stampin’ Up Christmas Pinecone die set. Again I uses layers of white glitter card for snow, but you can’t see the glitter very well in my photos sadly!
The sentiment is also by Sizzix.
Thanks for stopping by!
LucieG.