Hi everyone!
I’m playing along with Martin’s 30 Day Christmas Card Challenge this month.
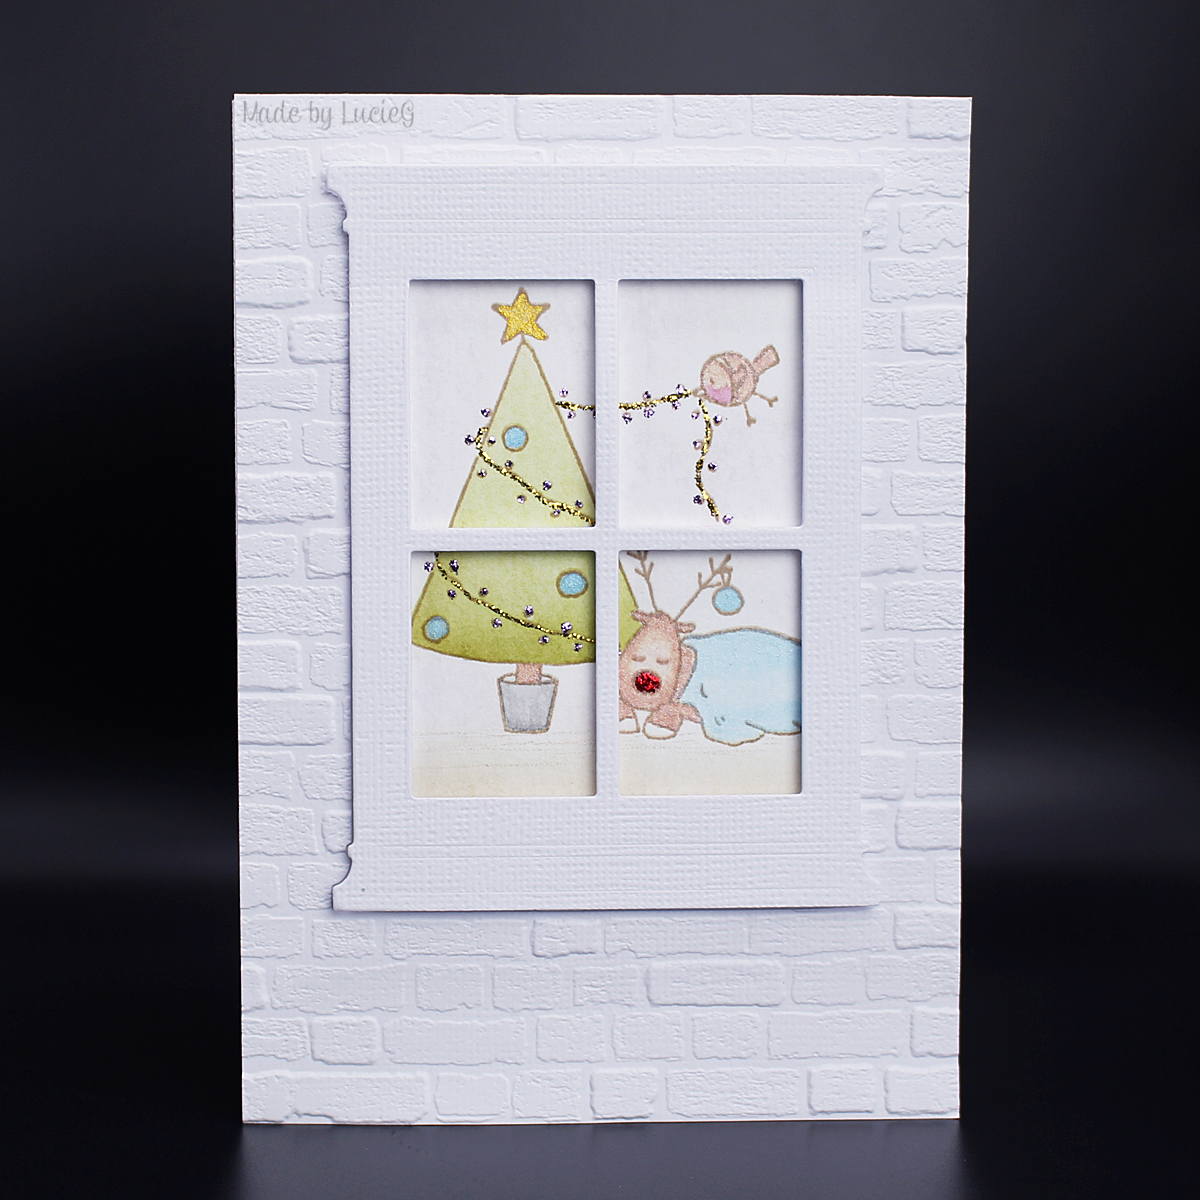
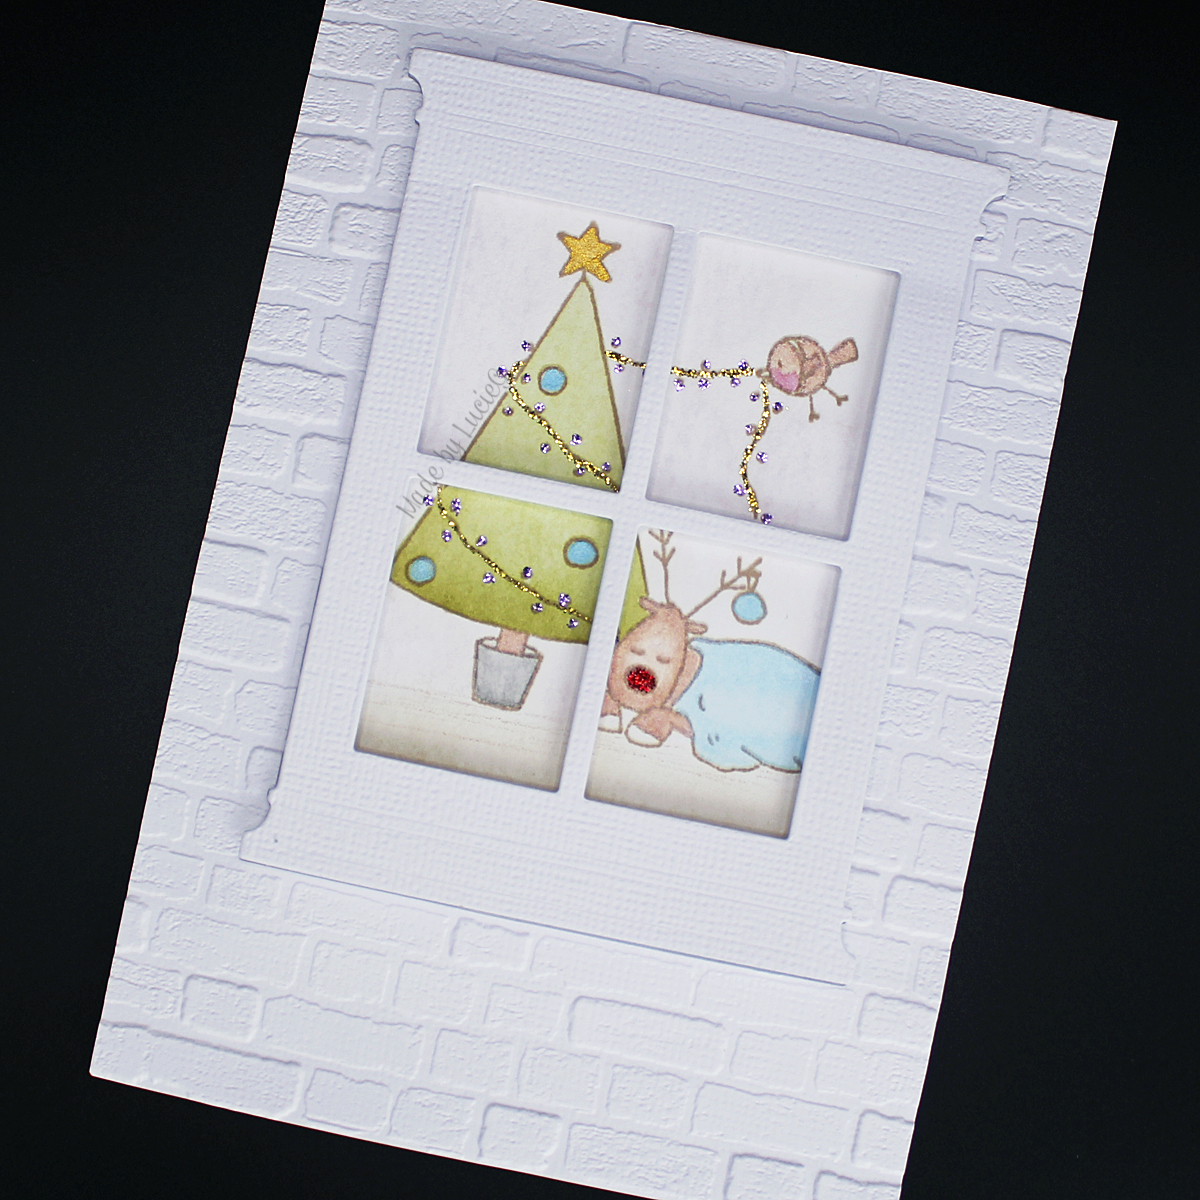
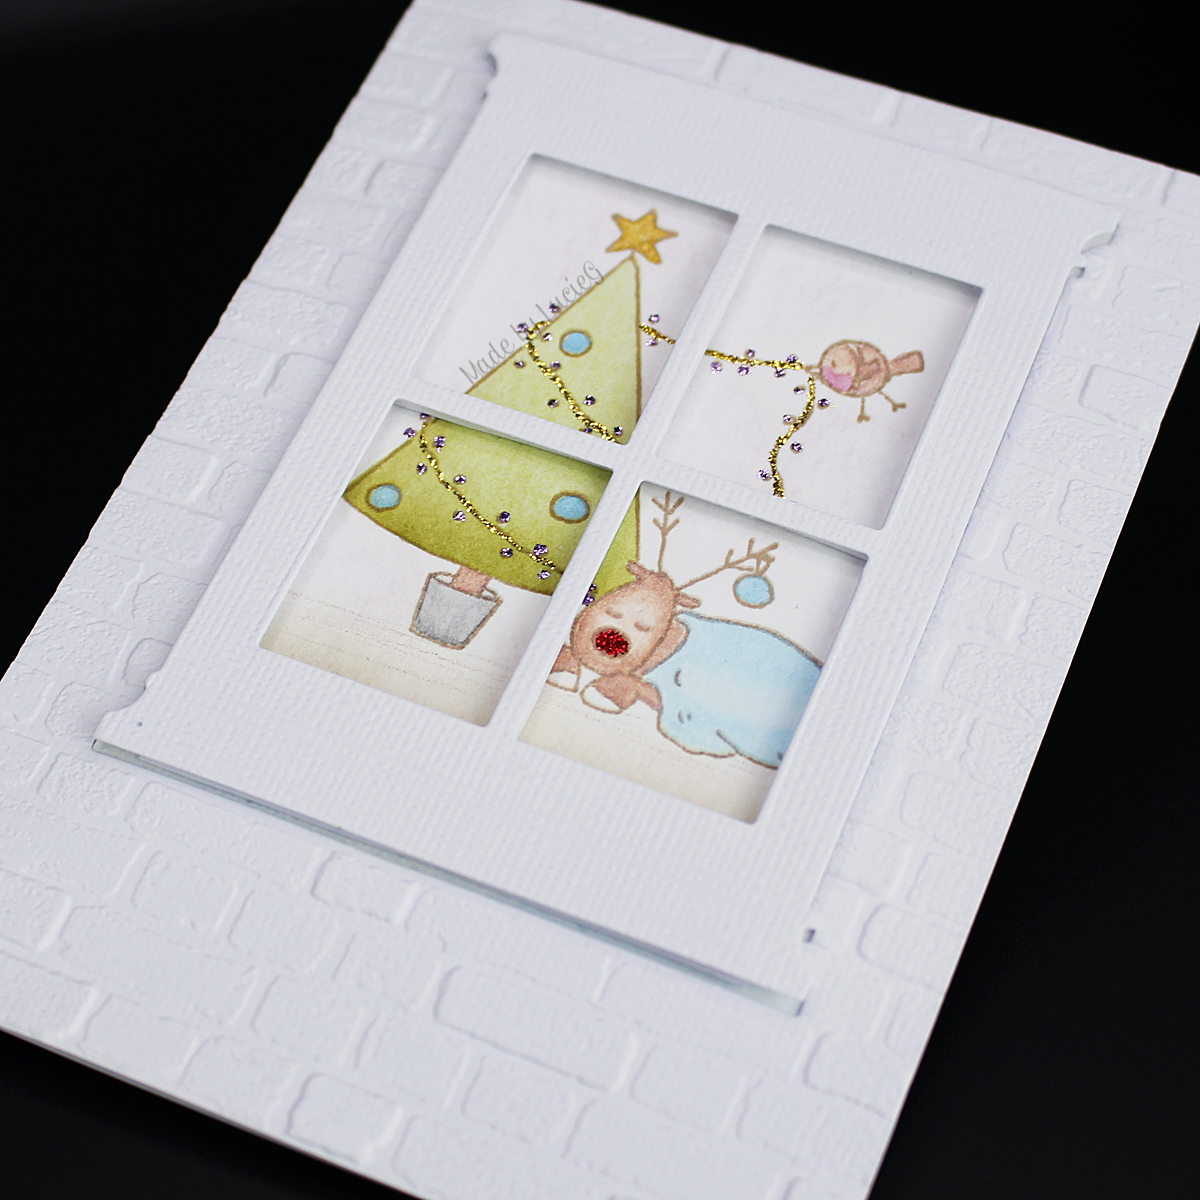
 The theme of Day 14’s challenge is ‘Christmas morning’.
It took me a long while to choose a stamp for this challenge! I asked a few friends what the theme conjures up for them – they said presents but I wanted to take a different route…
I originally thought of a peaceful landscape to create a Christmas dawn but while looking through my older stamps, I unearthed my Elzybells stamps and found this sweet Rudolph image. I immediately thought that this could be my different take on the theme – dear Rudolph, completely exhausted on Christmas morning after his very busy night!
I coloured the image with my Twinkling H2O paints and distress inks and created a window scene using the Poppystamps Grand Madison Window die and a brickwork embossing folder by Stampin’ Up.
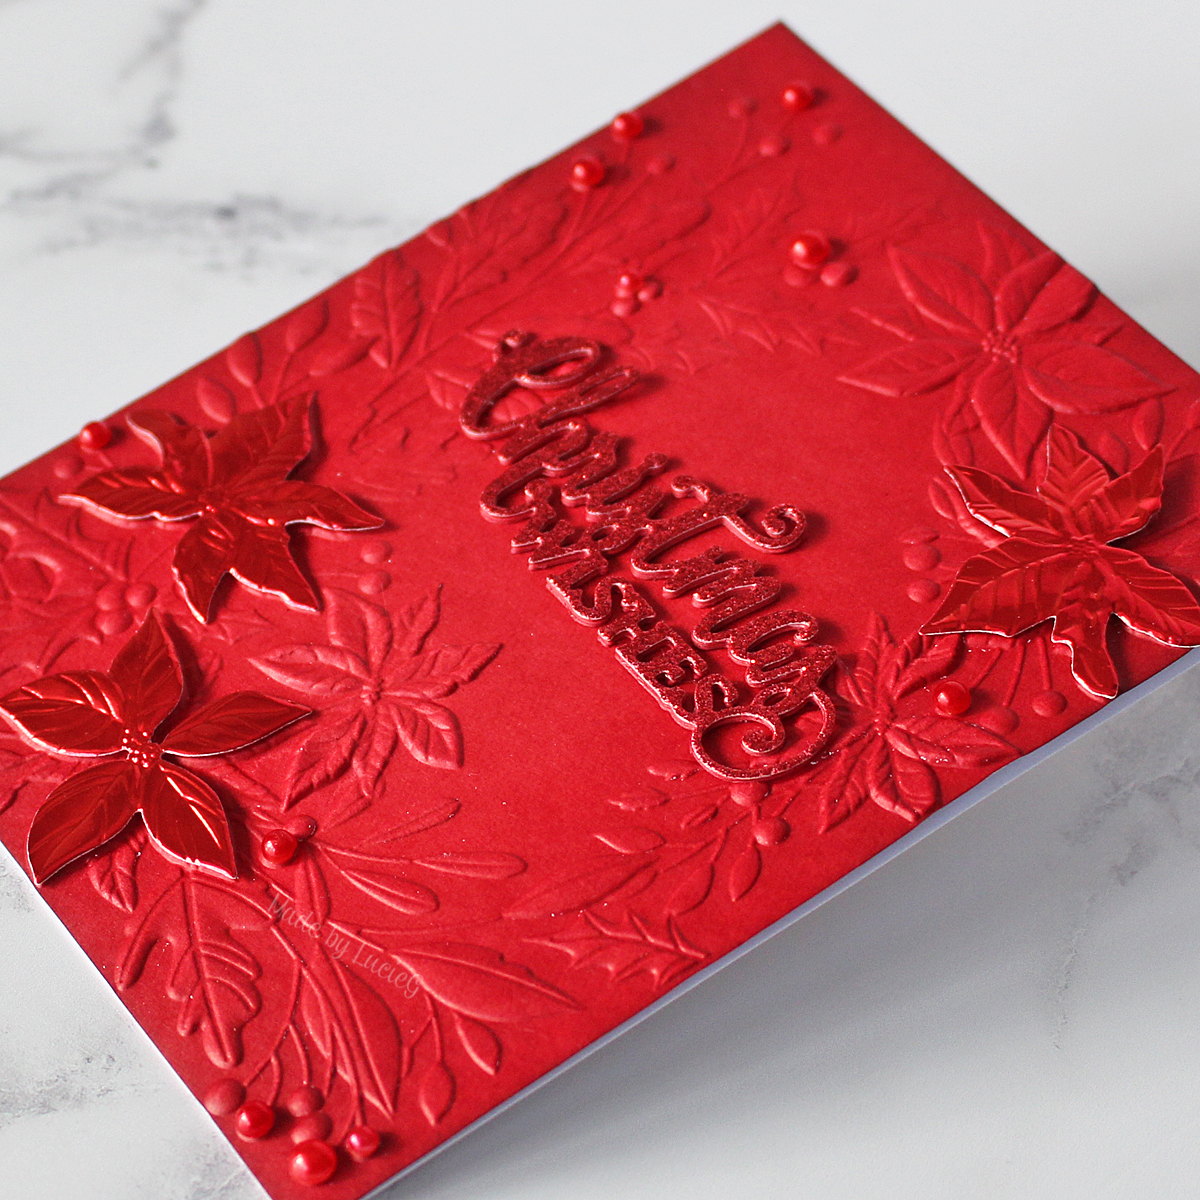
The sentiment is by Mama Elephant.
Thanks for stopping by!
LucieG.


 The challenge for Day 18 is another sketch.