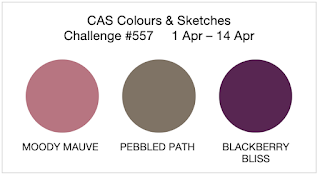
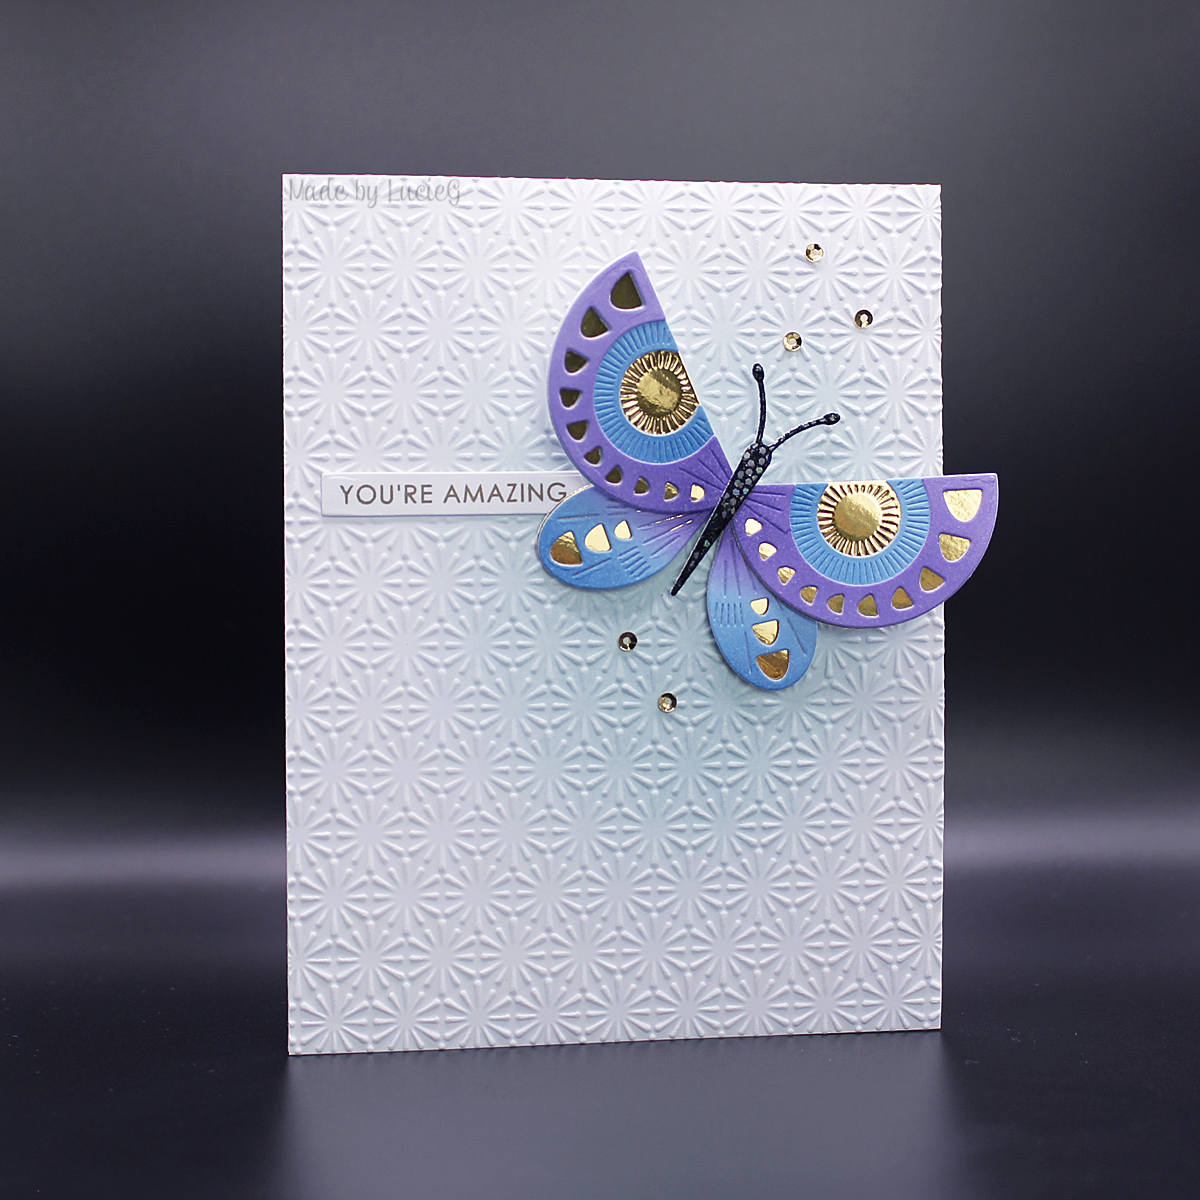
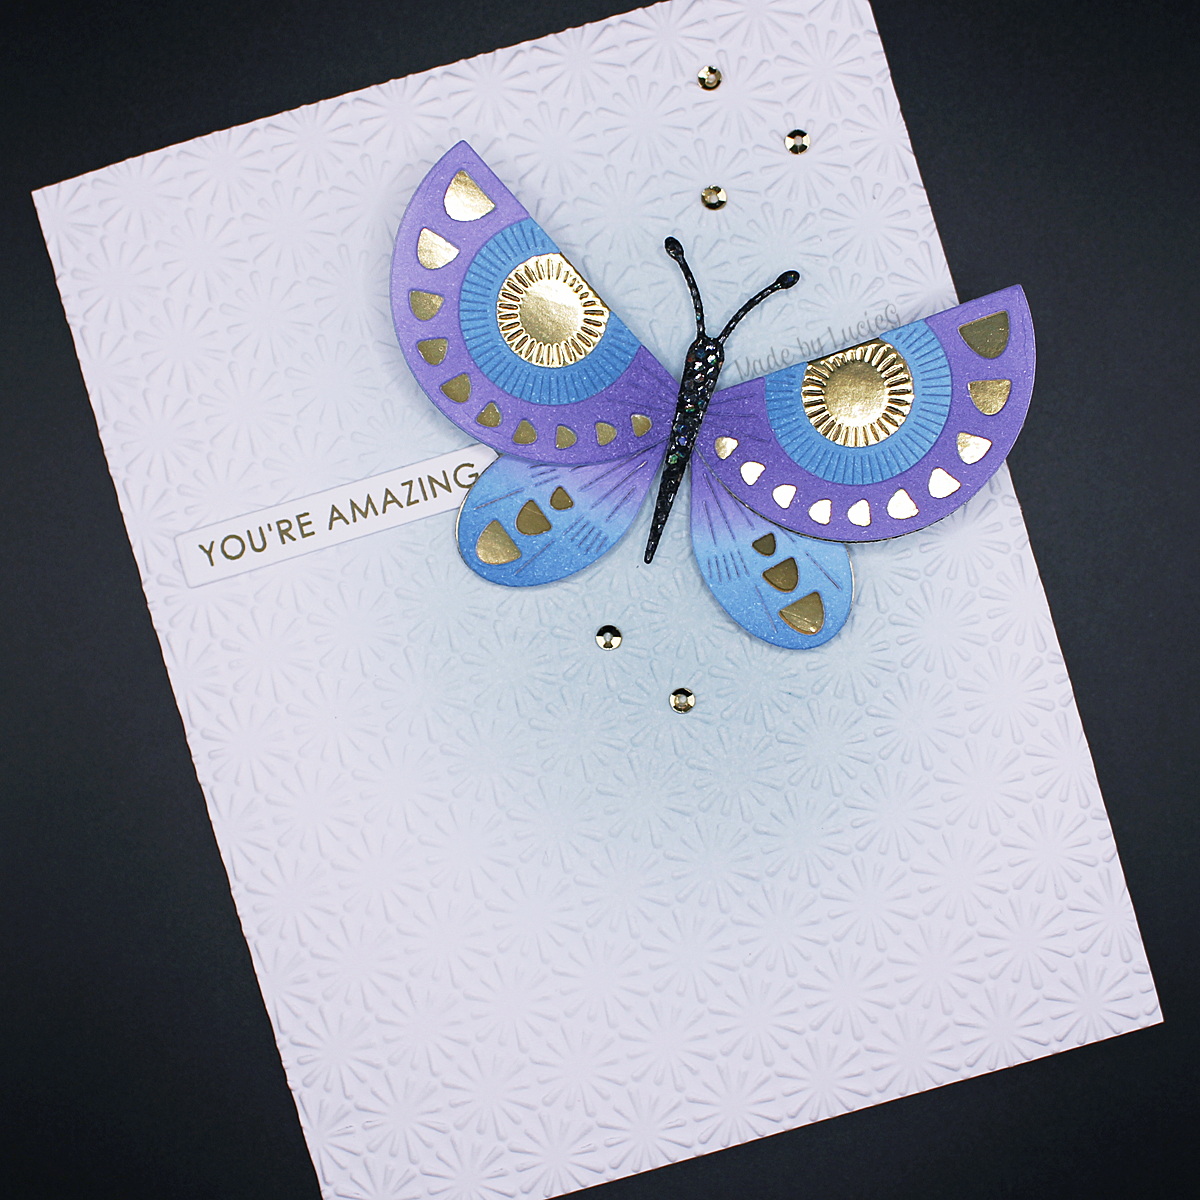
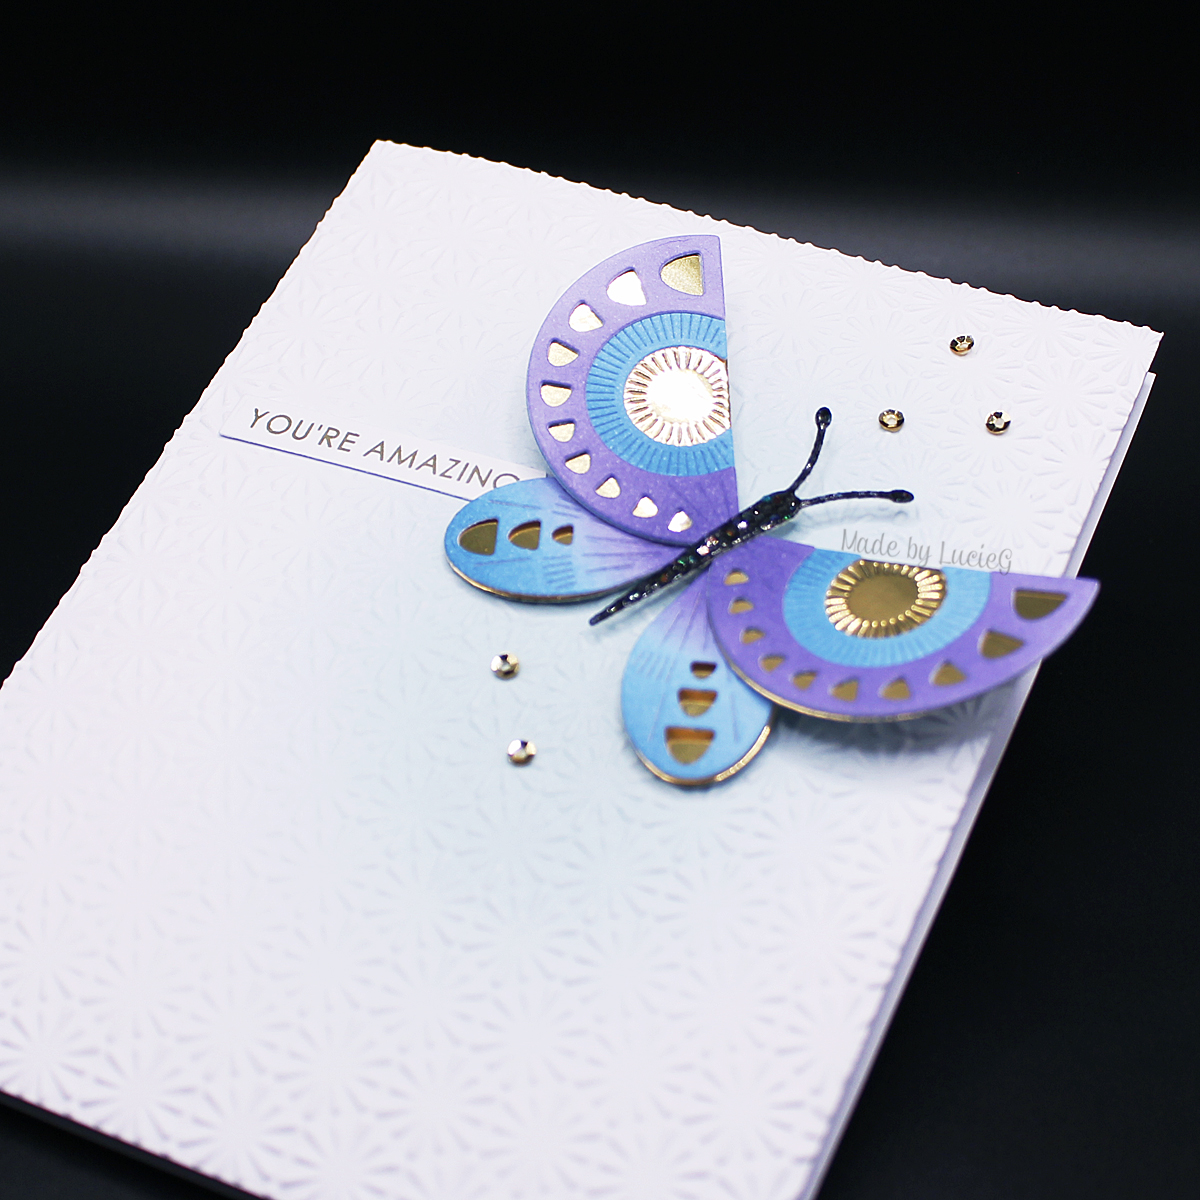
Hi there!
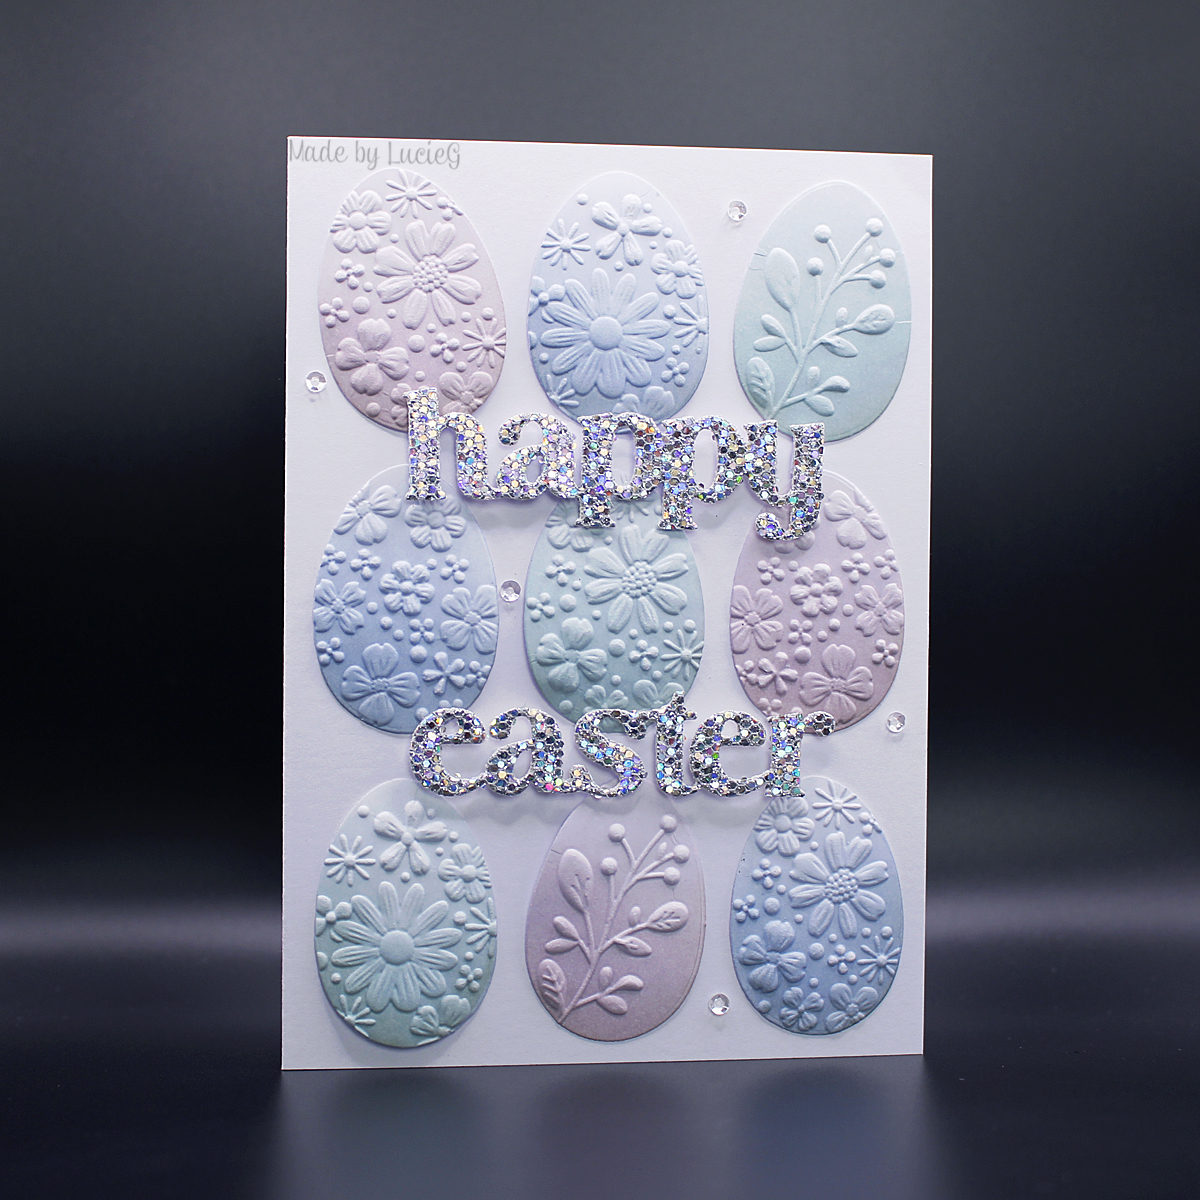
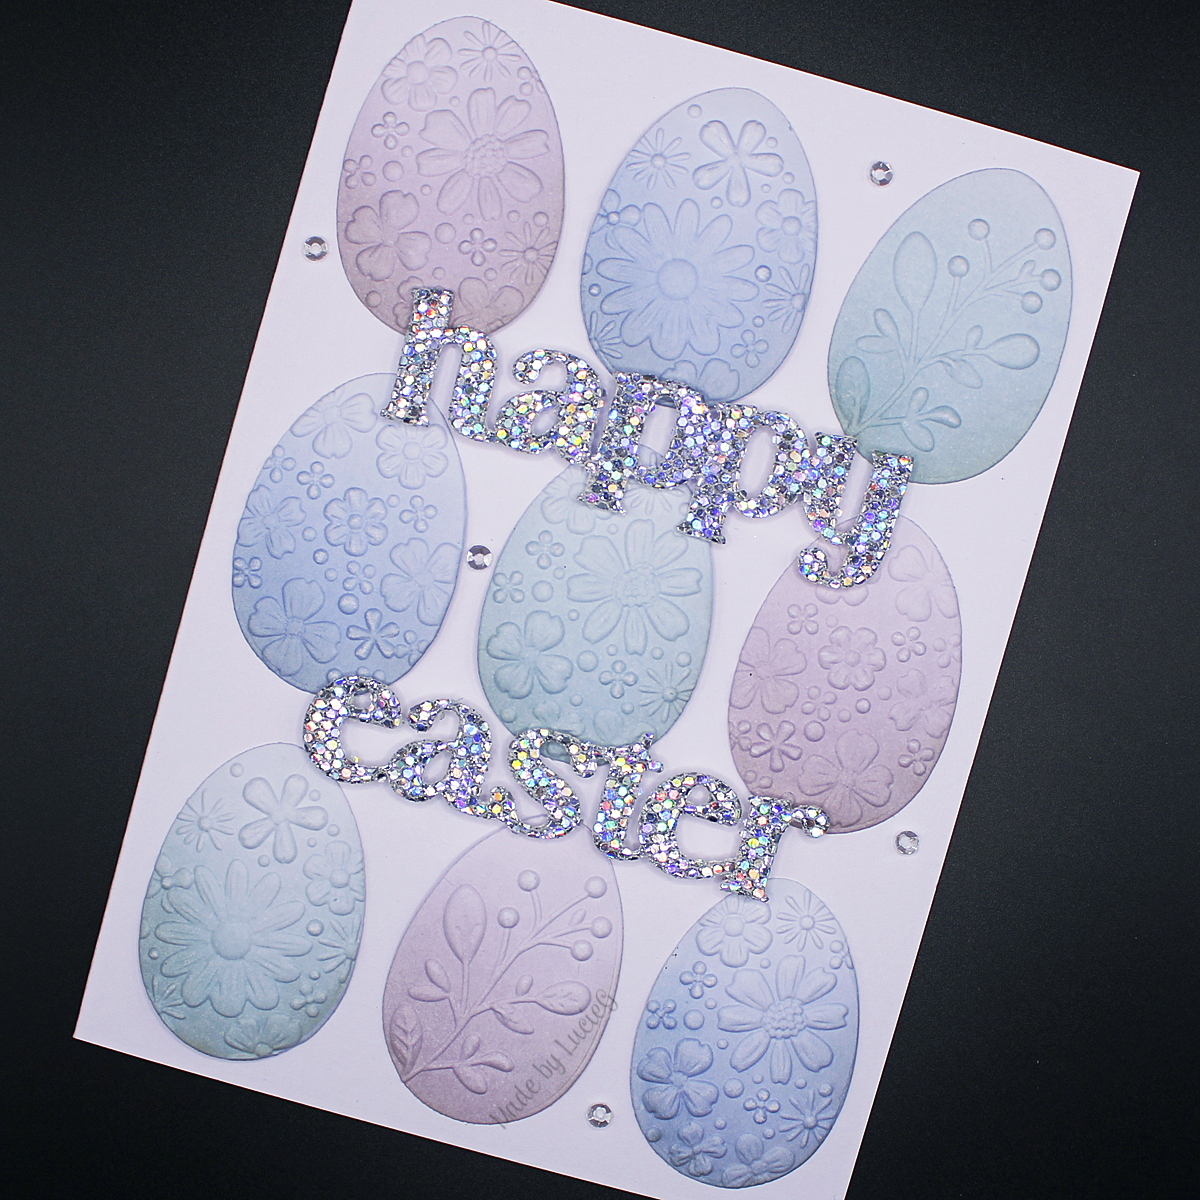
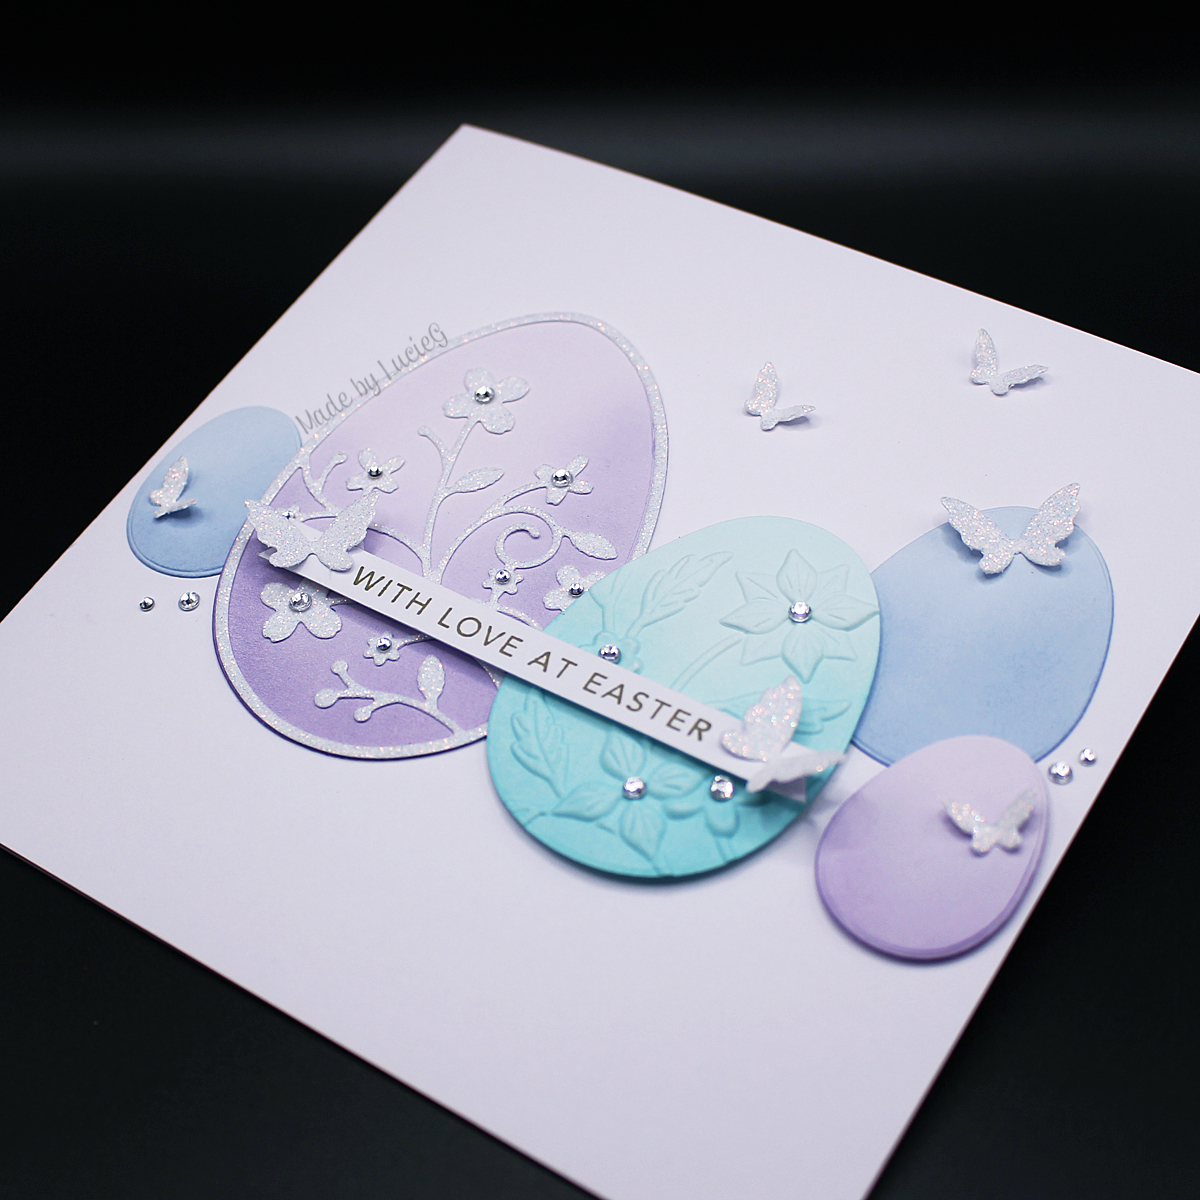
I’m still making Easter cards! Today I’m sharing the card I made for my dad using an older die set by Memory Box called Half a Dozen Eggs.
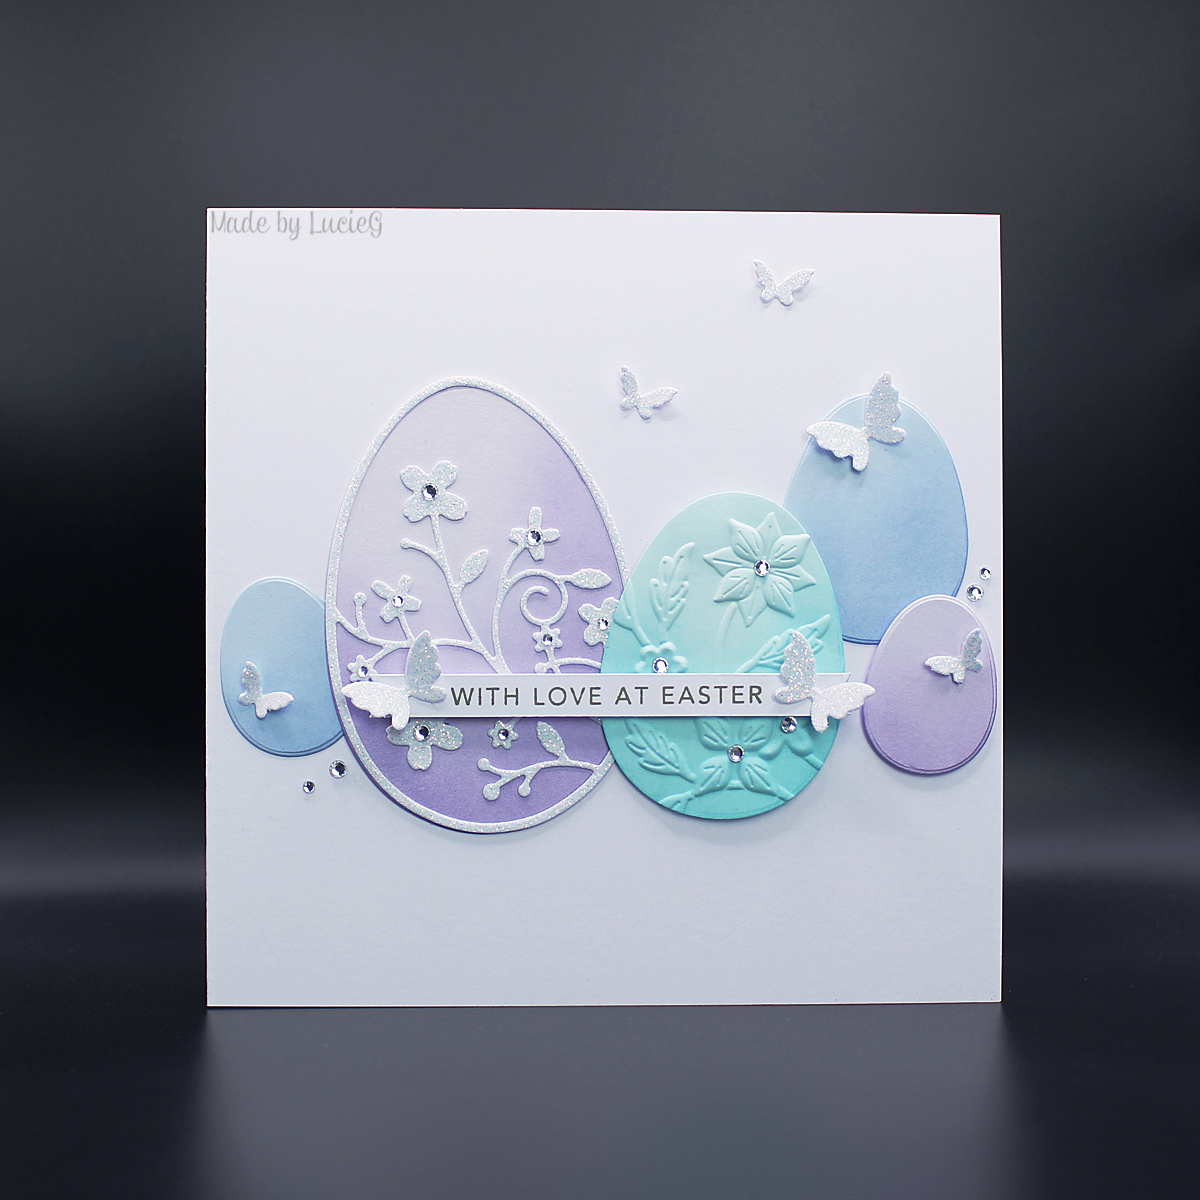
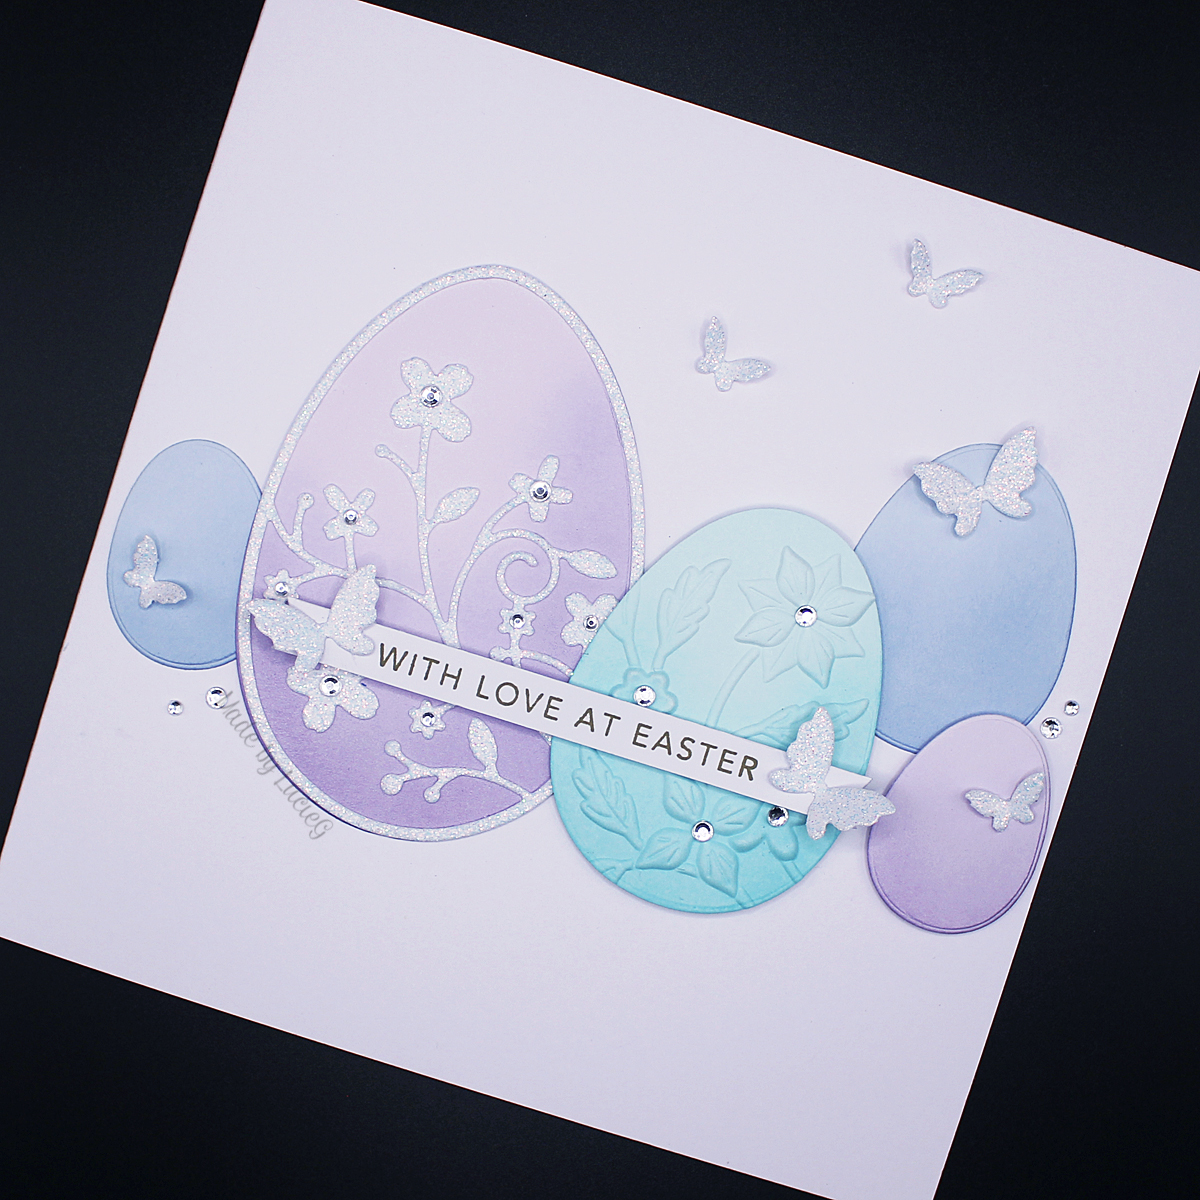
 I was inspired by Laura Bassen’s card made with nesting egg dies six years ago. I decided to use shades of blue – but totally underestimated how difficult it would be to come up with a combo of blue card that I was happy with! I think I looked at every piece of blue card/paper in my craft room!
I used foam tape for dimension between layers but this does mean that the card is VERY thick…. just under 1cm I think! Fortunately it stands up ok, but I was a bit worried as I was adhering all the layers!
The sentiment is by Creative Expressions.
Thanks for stopping by!
LucieG.