Hi everyone!
It’s been a long busy week with no time for crafting. Hoping to carve out some time to get crafty today… but first I want to share my next DT card for Crafts-U-Love!
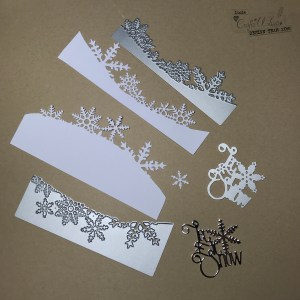 I was delighted to receive a couple of die sets from the John Next Door Christmas collection this month. Aren’t they pretty? I couldn’t wait to use them.
Apologies in advance for the quality of some of my process photos in this post. I was having a few lighting problems…
I decided I’d make a shaker card and showcase the dies against a blended distress ink background… of course once I sat down at my craft table, the card evolved a bit differently…
When I sat down, I spotted a couple of bottles of Nuvo Shimmer Powder that I bought a few weeks ago and still hadn’t tried, so I decided to use them to make a background rather than my distress inks.
Step 1 – prepare the surface
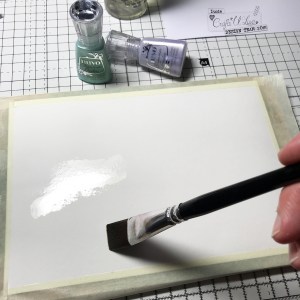 As I knew I’d be adding a TON of water and heat drying the background, I decided to use watercolour paper and taped it to a wooden chopping board I use when I create inky backgrounds before ‘painting’ a coat of water.
I’ve since tried the powders on regular cardstock and they work just as well, although the card did get more warped during the wetting/drying process.
Step 2 – sprinkle the powder(s)
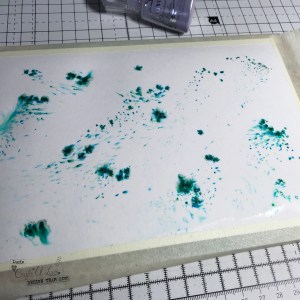

I then gently sprinkled the powders randomly across the paper. A little goes a long way!
Step 3 – spritz with water/blot as desired!
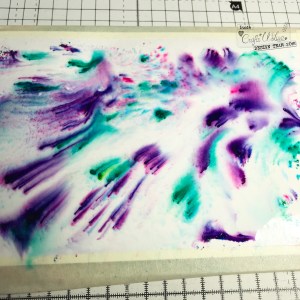
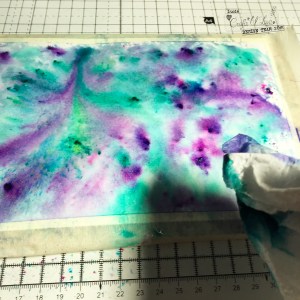
The pigment from the powders didn’t flow as much as I wanted as my paper had started to dry so I spritzed water onto the paper to spread the pigment a little more across my background. I added a few more sprinkles of powder where I had a lot of white and then started to dry the background with my heat tool.
I also blotted some of the ink to lighten the background a little. I ended up with a very shimmery paper towel and was worried that I’d removed the shimmer from the background. I needn’t have worried! The background was still super shimmery!
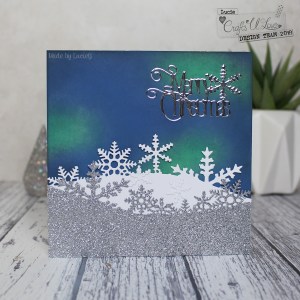
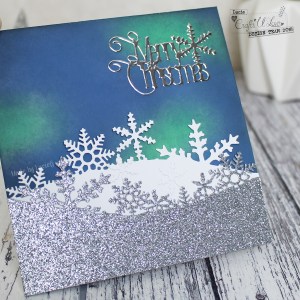
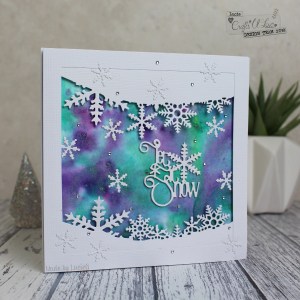
Once I finished the background, I started to assemble the card. At this stage, I was still planning to make a shaker card so I cut a square frame and adhered the die-cut snowdrifts to the top and bottom of the frame. As I was holding the frame against the background, I realised that the shimmer wouldn’t be as obvious in a shaker so I decided to simply frame the background instead!
 I cut down the background and adhered the frame using foam. One of the snowdrift dies from John Next Door also includes a single whole snowflake so I cut that MANY times and stuck them across the card. Then I added the fabulous sentiment.
I was originally going to use the sentiment cut from mirror card, but when I tried this against the background, I thought a white die cut would stand out a little more. So I cut the sentiment from white cardstock a few times and adhered them together before adding it to the card.
I wanted to add EVEN MORE sparkle so I applied some Nuvo aqua shimmer to the snowflakes and sentiment and some gems across the card. After all, you can never have too much sparkle and shimmer can you?!
Thanks for stopping by!
LucieG
Supply List
Here are the links to the products I used on my card. Products marked with an asterisk (*) were kindly sent to me to use.
John Next Door – Snowflake Edges die set*
John Next Door – Festive Greetings die set*
Nuvo Shimmer powder
Nuvo Aqua Flow pens – glitter gloss
Papermania adhesive stones*
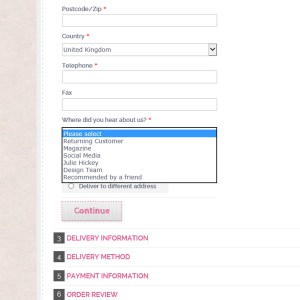 If you decide to buy any of the products I’ve used after reading this post, please let Crafts-U-Love know by using the drop down menu on the checkout page and selecting ‘Design Team’. Please note this is simply to help Crafts-U-Love and I do not receive any compensation if you choose this menu option. I do not use affiliate links.