Spellbinders

Featuring Spellbinders products

Spellbinders Weekender 2025

Hi everyone!

This weekend, I took part in Spellbinders’ Weekender event. I was only able to watch a few classes live as the event was held in the US Pacific time zone which is 8 hours behind us in the UK, but it was a fun event!

Kim Kesti was first up on Day/Evening 1 (which I watched the following morning) and used a fabulous ship die set called Deckside Dreams. Kim’s ship was pretty colourful but as I’ve only been on one cruise (with Holland America), I used that ship as inspiration for a more monochromatic take. I sponged a little white ink on the hull/bow of the ship to mimic breaking waves.

The kit included some blue Hero Arts shimmer spray which I hadn’t used before. I was expecting it to behave like Distress Mica Sprays but it was far less easy to manipulate. The shimmer is amazing though!

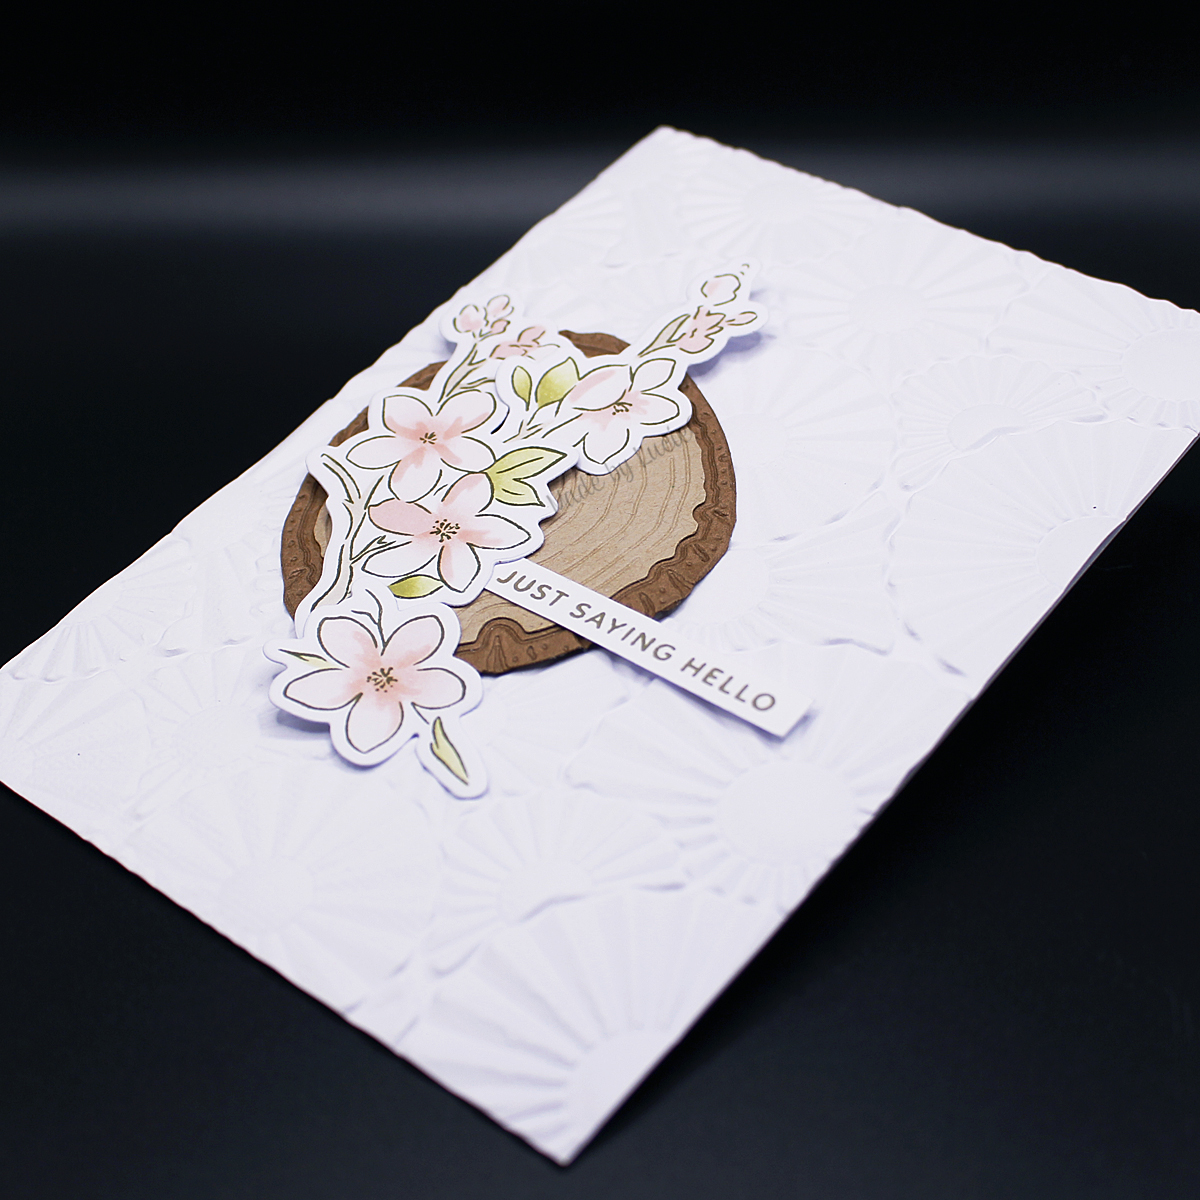
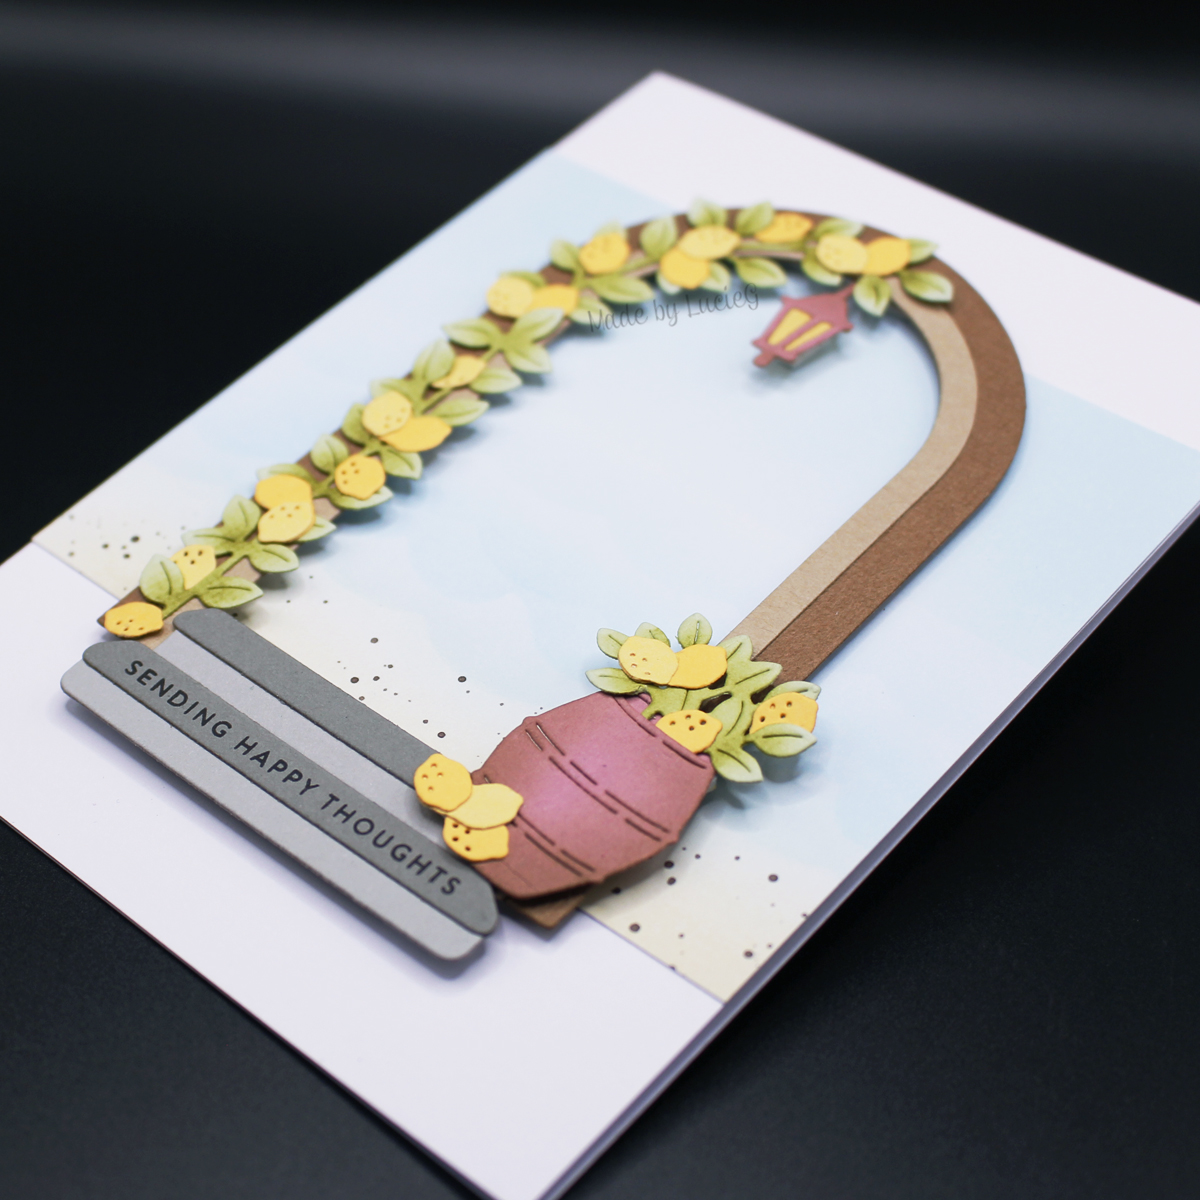
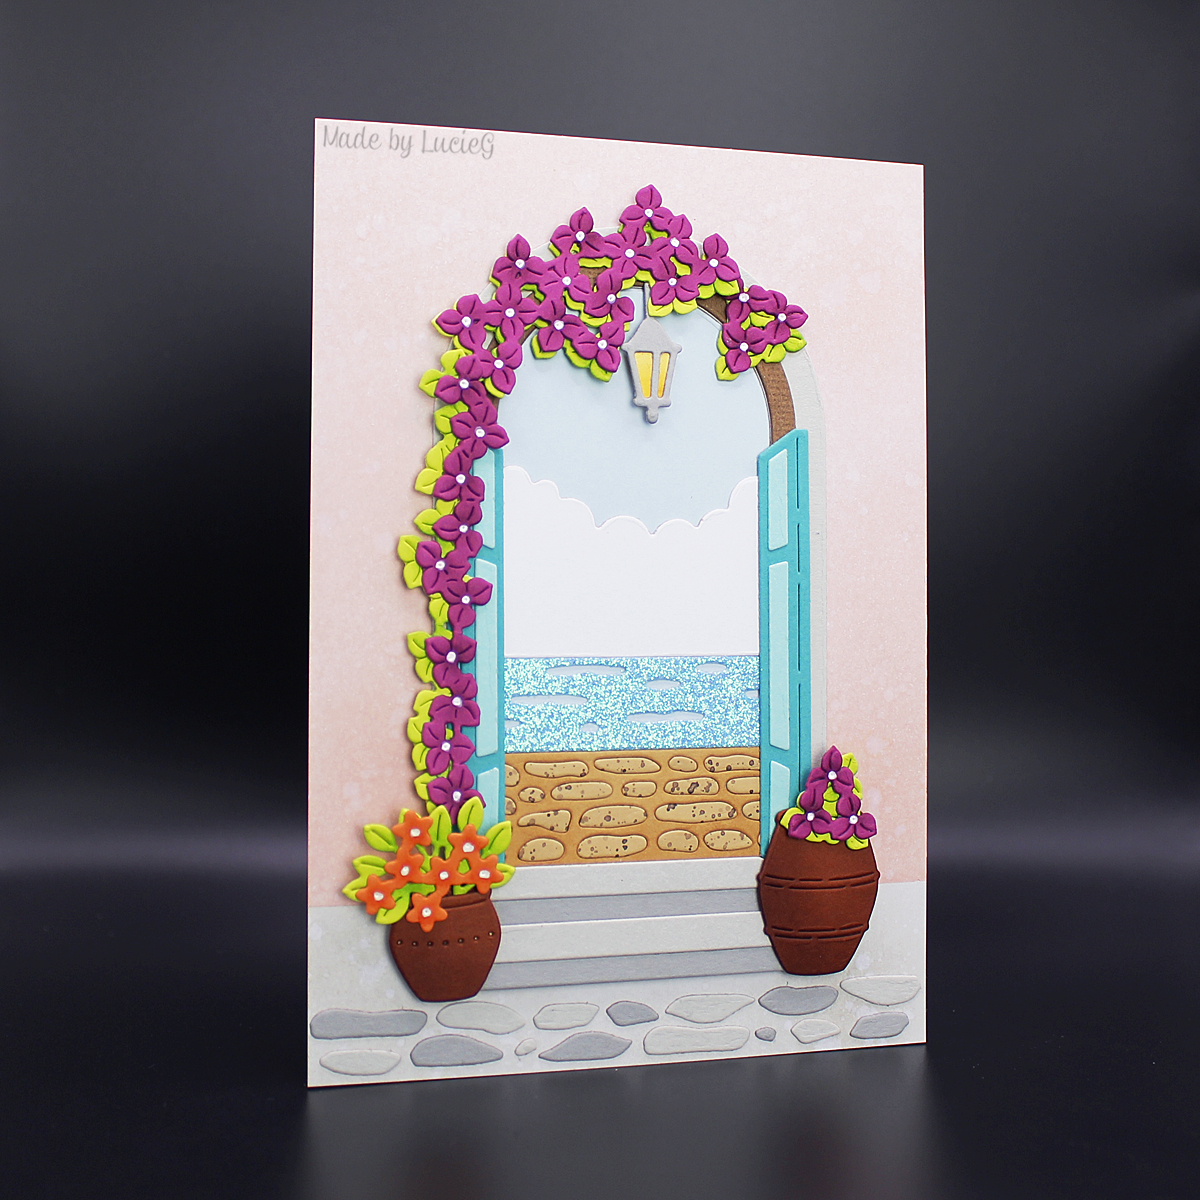
Next up was Channin Pelletier’s card using my favourite product from the kit – am amazing die set called Beyond the Door. I’ve already played with this for this card and I think I will be reaching for it again and again! The kit included an amazing selection of coloured cardstock which I was particularly keen to see as it’s so hard choosing cardstock online. I supplemented it with some of my own cardstock for this card – including glitter card for that sea!


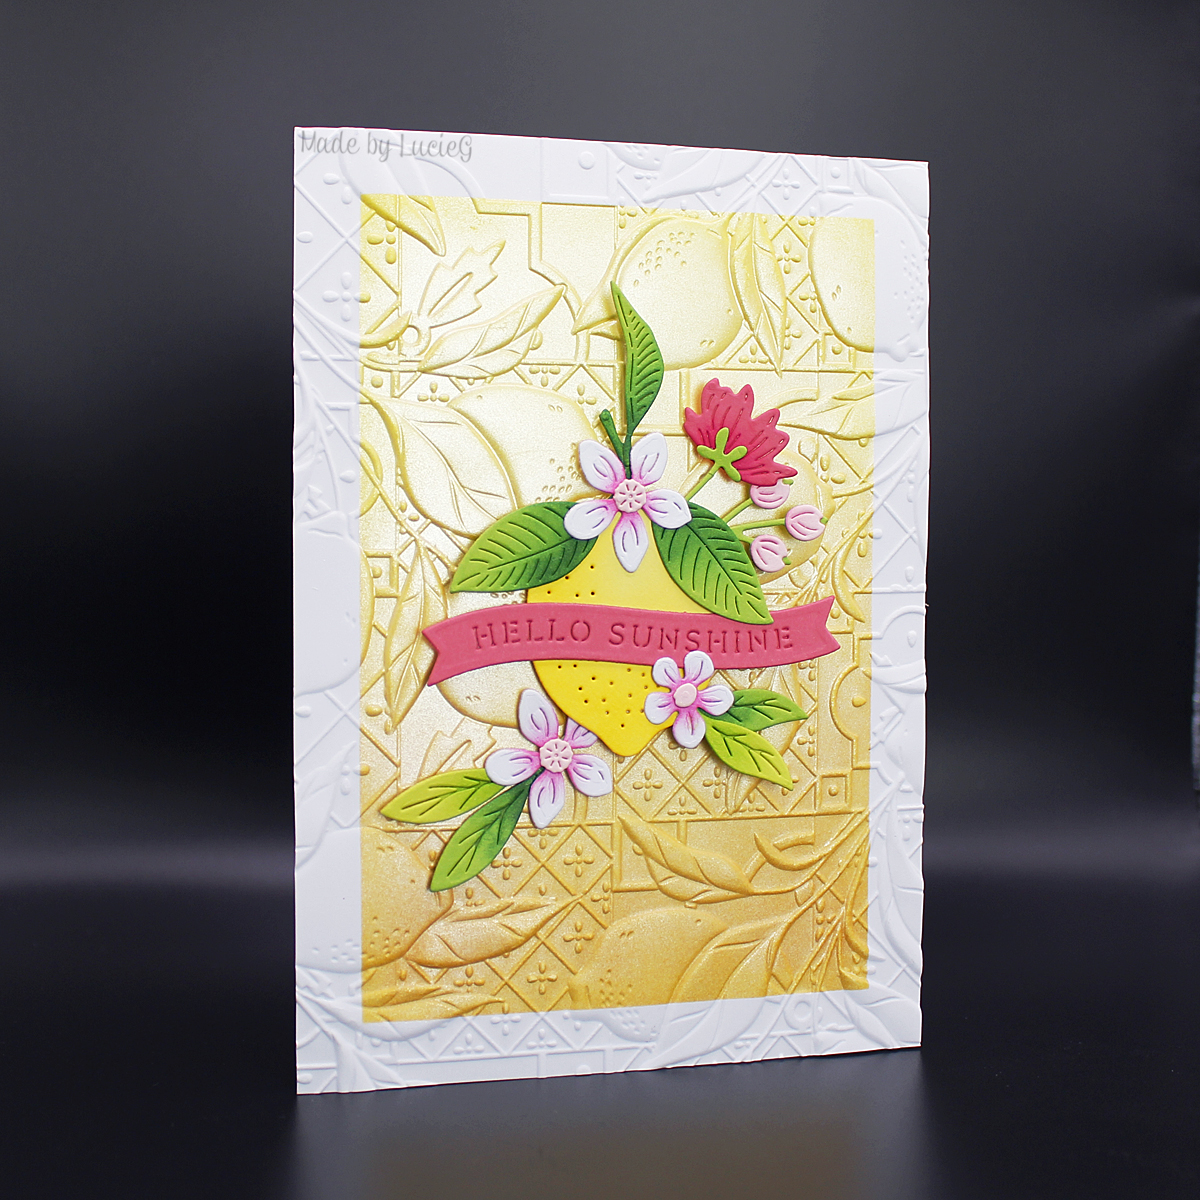
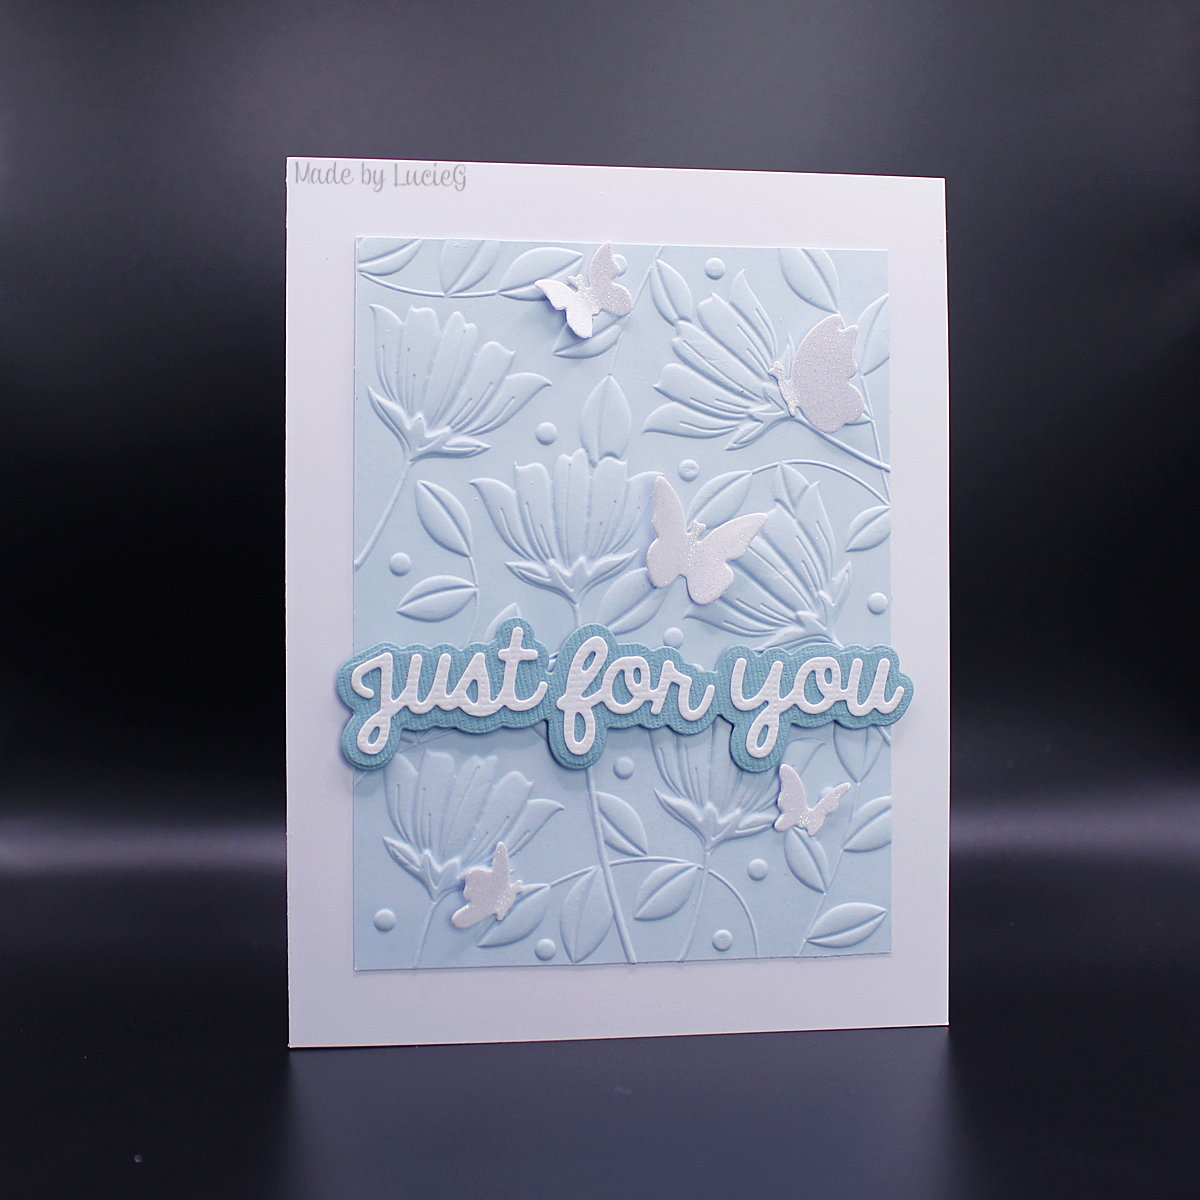
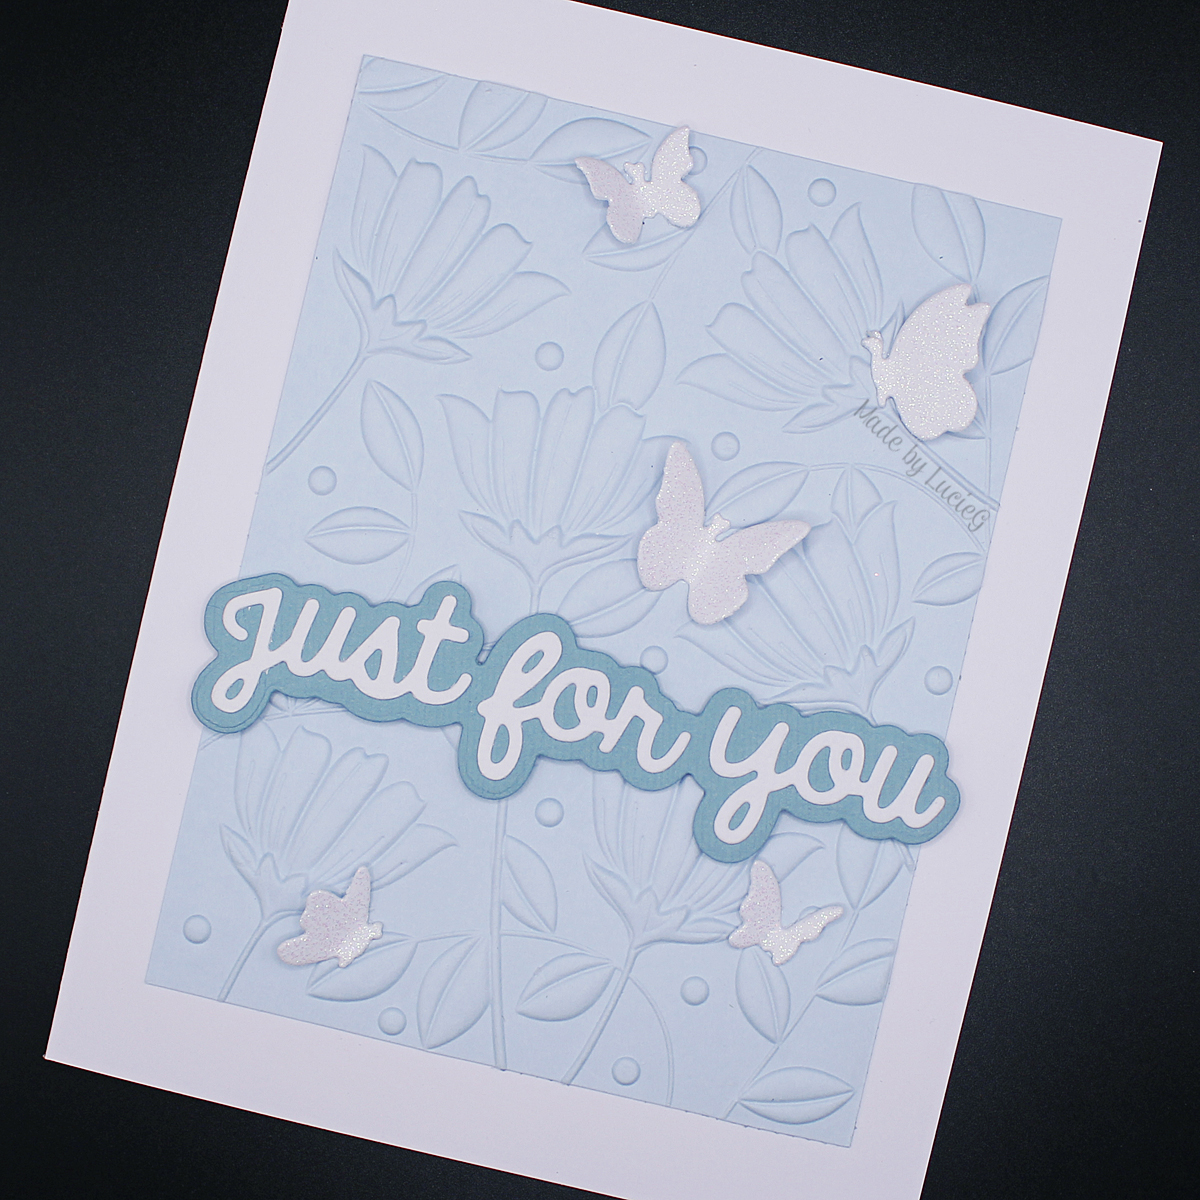
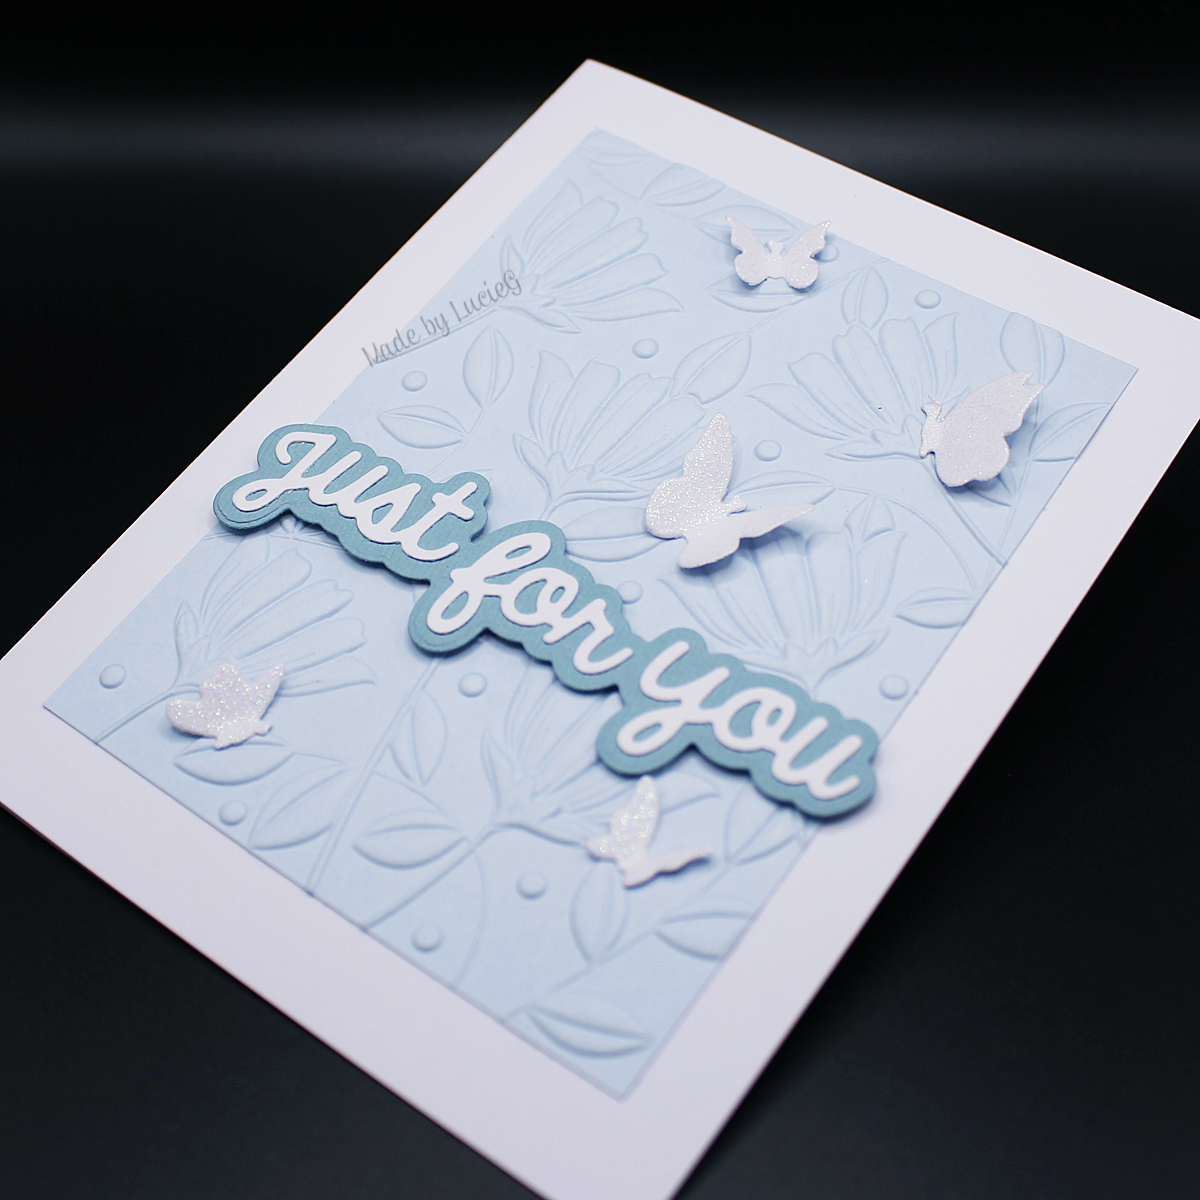
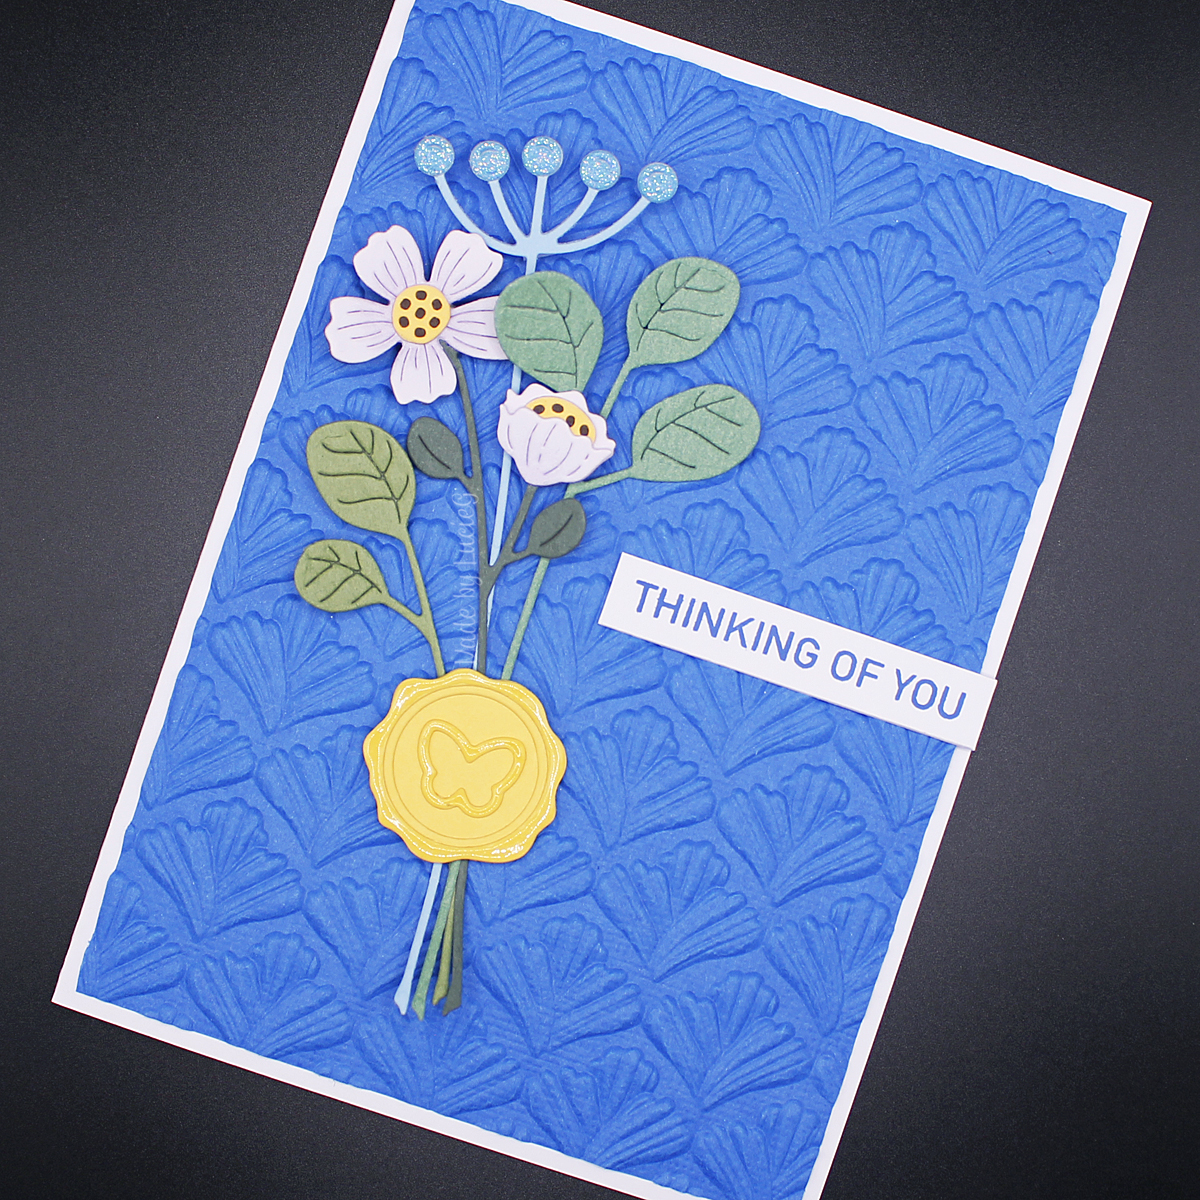
On Saturday, I was able to craft along with Cathy Zielske and created two cards. For the first card, we inked up an embossing folder using a Hero Arts Reactive Ink cube. I was VERY impressed with the coverage which is far better than I’ve achieved with other inks. May have to order more of those cubes!

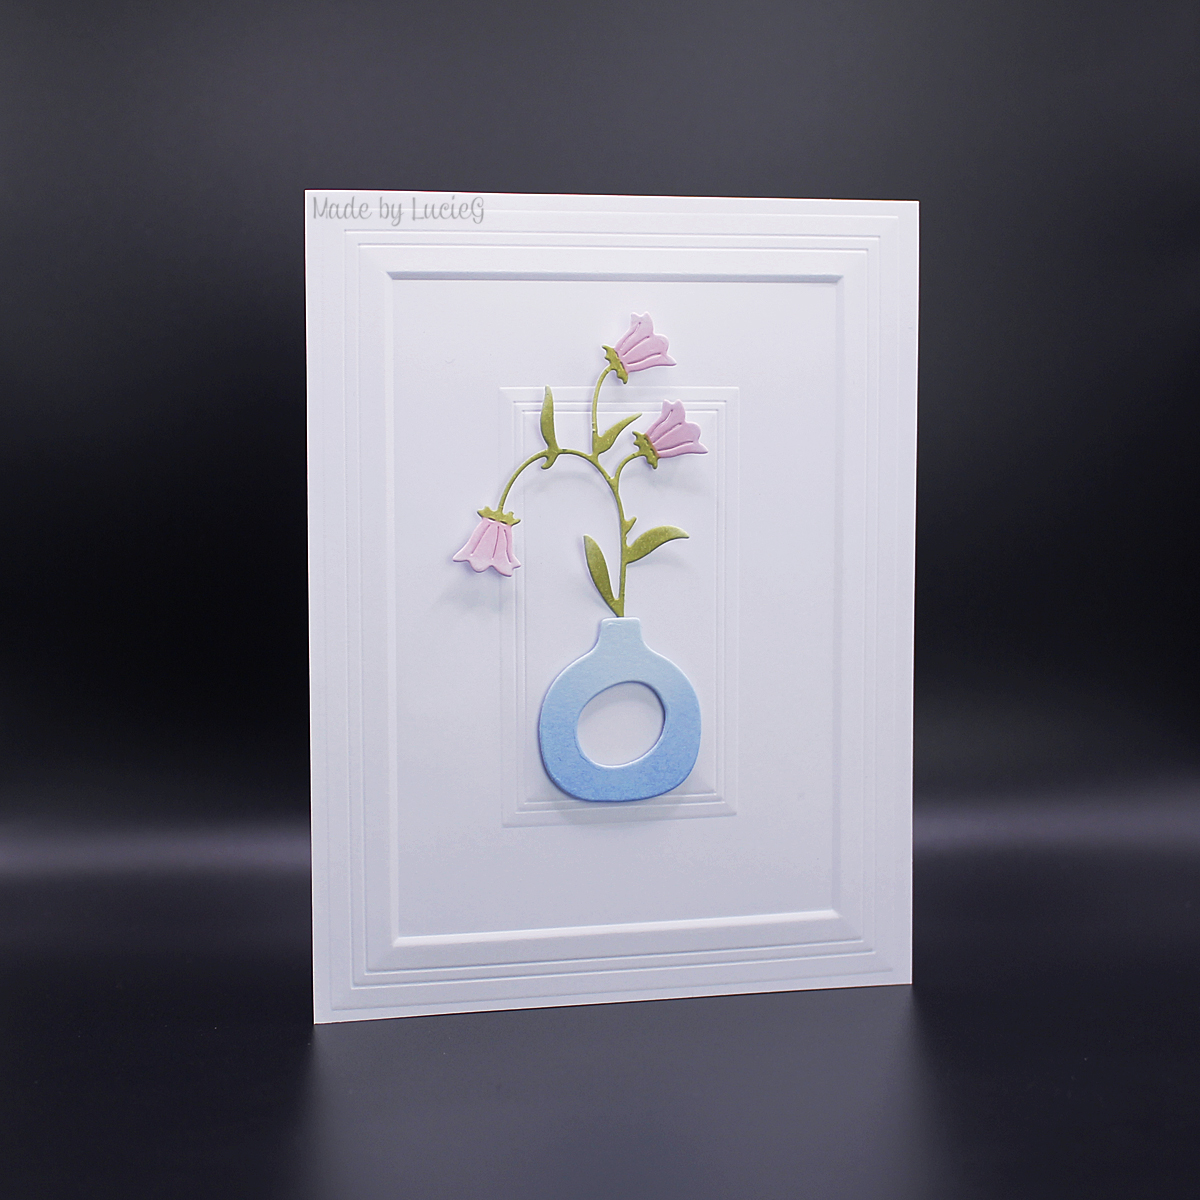
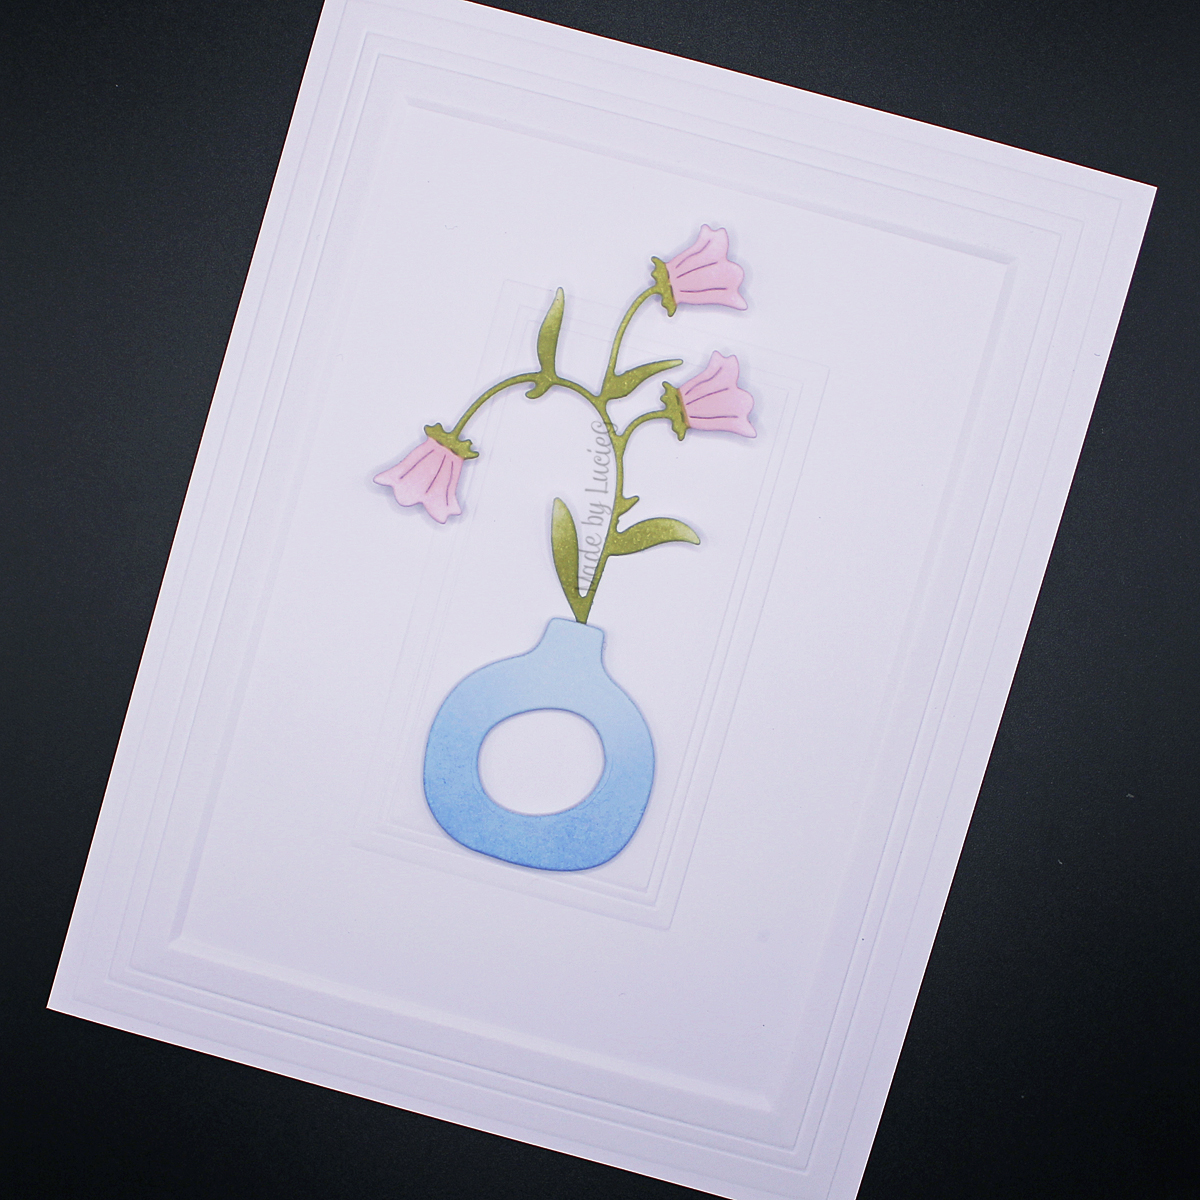
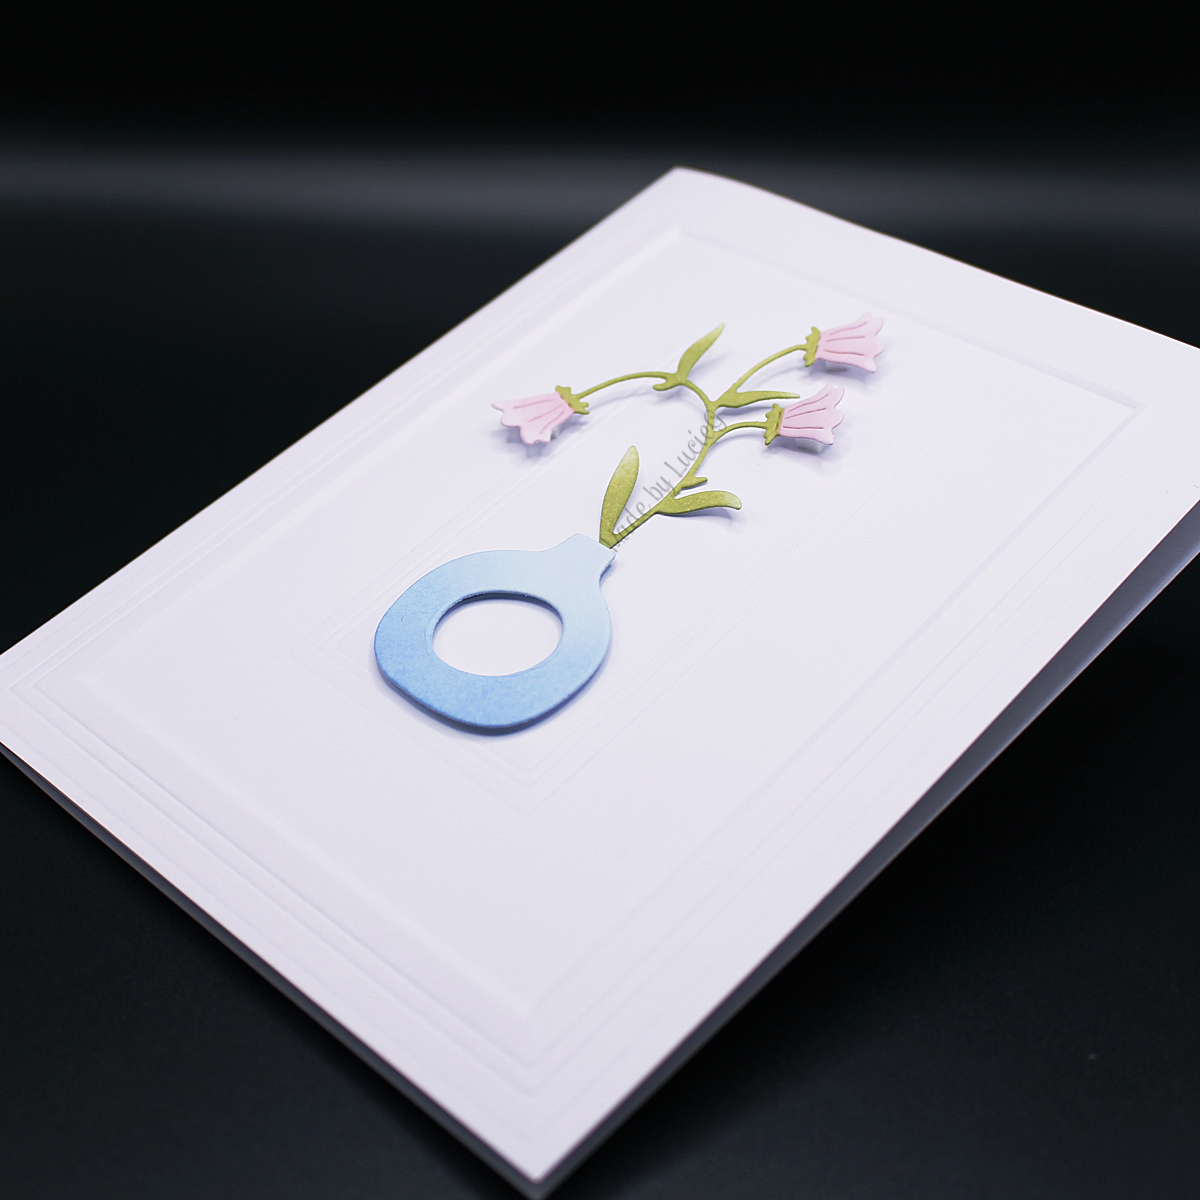
I veered away from Cathy’s instructions on the second card – instead of embossing a yellow panel with the folder, I masked off a centre section, blended two distress inks (Mustard Seed and Wild Honey), rubbed in some Perfect Pearls, removed the masking tape and embossed the entire panel. It’s on old school Jennifer Maguire technique which she used with what I believe were the OG 3D embossing folders by We R Memory Keepers. Her post about this is still on her blog!

Thanks for stopping by!

LucieG.

Made in May Card 14

Hello everyone!!

It’s been a busy bank holiday Monday for me – mainly dodging rain showers to cut my lawn! Fortunately I just managed to squeeze in time for my entry into the current Freshly Made Sketches challenge.

I used a few images that I had already created during earlier crafty sessions – more images from Pinkfresh Studio’s beautiful Sakura stamp set that I used last month and that woodslice is by Stampin’ Up.

The fabulous embossing folder is the Rosette Burst by Spellbinders and the sentiment is by Sugar Pea Designs.

Thanks for stopping by!

LucieG

Made in May Card 12

Hello everyone!!

Sadly my plans for cardmaking fell by the wayside over the last week/weekend. Life just got busy! Fortunately I carved out some crafty time this evening to play along with the current Freshly Made Sketches challenge.

I bought the kit for Spellbinders’ Weekender event in a few weekends time as I didn’t do the Pinkfresh event this month. Sadly they are on the US West coast time zone which means I won’t be able to attend most of the classes in real time but I hope that the class that uses this beautiful arch die set will be at a ‘friendly’ time!

I’m disappointed that the stencilled waves weren’t picked up in this photo but they are there!

The sentiment is by Simon Says Stamp.

Thanks for stopping by!

LucieG

Made in May Card 10

Hello everyone!!

I was short on time today so chose a very quick CAS card using one element of the Spellbinders Patchwork embossing folder.

The flowery panel was slightly too short for my card base so I cut it and then adhered the Heffy Doodle sentiment die to hide the gap in the panel!

I added a few glittery butterflies from a Paper Rose Studio die set to complete my card.

Thanks for stopping by!

LucieG

Made in May Card 2

Hi there!

For today’s super CAS card, I used a very new embossing folder by Spellbinders called Molded Frame plus a couple of Simply Graphic dies that I’ve had for a year or so.

I love this folder – very simple and absolutely perfect for showcasing a delicate image.

As I’m trying to build up my ‘mailable’ cards this month, I didn’t add a sentiment but will probably add one before I mail it.

Thanks for stopping by!

LucieG.

Made in May Card 1

Hi there!

I have so many unused or seldom used products that I want to use so this month, I’m making a concerted effort to create with them. I’ve discovered that a number of my cards are too thick for the standard postage rate so I also want to make sure I make a few ‘mailable’ cards as I’d like a few more on hand!

I’m not sure I’ll be able to make a card a day so we’ll see how it goes but one thing I want to do is have fun – and that means no stressing about photography either. I do find it difficult to take decent photos of cards at times  – especially the more traditional front-facing view. So at times there may be fewer photos in these posts – like today actually!

Speaking of today’s card, I used a few new Spellbinders products – the Blooming Stems die set and the Flourish embossing folder. The seal is made using a new die set by Waffle Flower Crafts. The sentiment is from an older Woodware set but the oldest product I used was the Glossy Accents on the edges of the seal – I’ve had it for years and couldn’t believe it still flowed. I have treated myself to a new bottle now though – and surprise surprise it was the same price as the one I bought at least 7 years ago!

I’m pleased because I used my card scraps for the stems and I like how they turned out! I’ve been colouring stems with ink recently, but may make more use of my scraps this month! I never intended to have a blue background – I was literally just testing the layout against my embossing folder swatch when I realised the colours worked so I went with it… I need to do a new swatch now though!

Thanks for stopping by!

LucieG.