Hi there!
It’s Day 6 of LucieG’s Bits Blitz! Day 6 already! It’s been a great relied to finally use my bits this past week – it may sound odd but I can feel the burden of past crafty me being lifted! I can start to look forward and I am so looking forward to colouring images and yes, creating a fresh pile of bits!
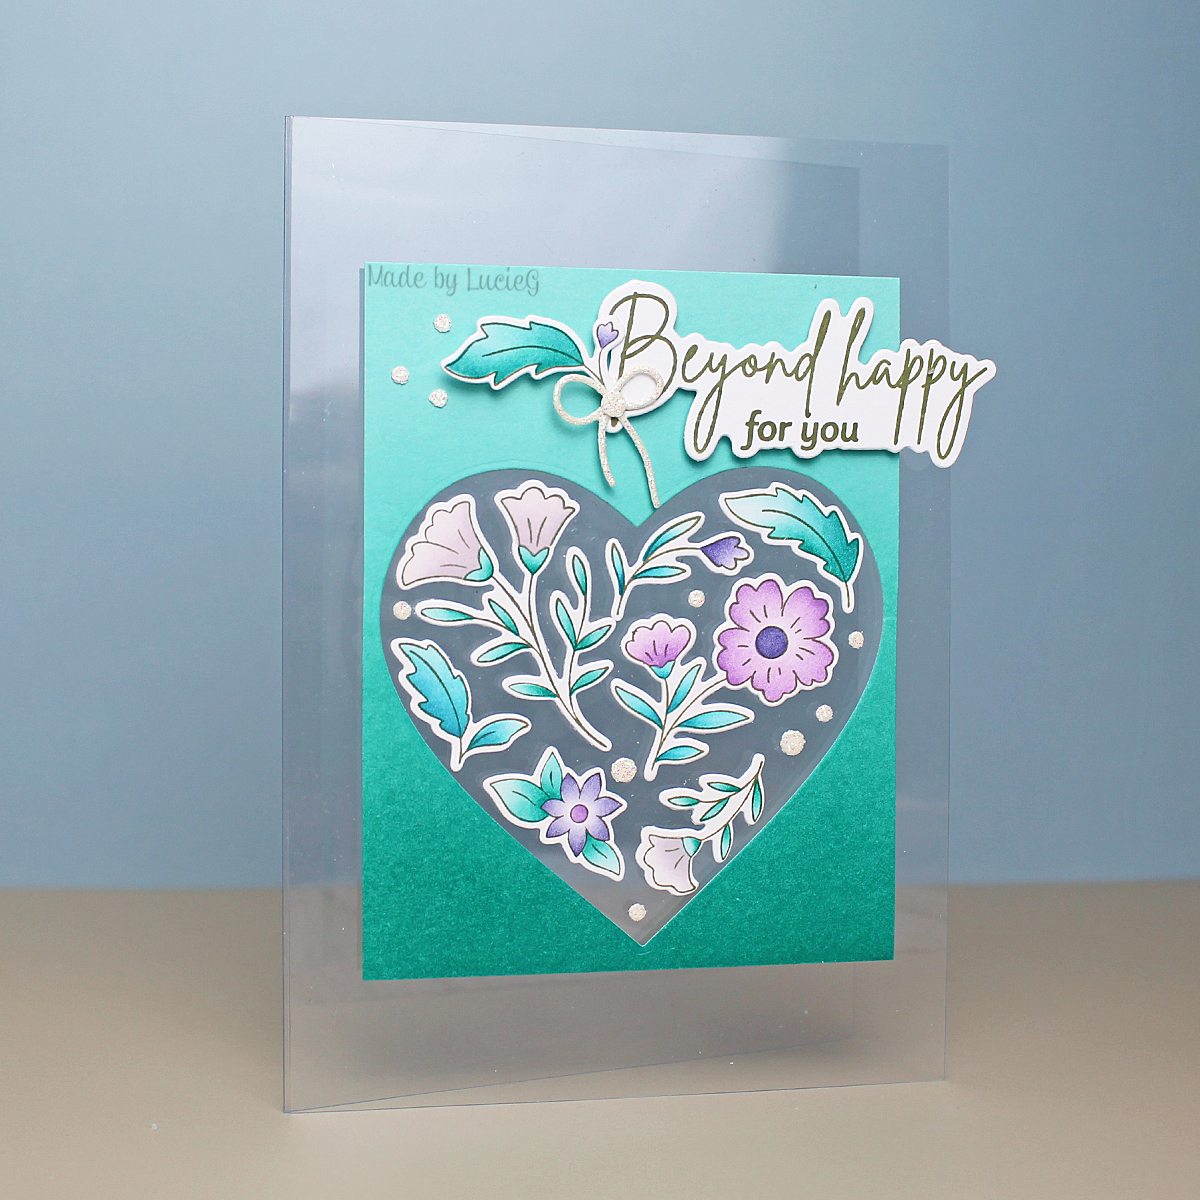
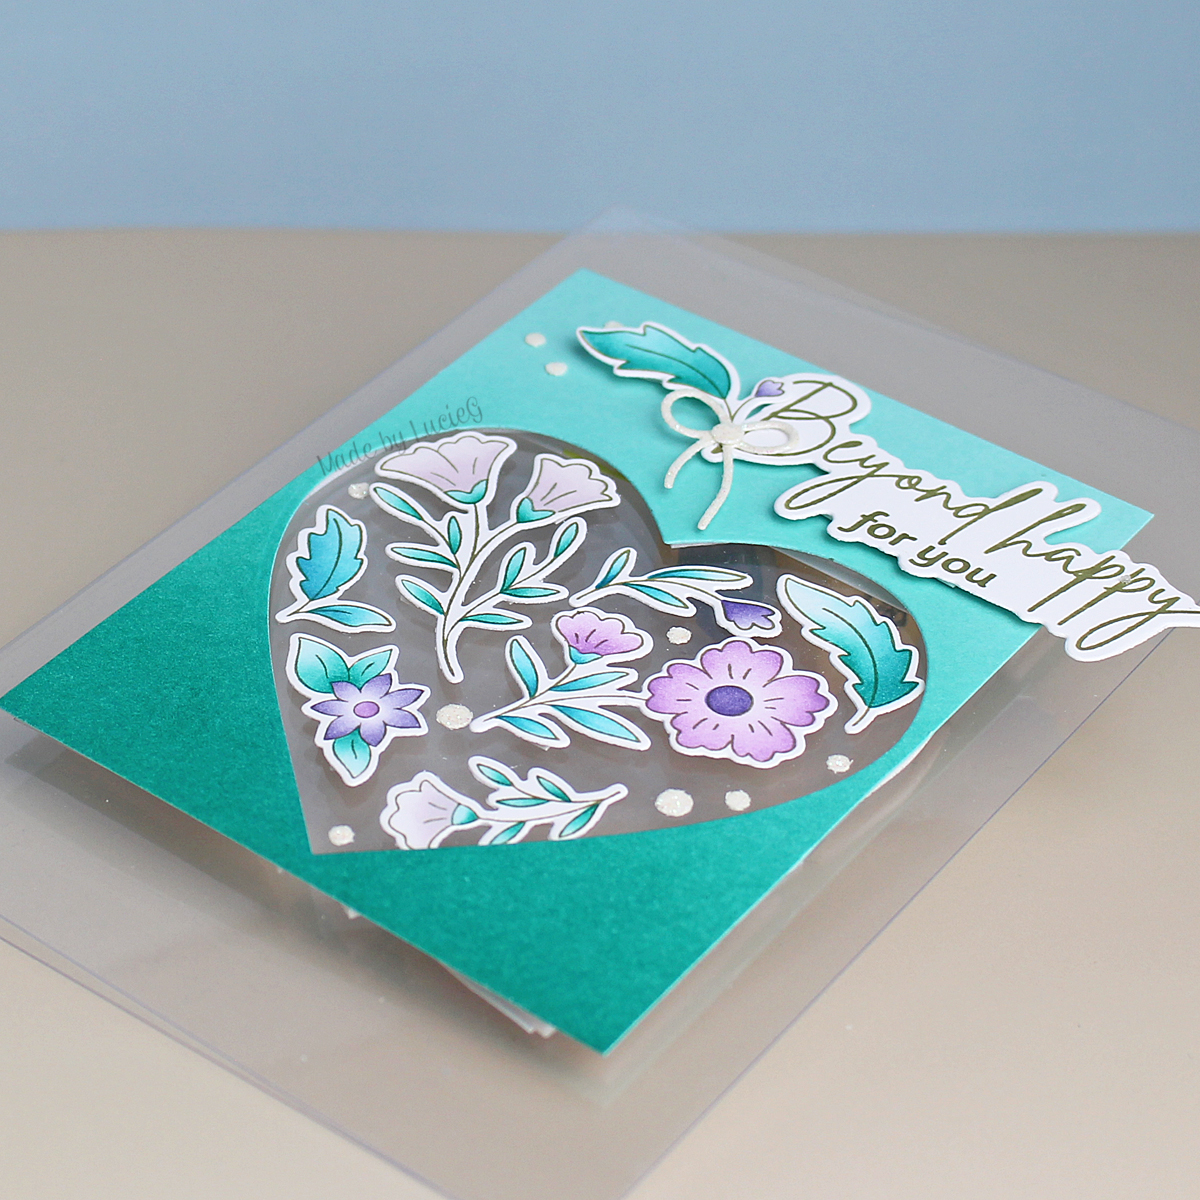
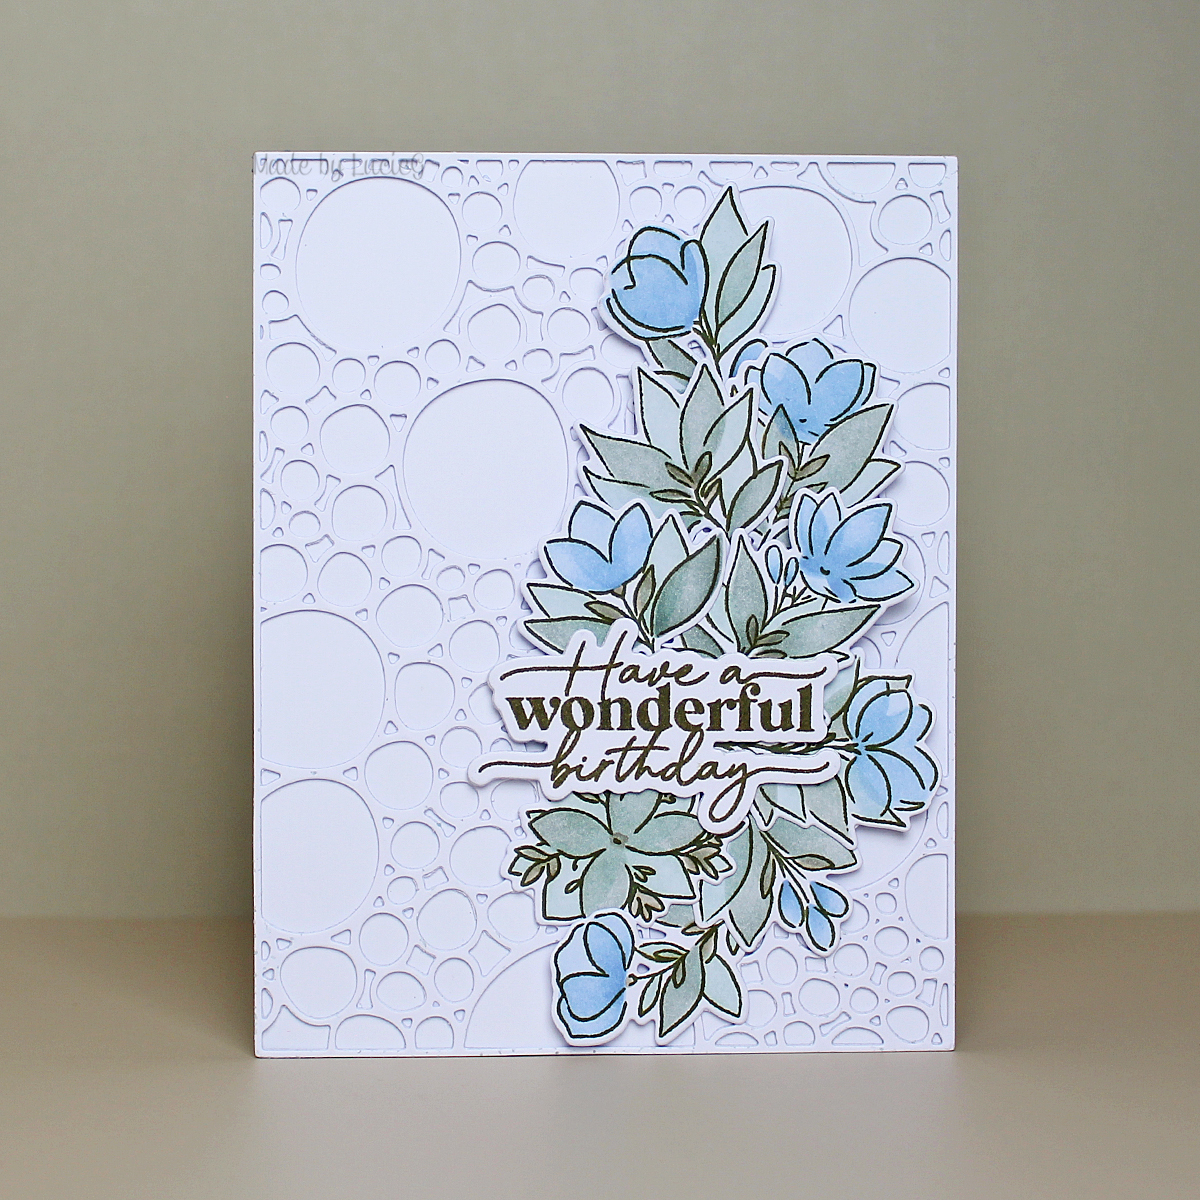
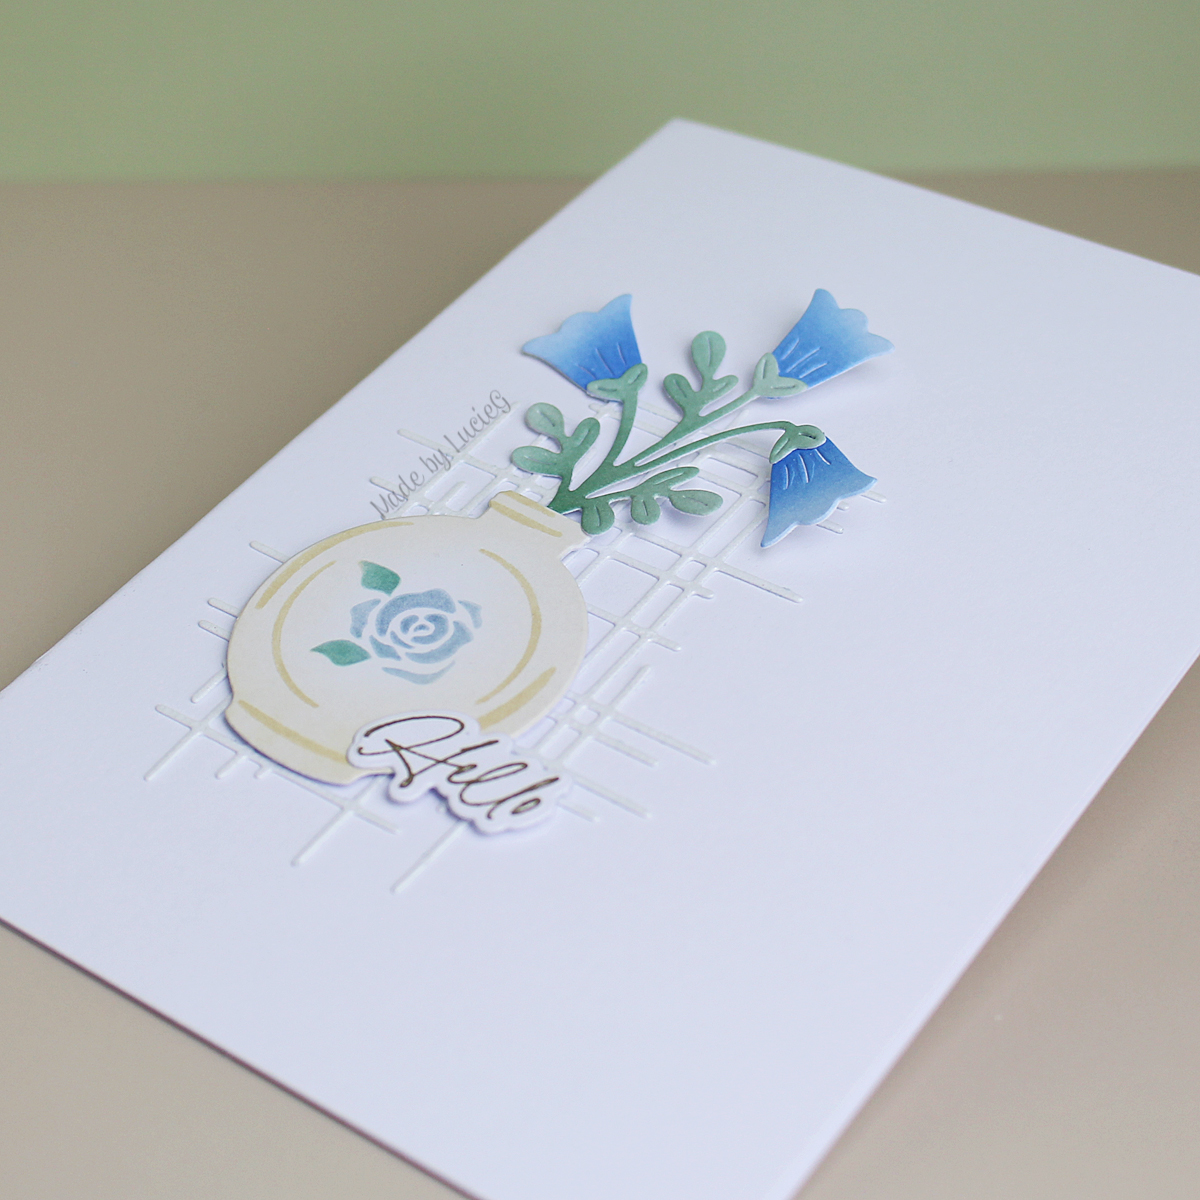
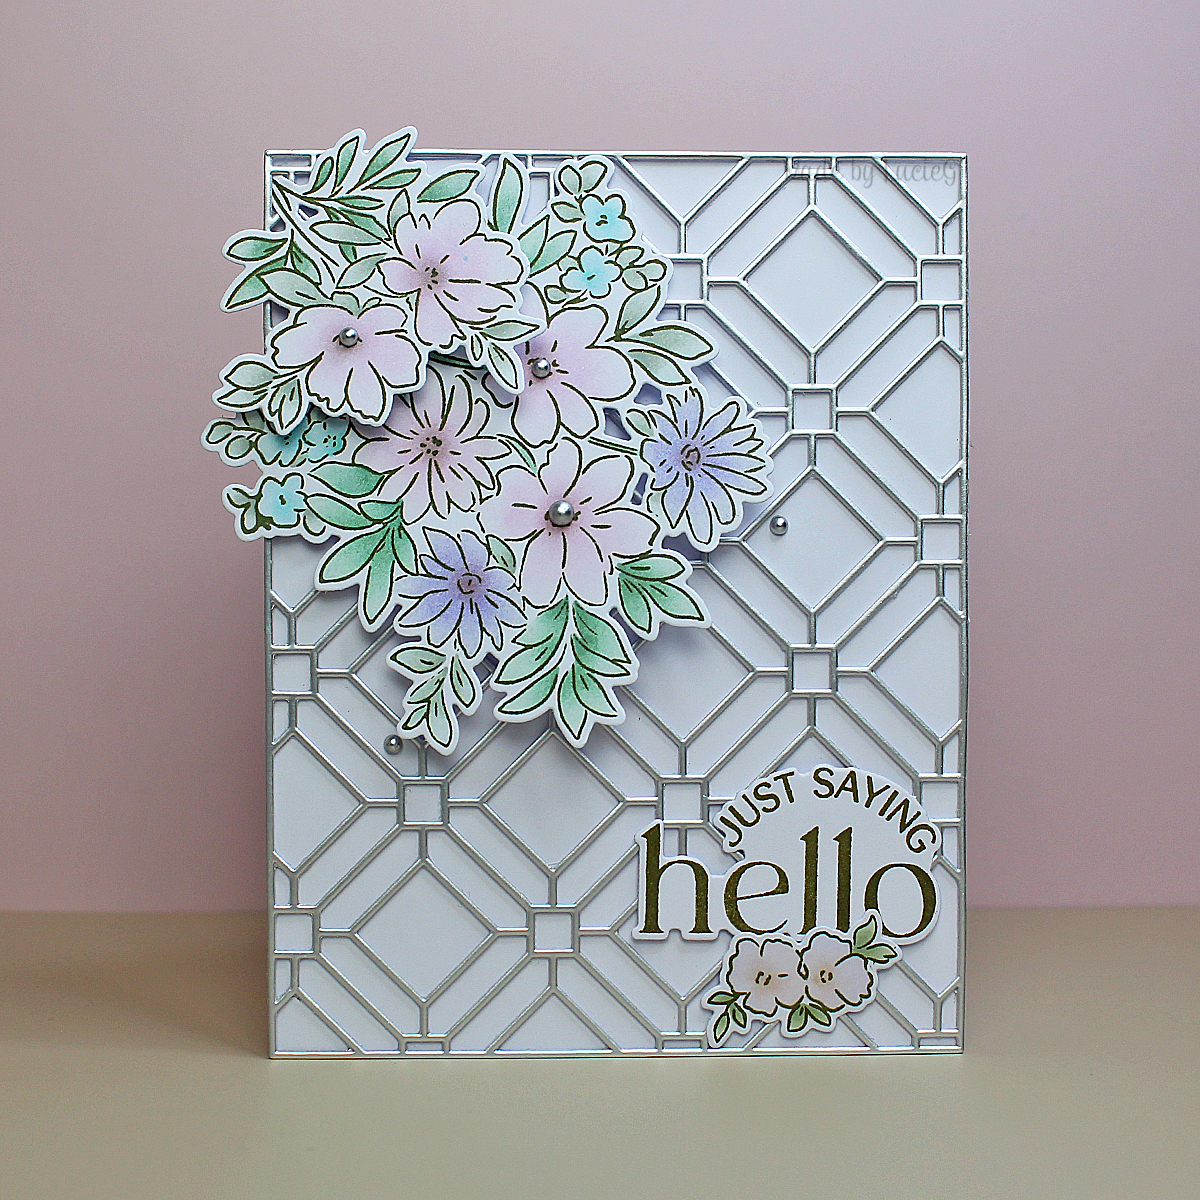
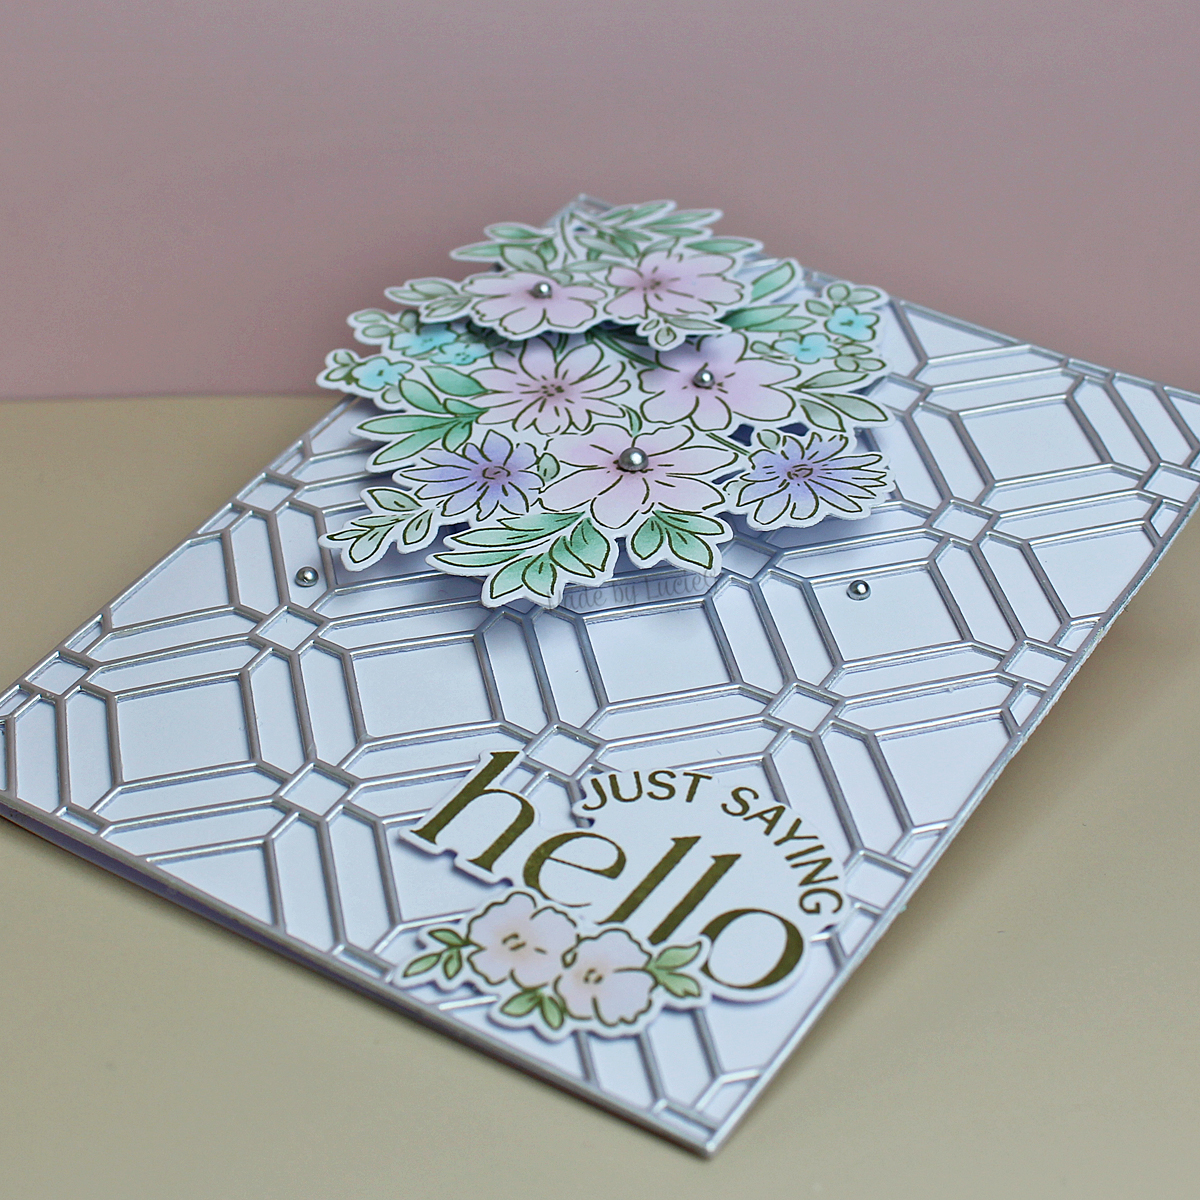
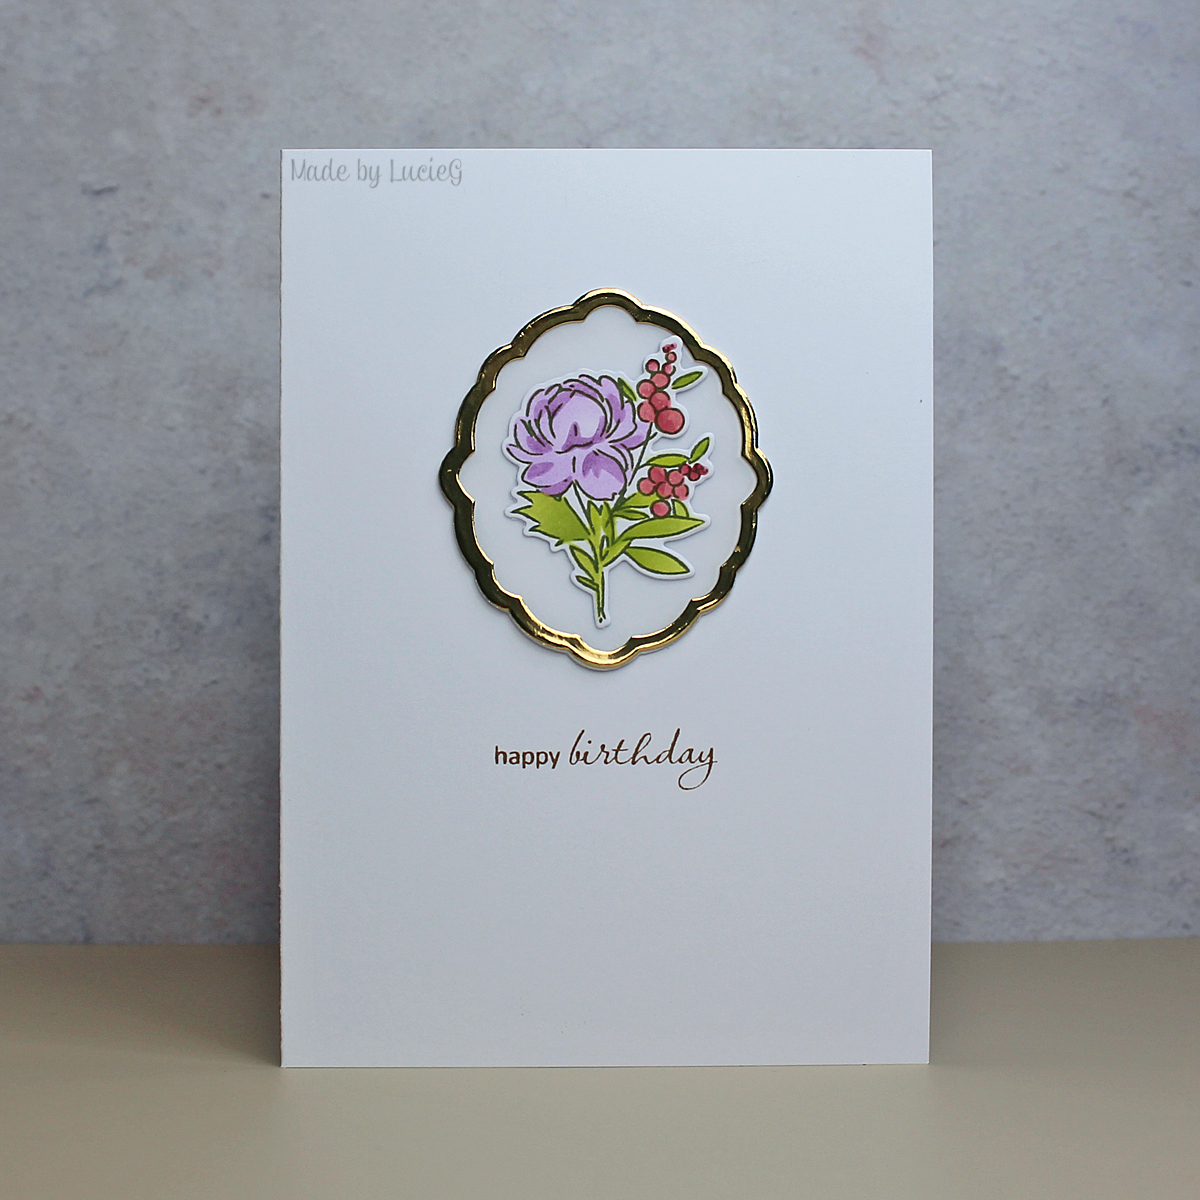
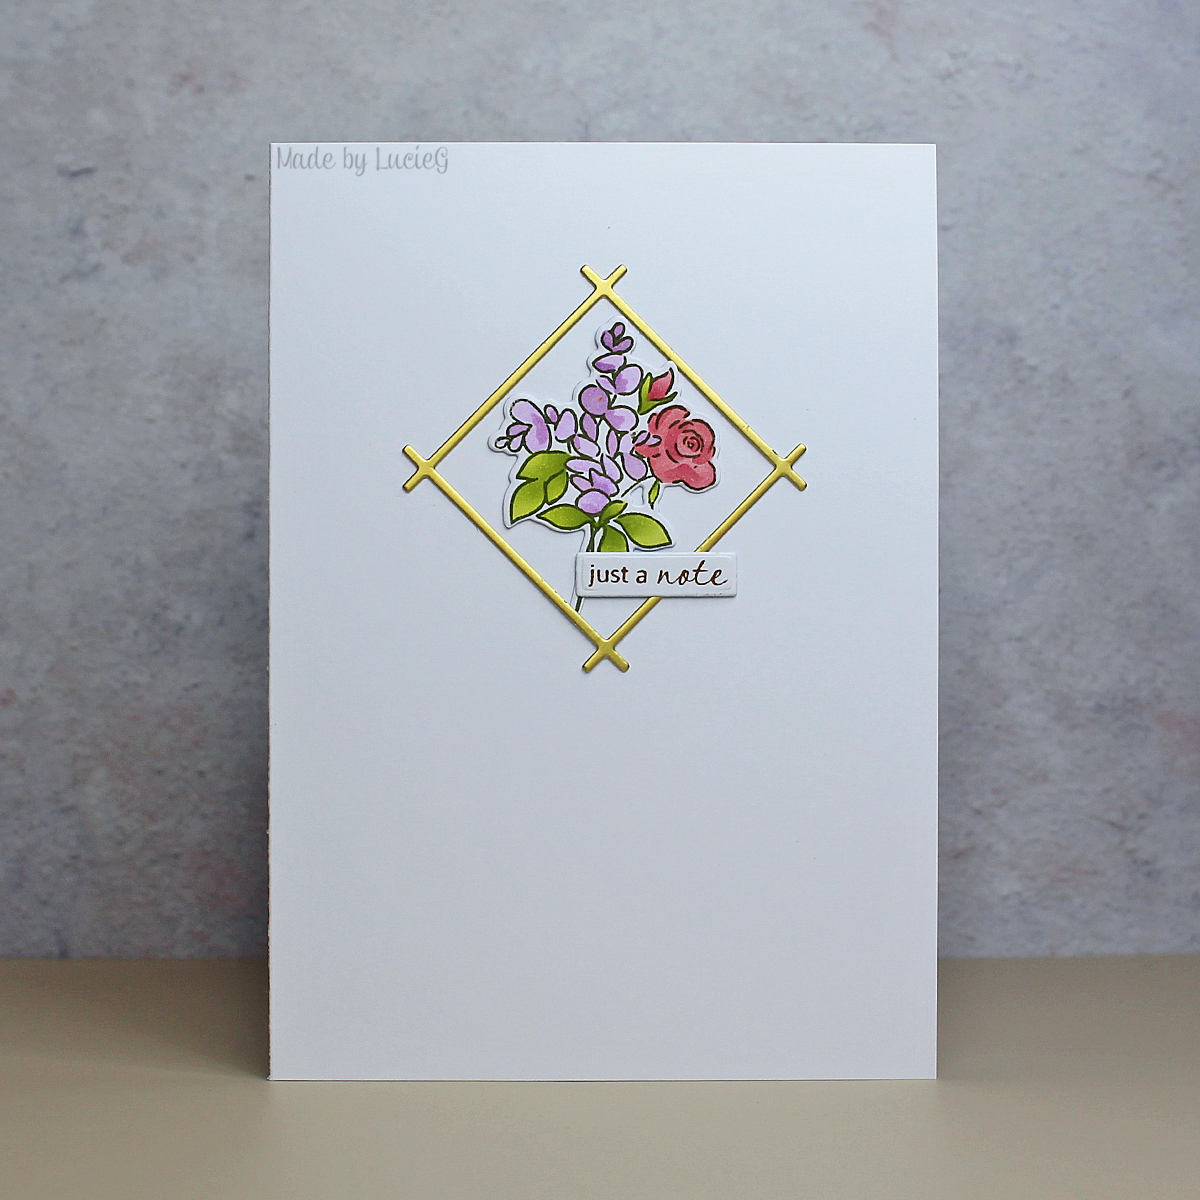
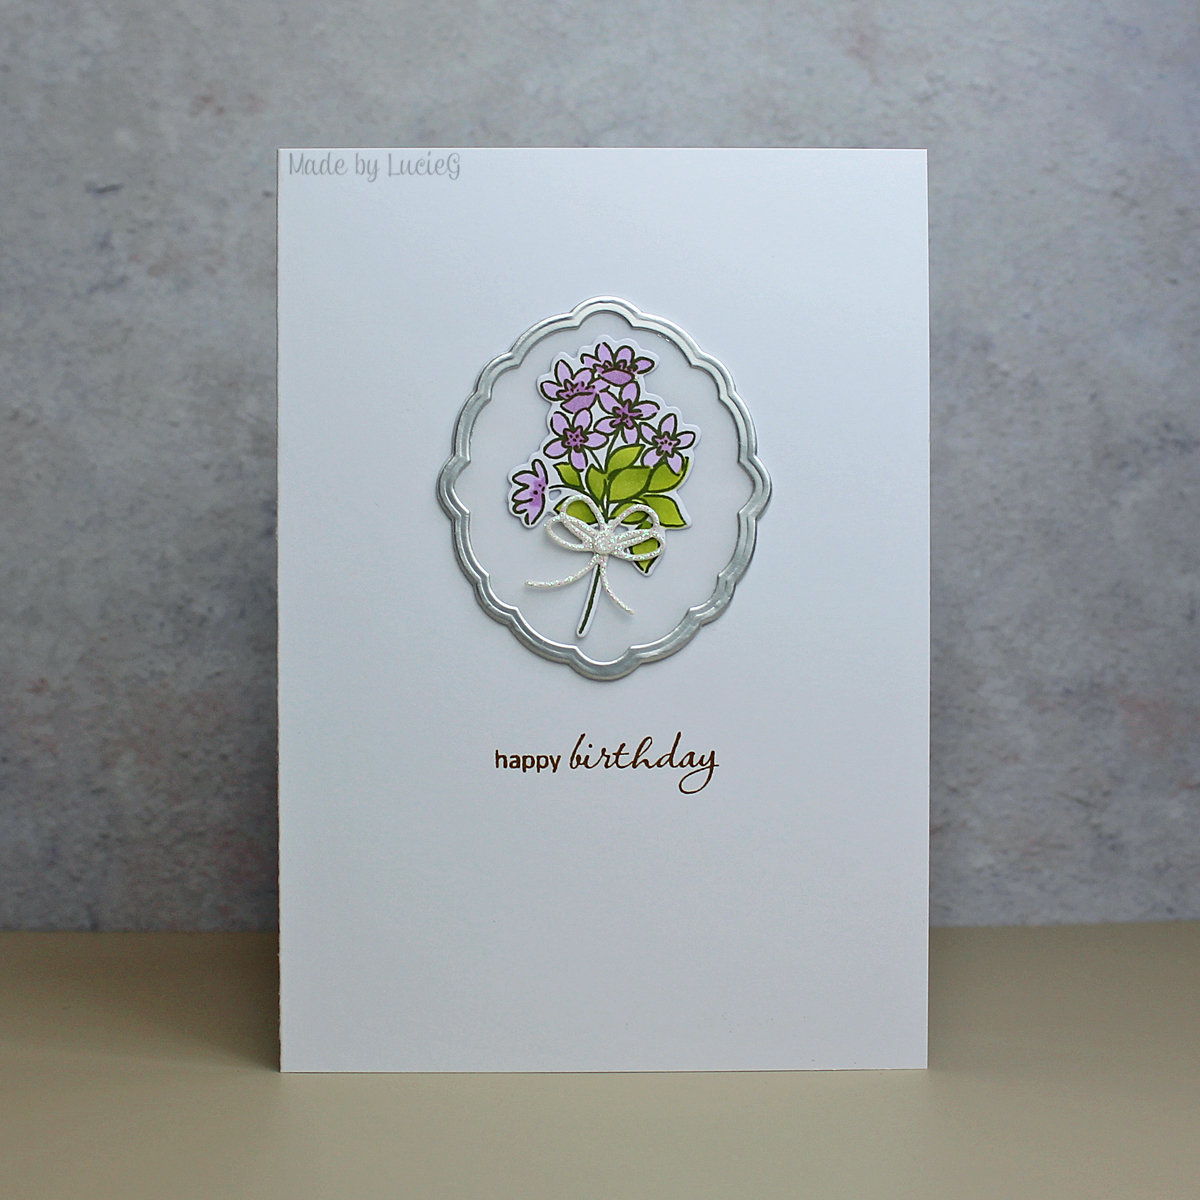
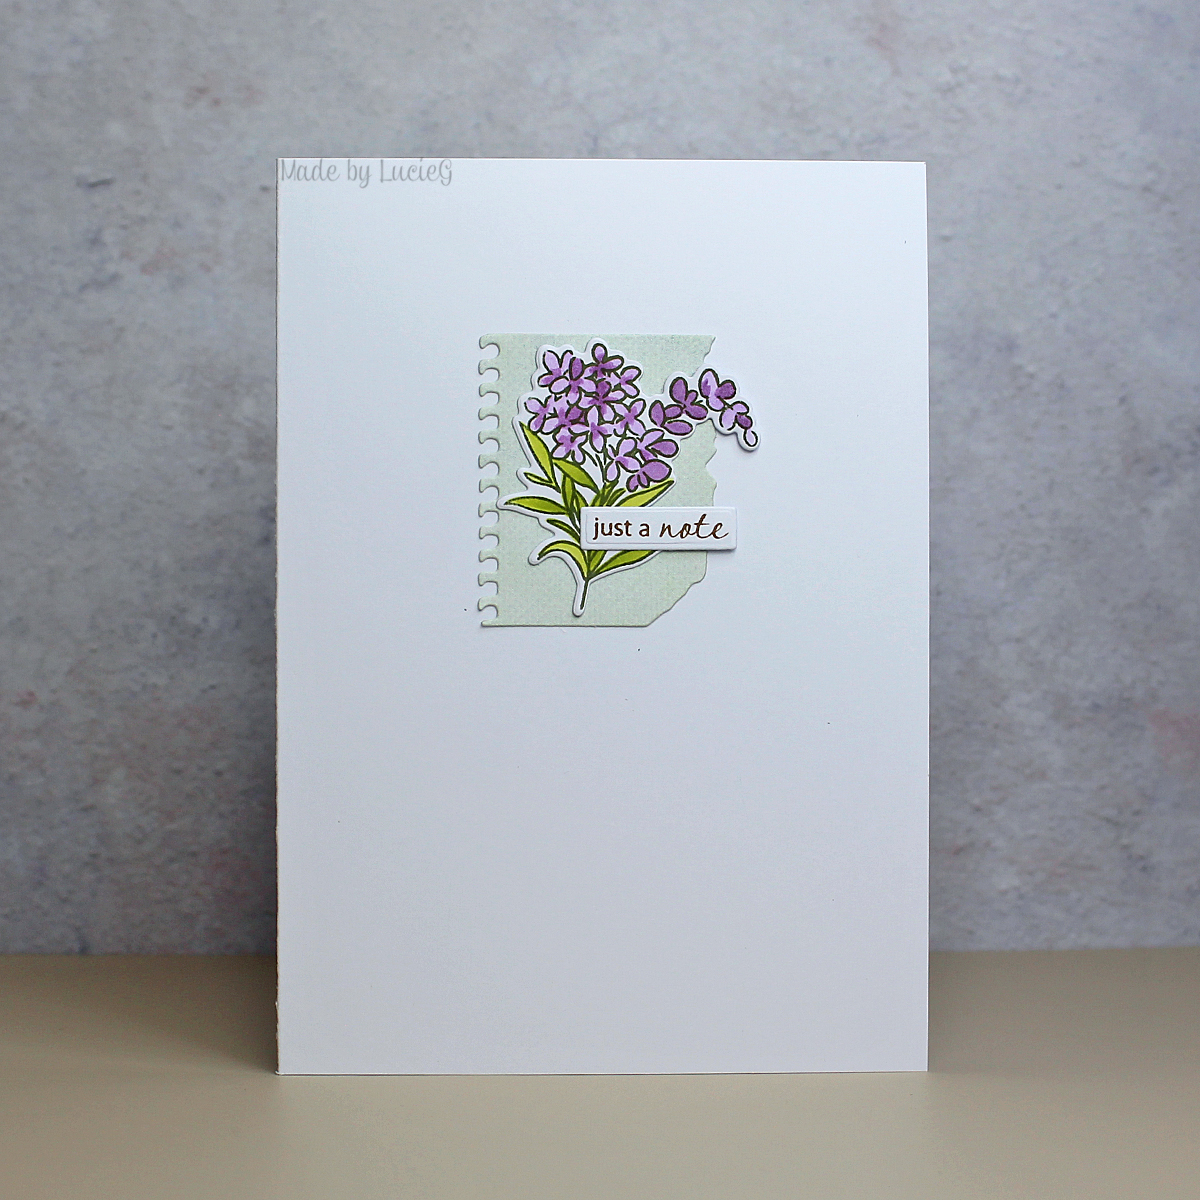
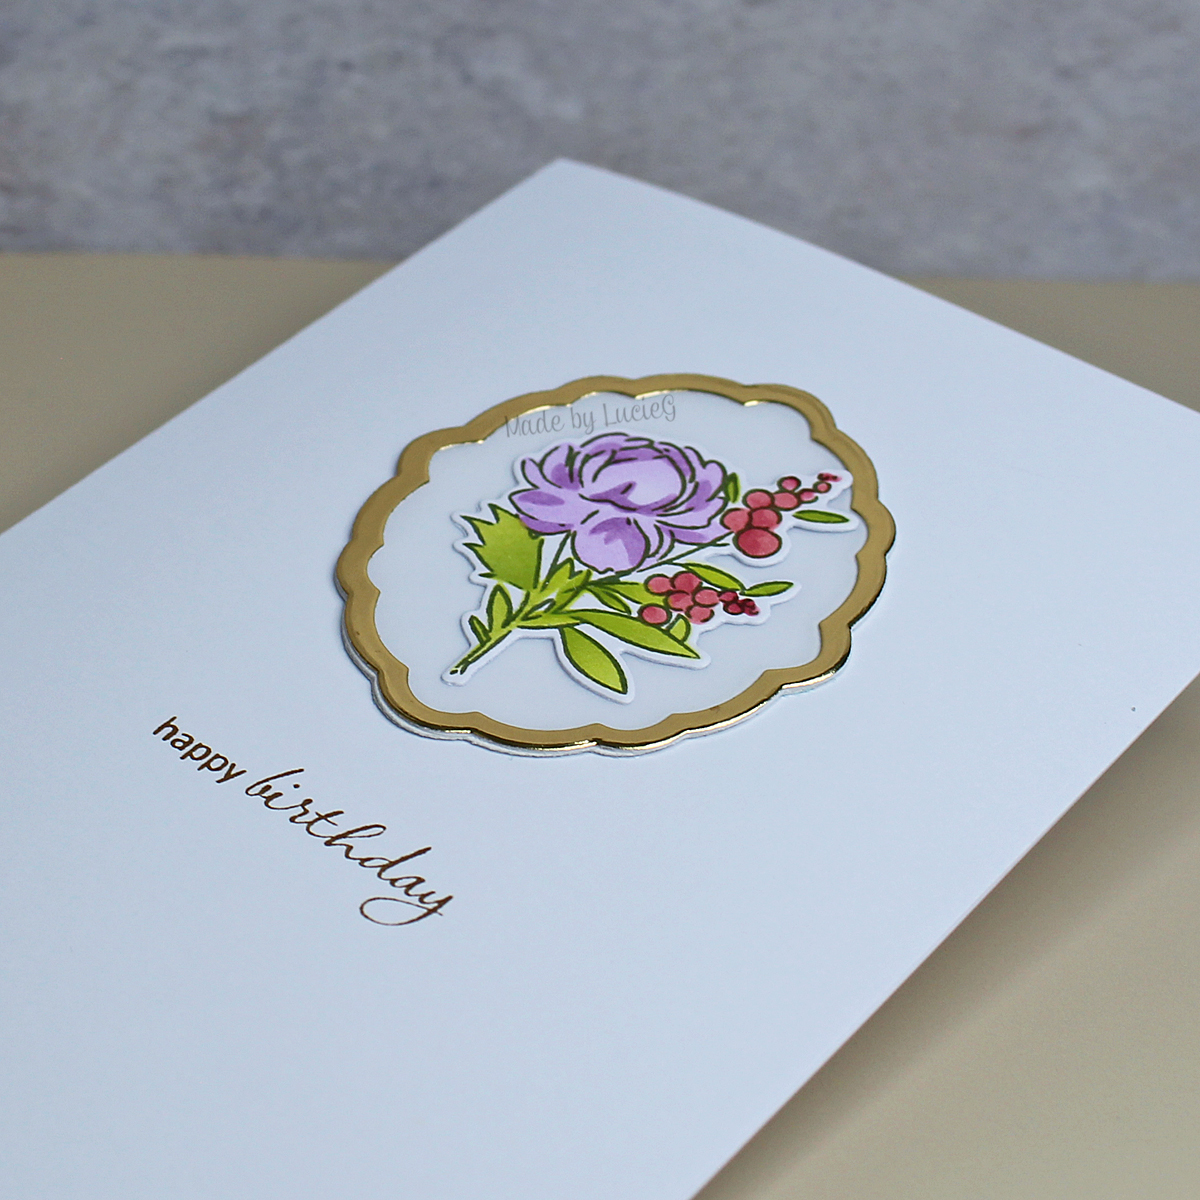
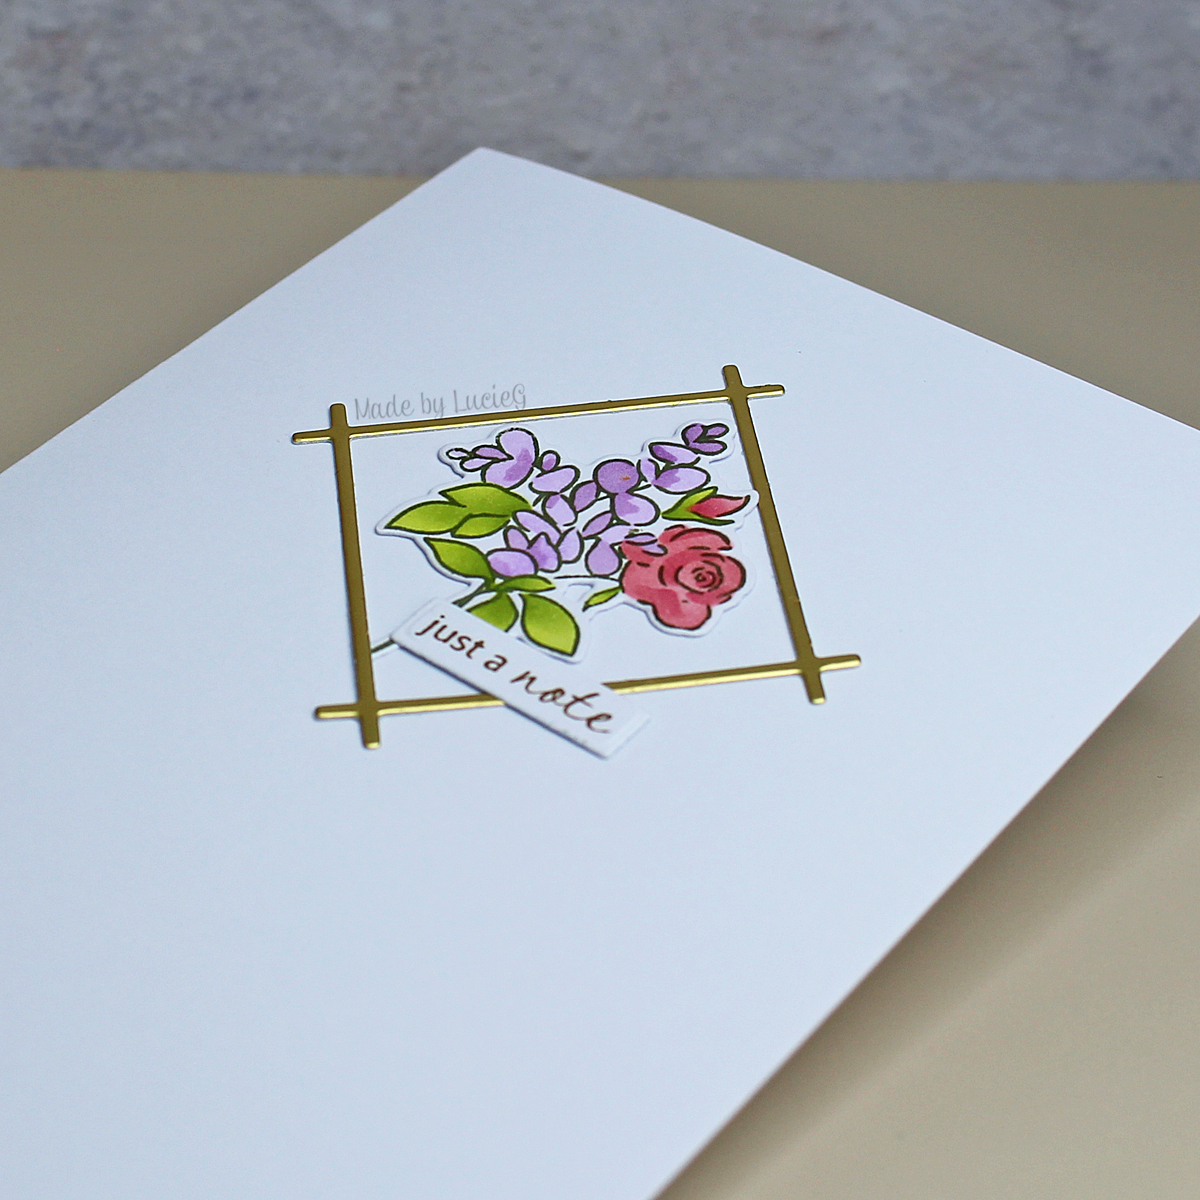
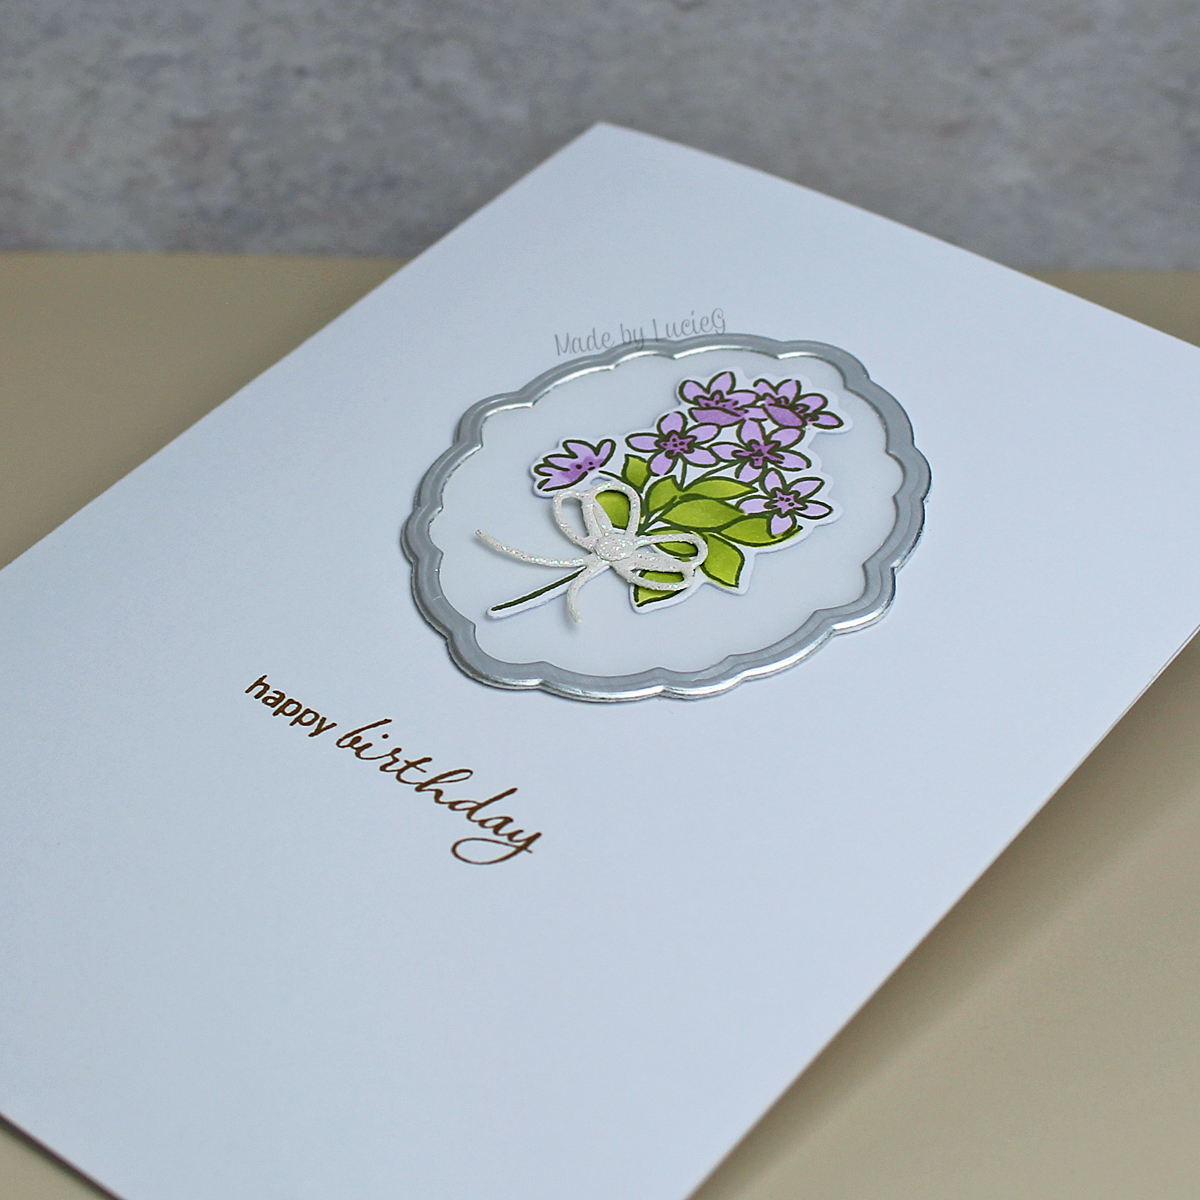
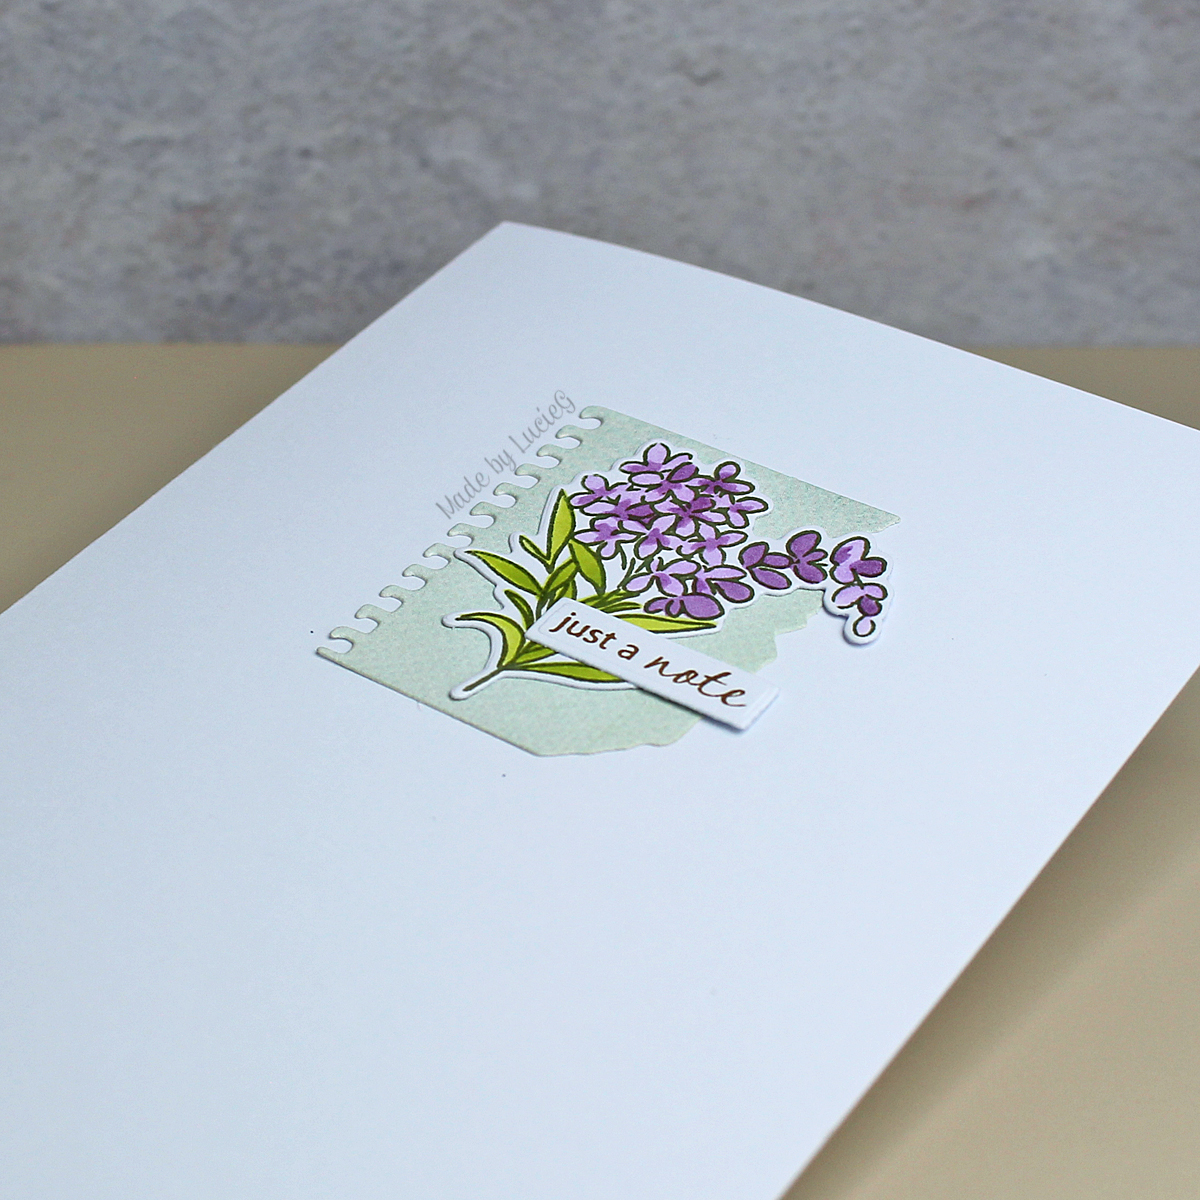
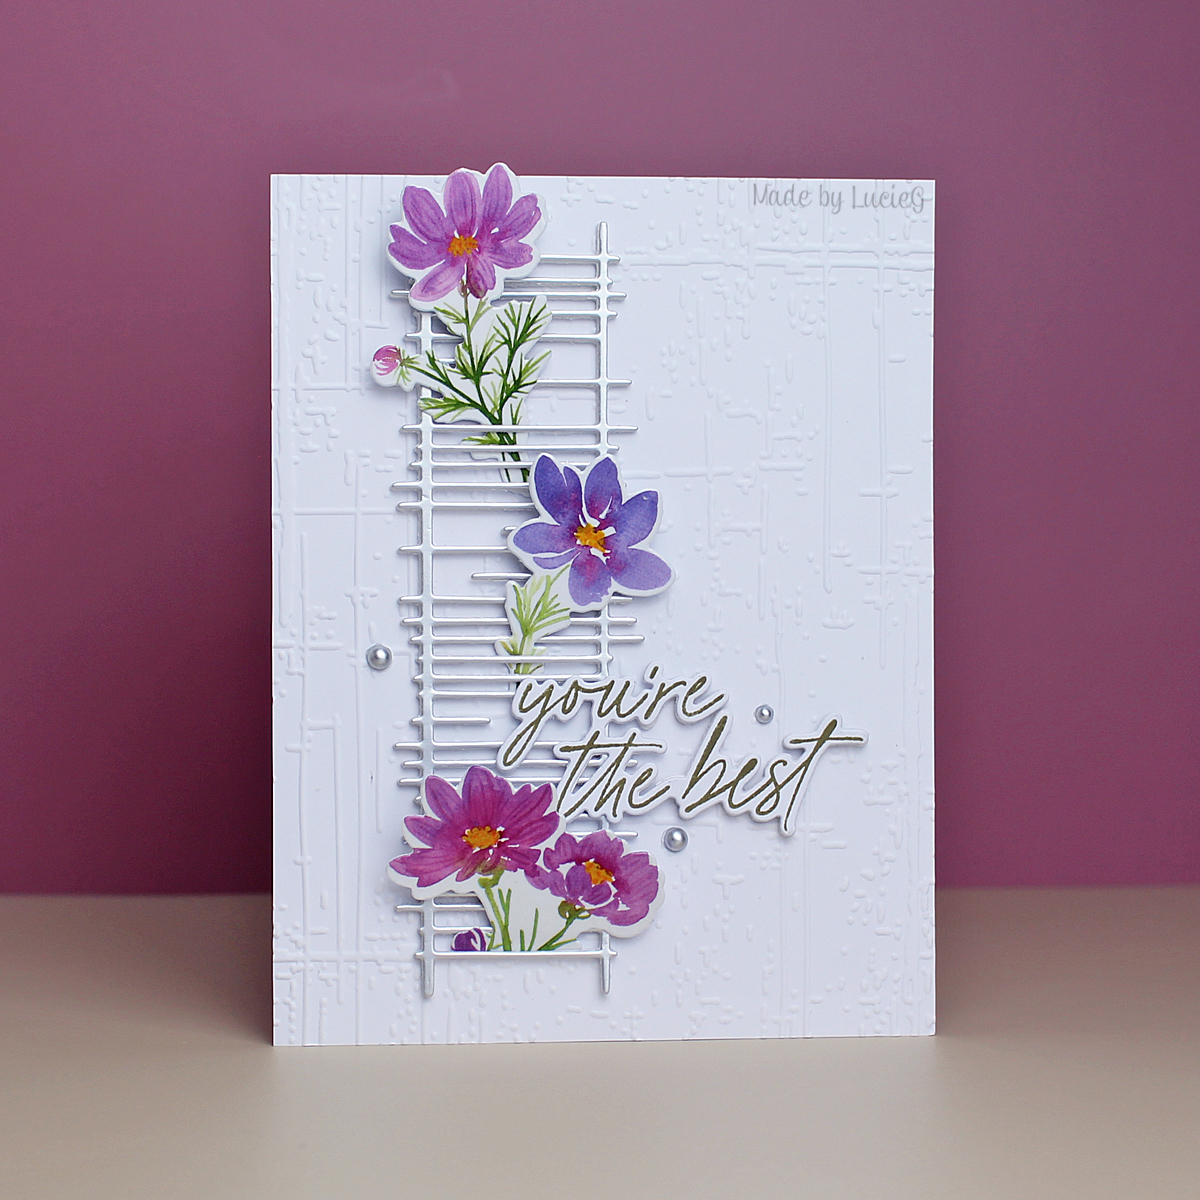
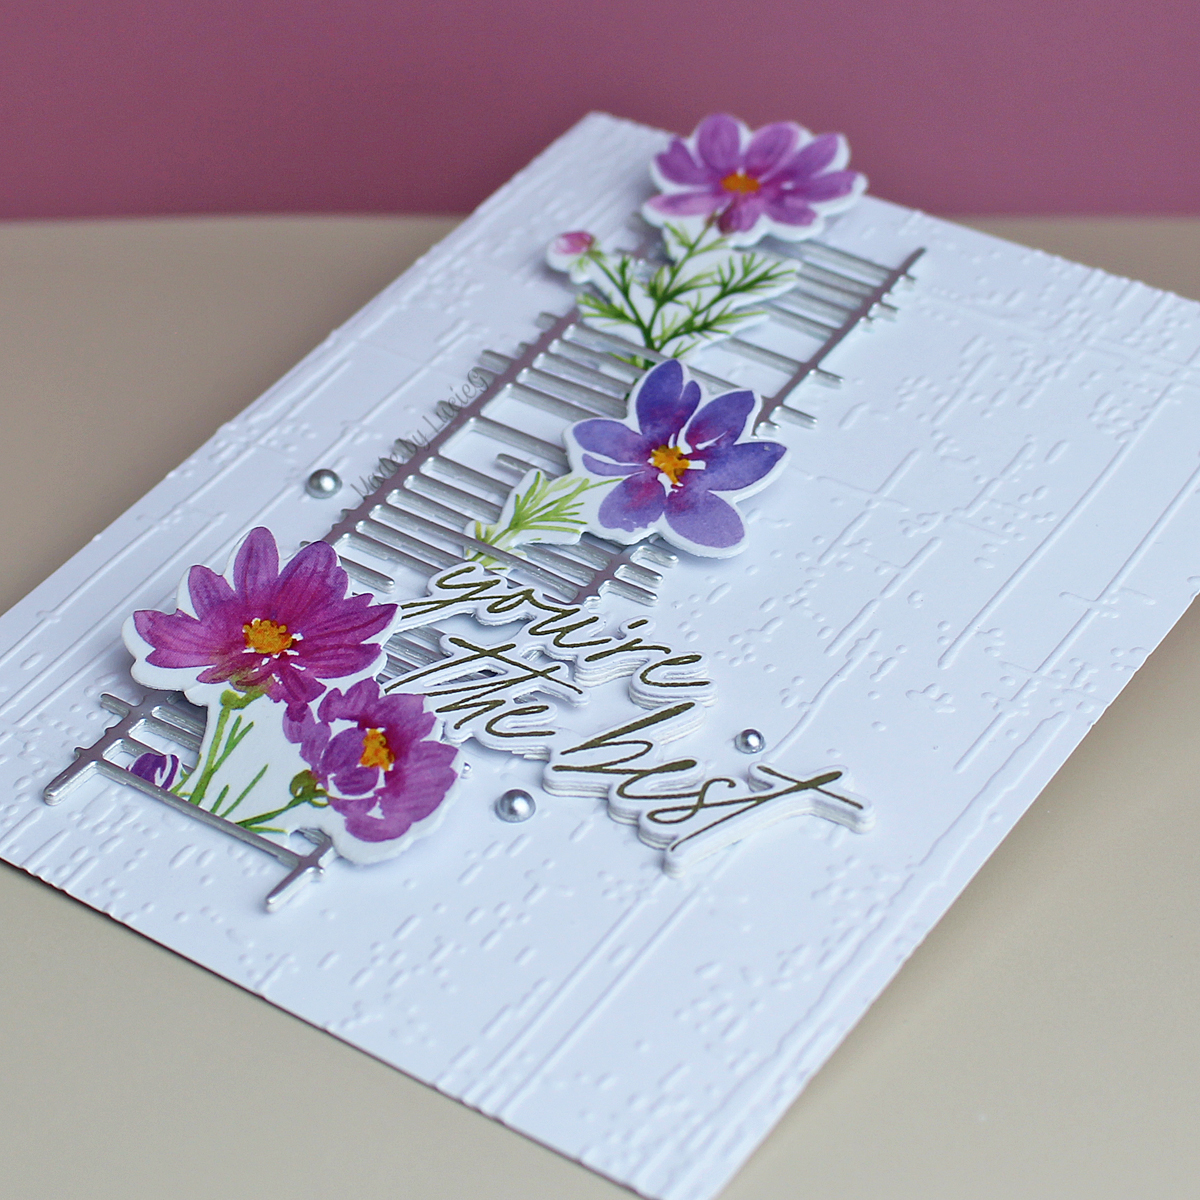
Today I used some die cut washi images from Pinkfresh Studio’s Whimsical Blooms product suite with a fabulous frame die that I picked up in the recent Sizzix sale. The frame reminded me of a fabulous older Taylored Expressions embossing folder called Weathered, so I pulled it out and used it for my background! The sentiment is from the Enchanting Flora product suite.
Thanks for stopping by!
LucieG.