Hello everyone!
Today I’m sharing cards I made with some dies kindly sent to me by Penny Black from their new Shining Wings release. This is such a beautiful release with so many products that I was excited to create with.
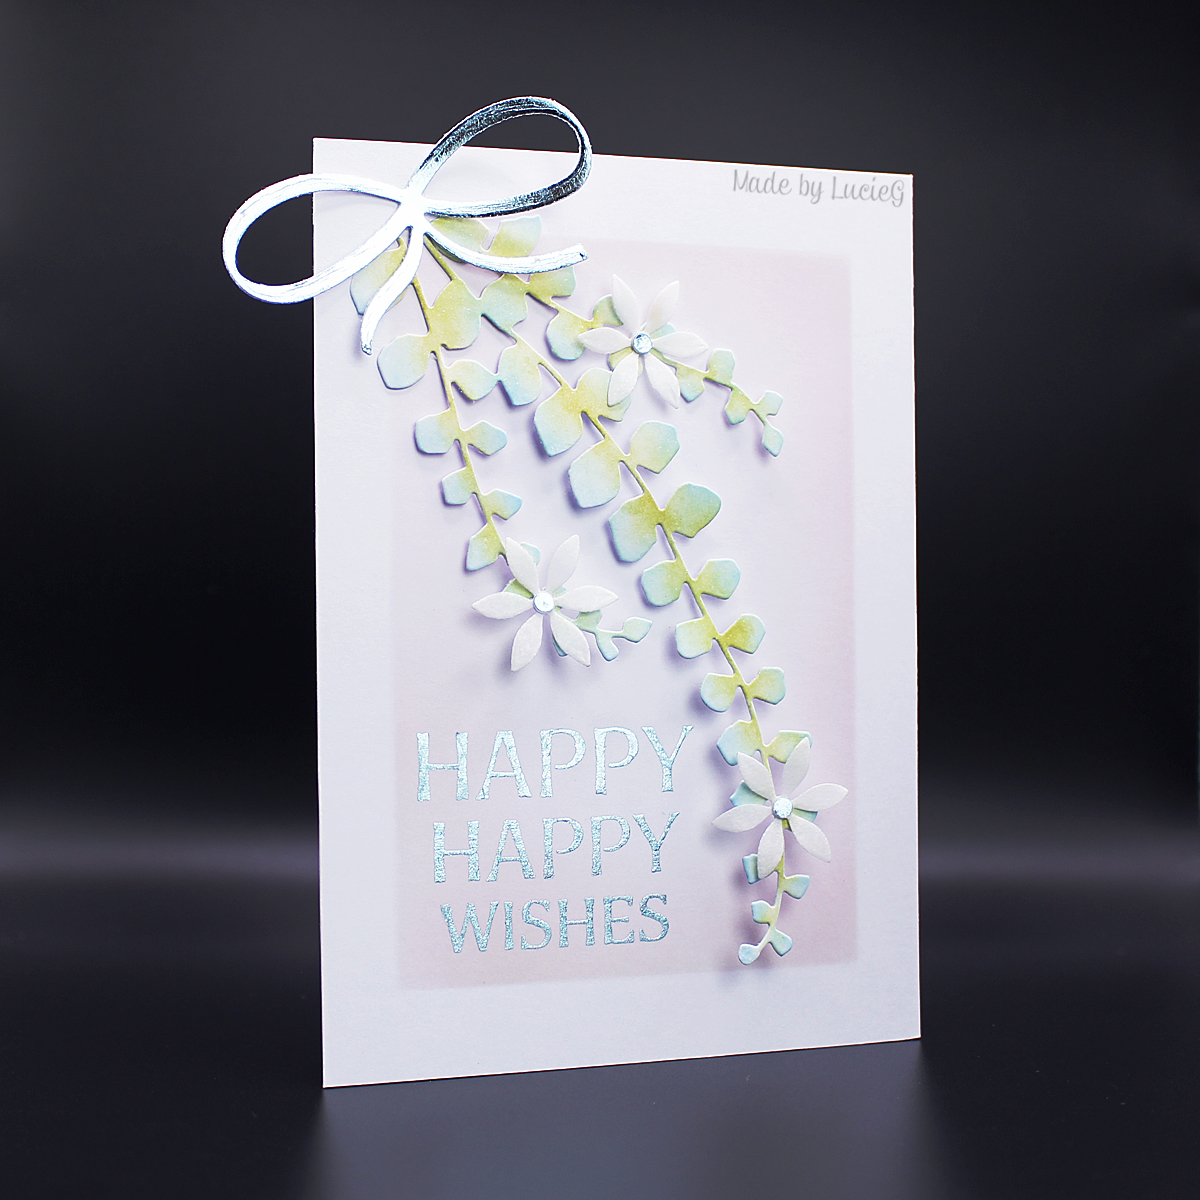
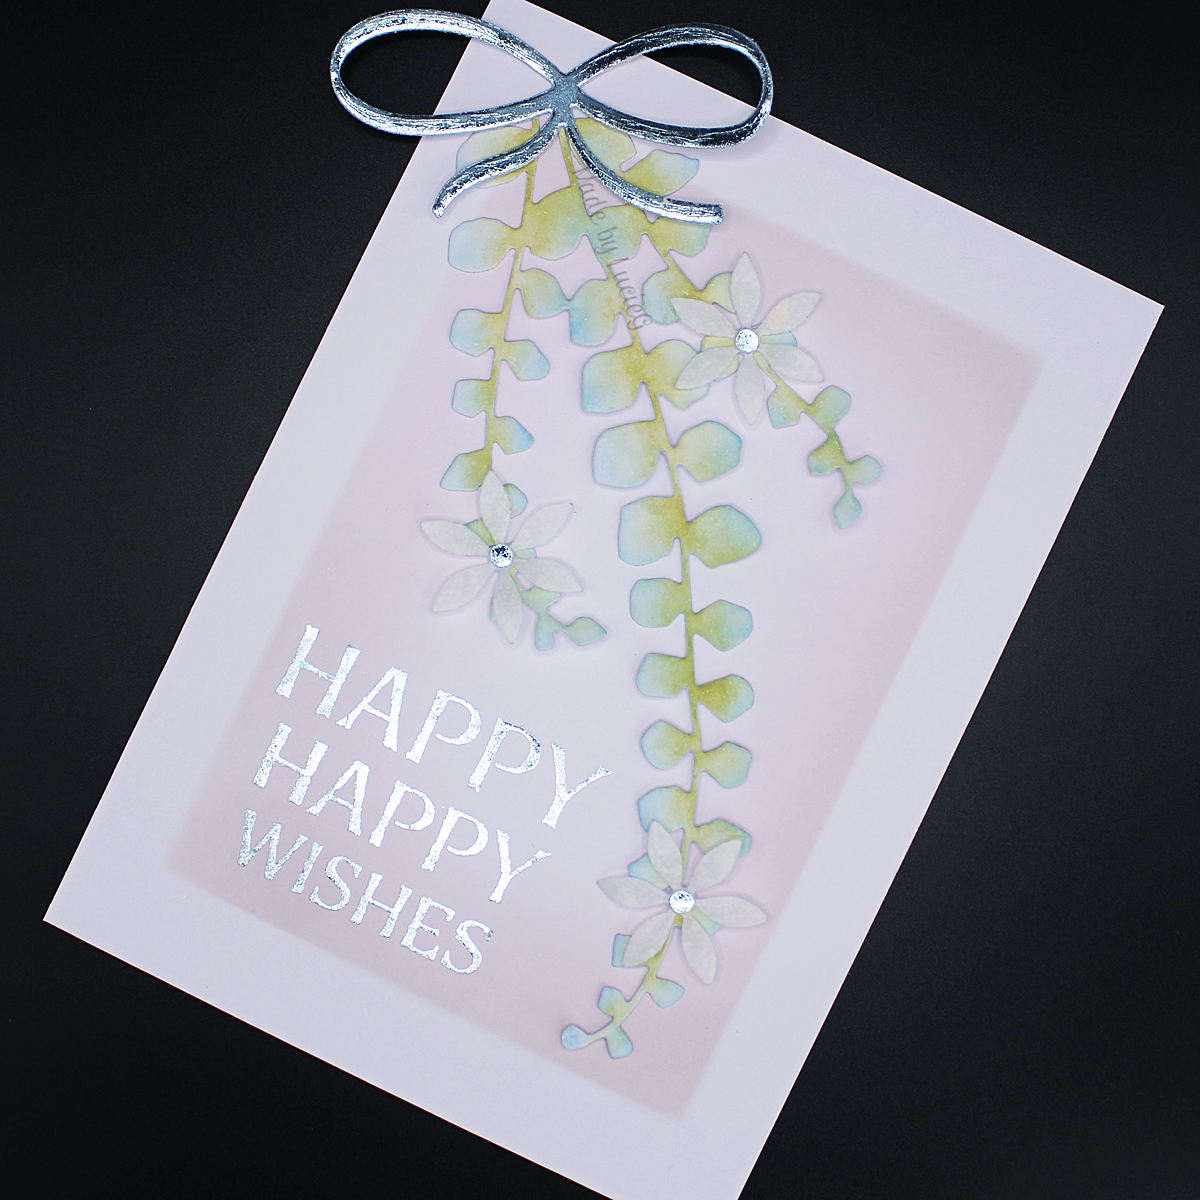
 My first card showcases the stunning Ascending die (51-820) which is probably my favourite Penny Black foliage die! I used a stencil from the Background Basics set (25-021) and blended some distress ink on my card base. I coloured the Ascending die cut with distress inks and arranged it on my card, leaving room for a foiled sentiment from the new Shining Wishes Stick & Shine Sheet (15-017) which I covered with foil from the new Blooming foils set (21-003). I also applied some foil to a small piece of card for the bow from the Jumbo Bauble die set (51-743) and centres for my vellum flowers, which are cut with dies from a new-to-me set, Flourish (51-421).
 I then turned my attention to the elegant Dignified die (51-821) which I coloured with distress inks. The background panel was cut using the largest die from the Dainty Dashes Stackers die set (51-636) which I adhered to a green card base. After masking off the frame, I blended a little distress ink over the centre of my white panel. I applied two butterflies from the from the new Shining Wings Stick & Shine Sheet (15-015) to a piece of card, added foil from the new Blooming foils set (21-003), fussy cut and adhered them to my card. I was so excited to see more of these beautiful butterflies as I use the ‘original’ die ALL the time – it’s from the classic Flourish and Butterflies set (51-198), and of course a die cut makes an appearance here – cut from vellum! The sentiment is from the new Brighten the World stamp set (31-056).
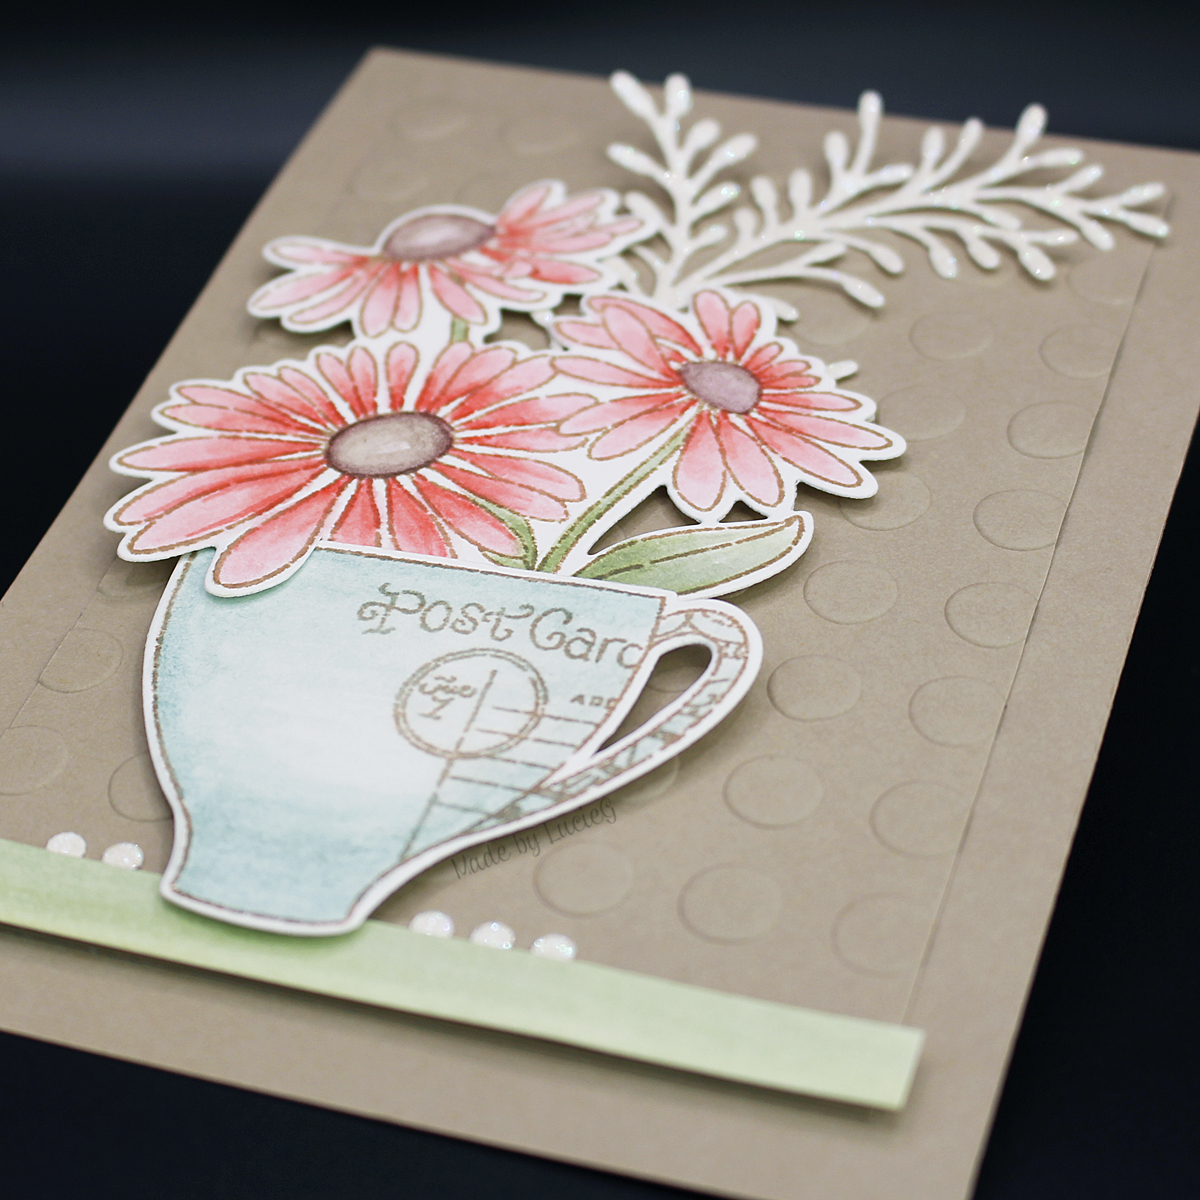
 As soon as I saw the release, I was drawn to the pretty Flower Family die set (51-819). I am CONVINCED that this mirrors a wood-mounted stamp but I can’t find it in my (rather extensive) wood-mounted stamp collection or online! Anyway, this super simple card came together really quickly! I coloured the centres with different distress inks and added some gems. I blended some Black Soot and Chipped Sapphire distress ink across the bottom of a navy card panel and adhered the flowers. I then chose a sentiment from the new Shining Wishes Stick & Shine Sheet (15-017) which I covered with foil from the Metallics foils set (21-001). To complete my card, I added a thin strip of silver card to anchor my flower family. Click here to see another card that I made with this die set.
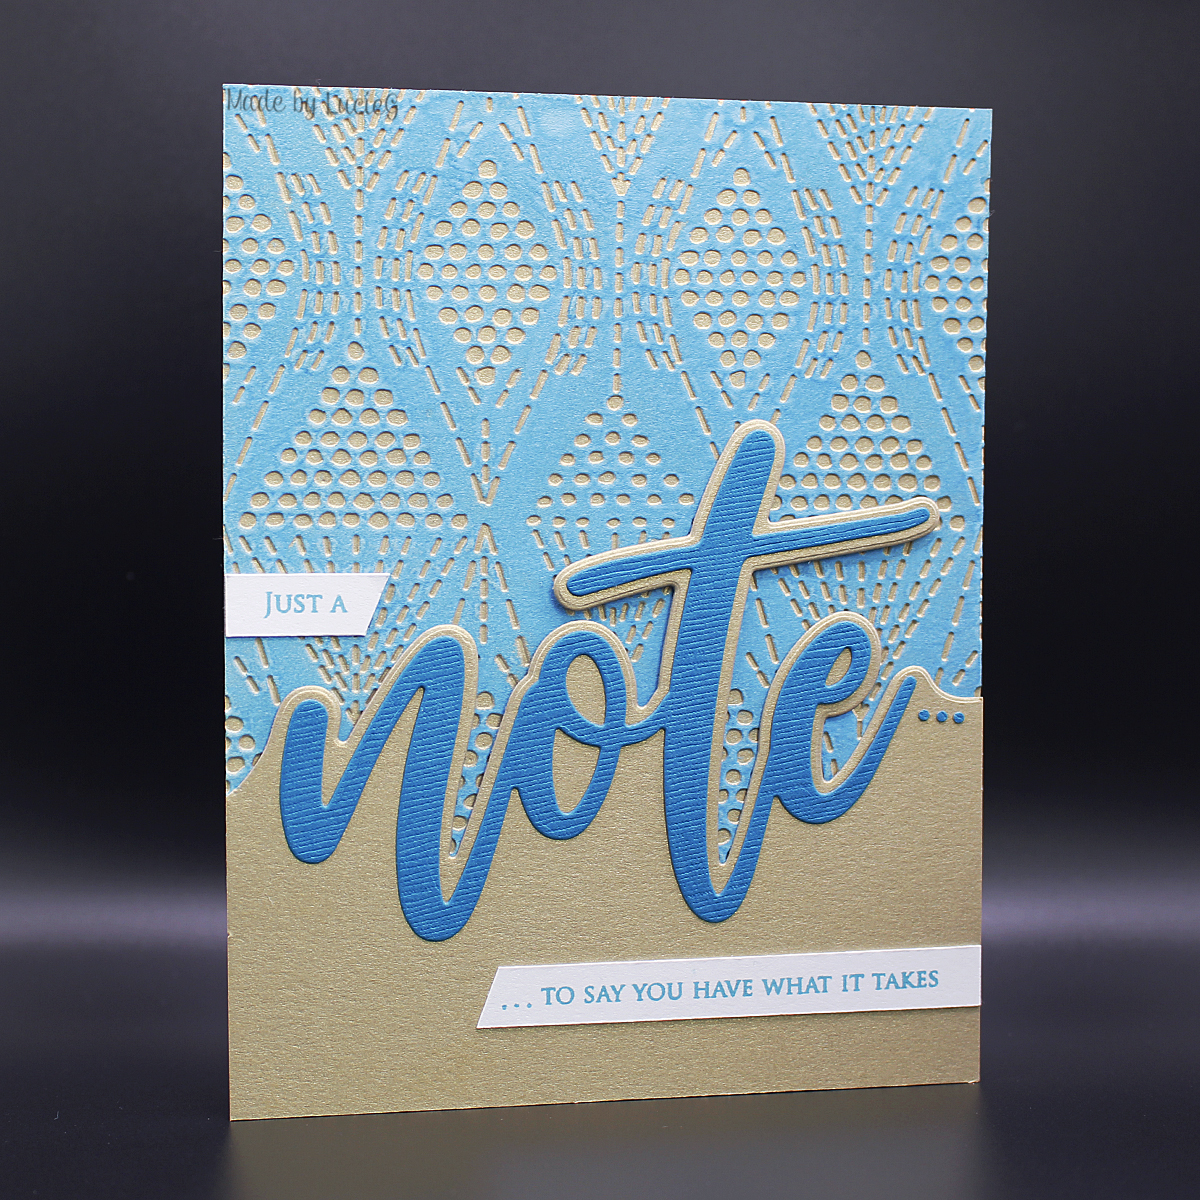
 Next up is my card using the bold Layered Bloom die set (51-818). I coloured it with distress inks and added it to a base that I had embossed with the Noted embossing folder (65-005). The sentiment is from the new Shining Wishes Stick & Shine Sheet (15-017) and the foil is from the new Blooming foils set (21-003). Click here to see another card I made with this die set.
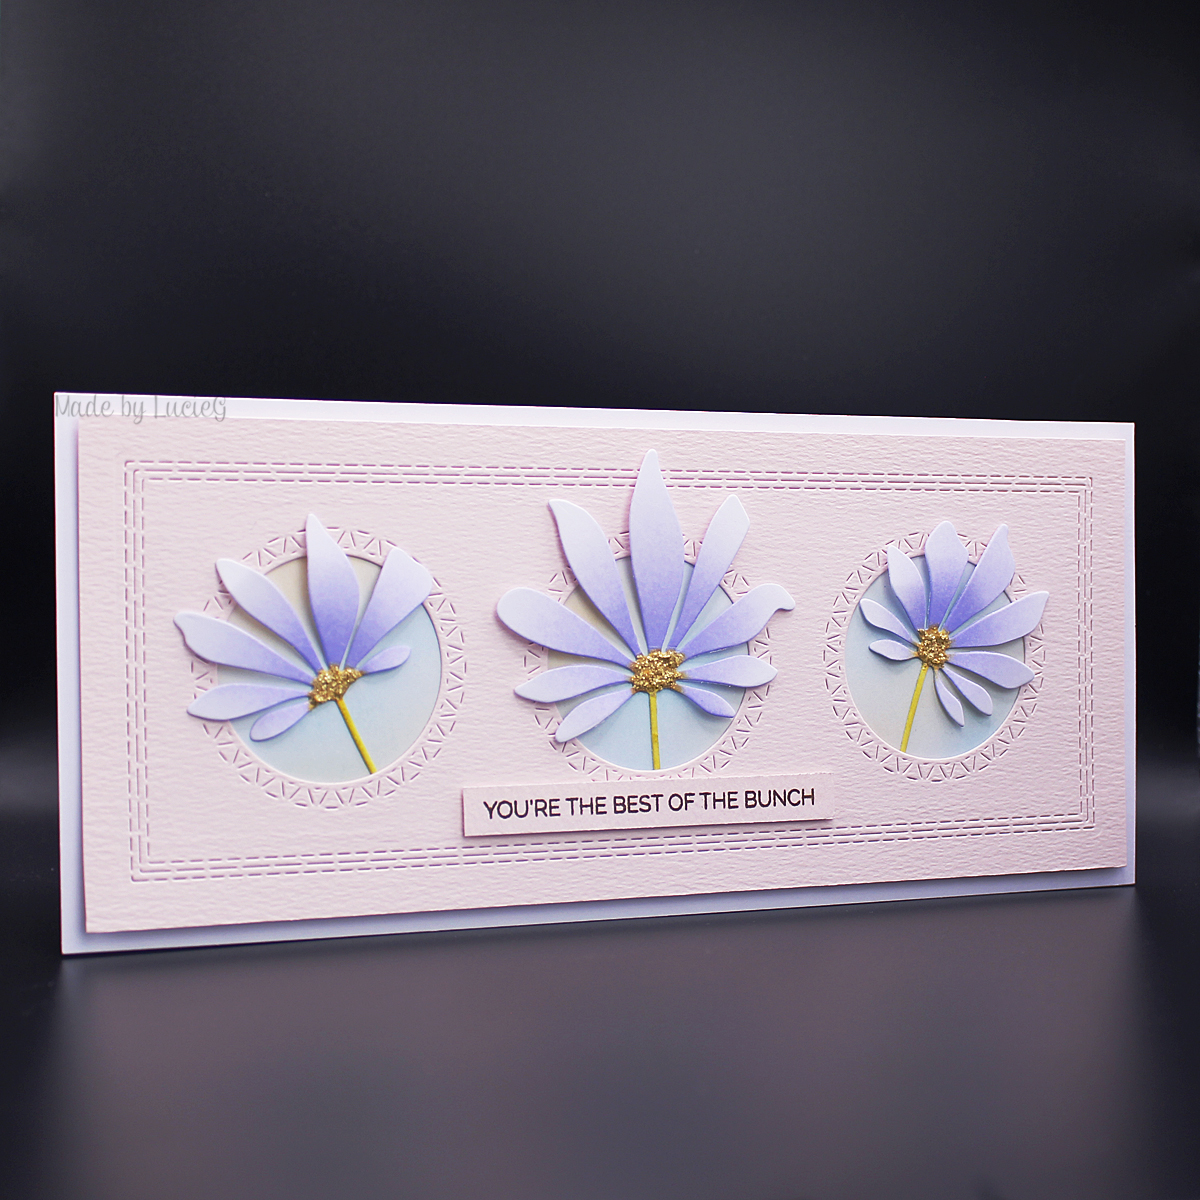
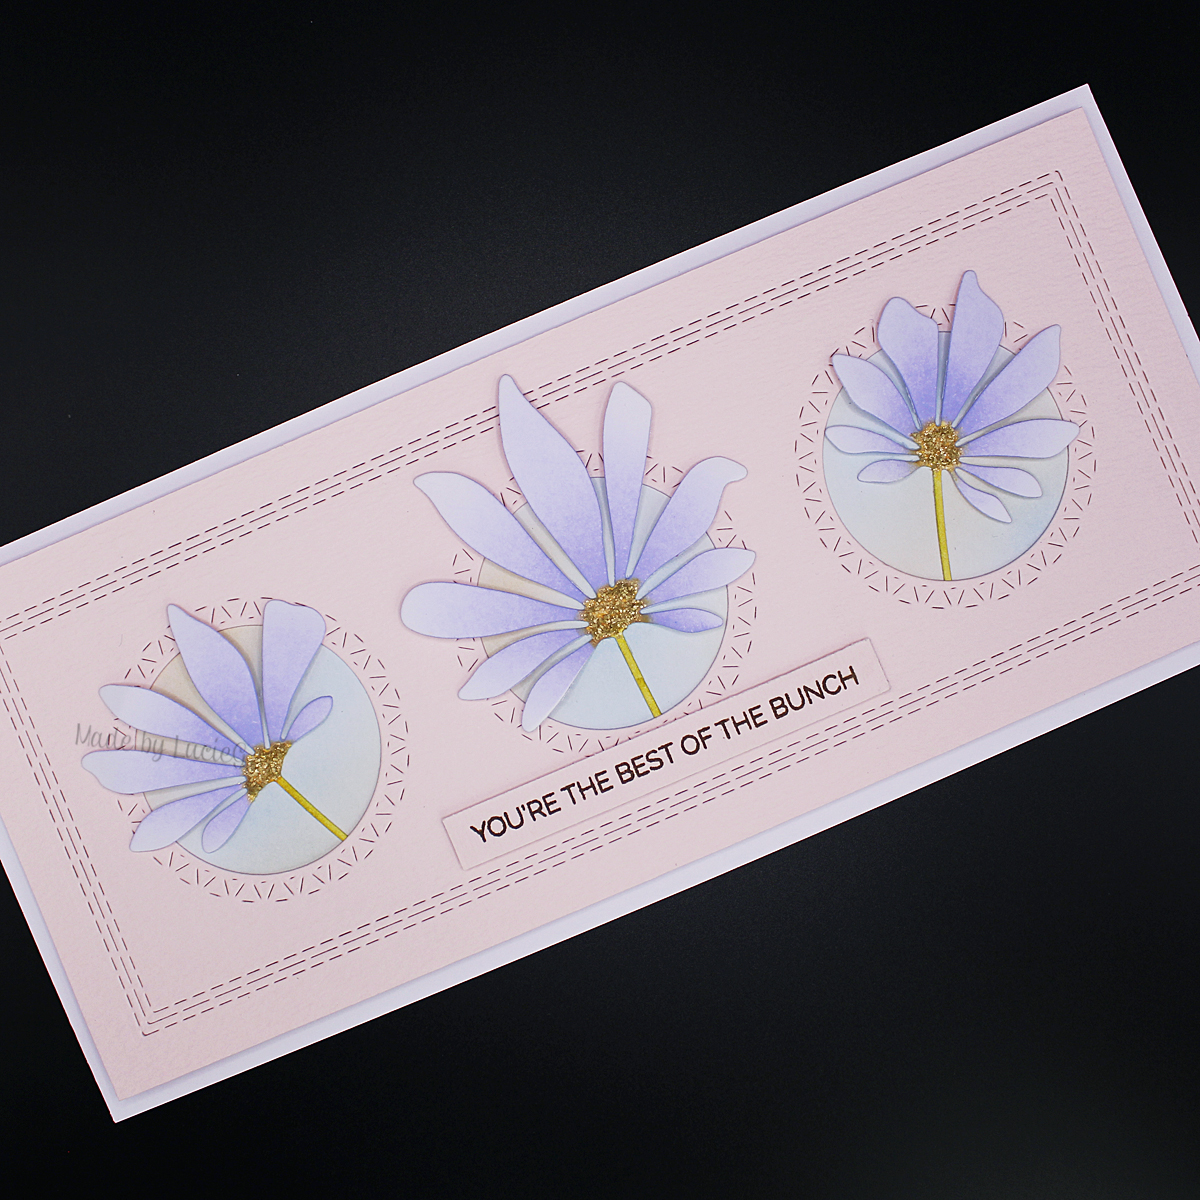
 Last but definitely not least is my card using the gorgeous Refresh die set (51-817). I love this set of three big statement blooms – I’ve already planned more cards with it!! For this card, I tucked the flowers into windows in a panel cut using the Slimline Medley die set (51-718) and added a sentiment from the Trust Me builder stamp set (30-7100).
Thanks for stopping by!
LucieG.


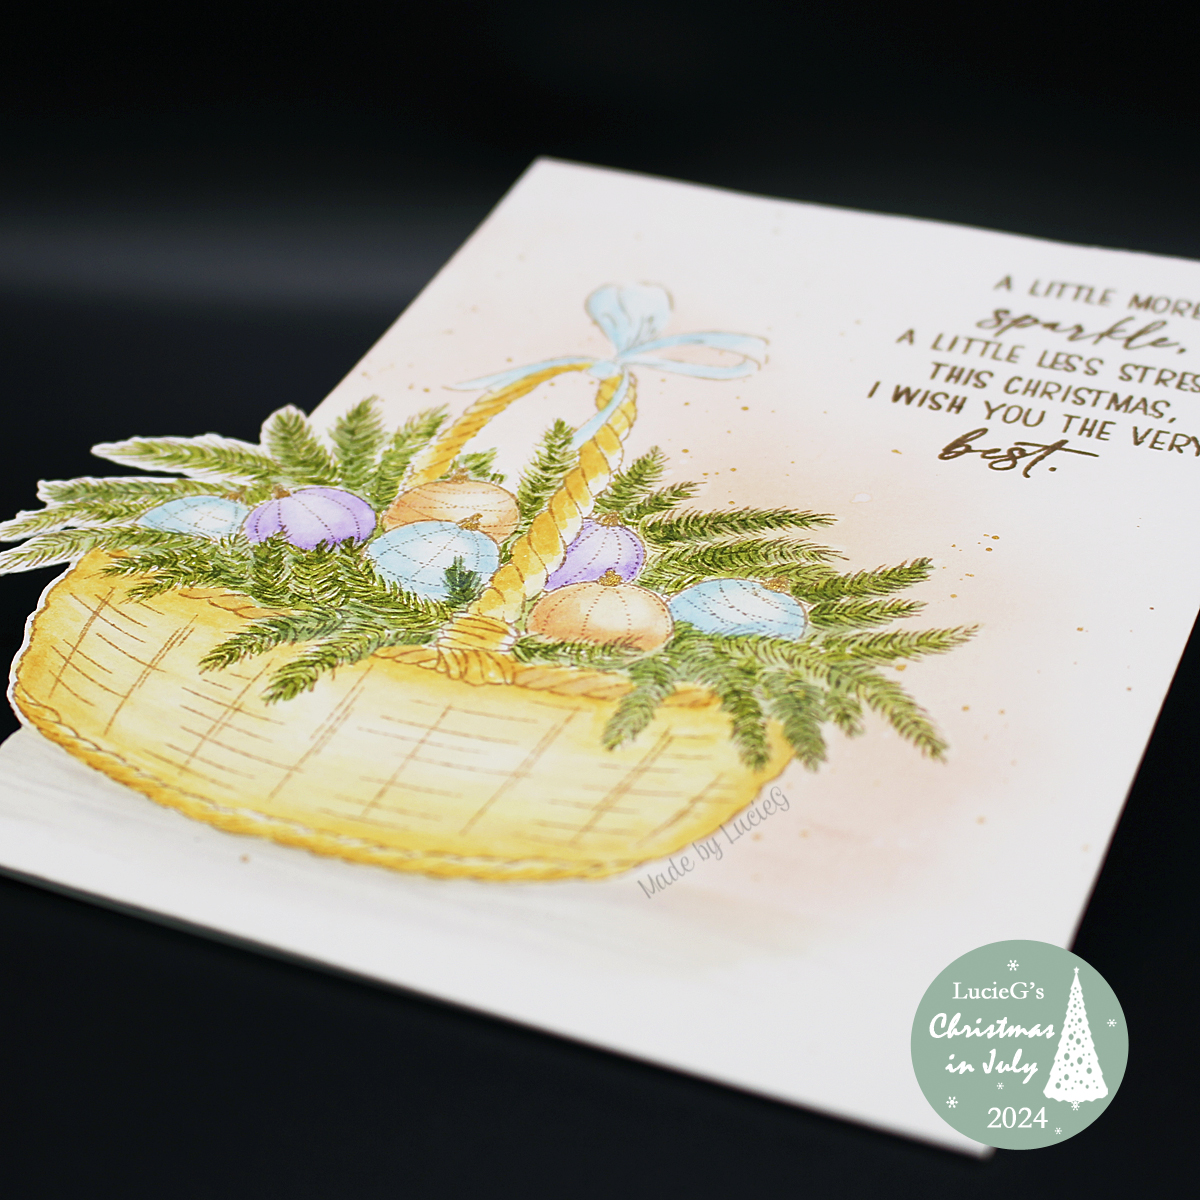 When I saw that the challenge was to colour an image, I knew I had to build on my watercolouring practice! I used distress inks and my Twinkling H2Os to colour the beautiful Bulb Basket cling stamp (40-859). I really enjoyed colouring this… and I’m so pleased to have rediscovered my joy of colouring!